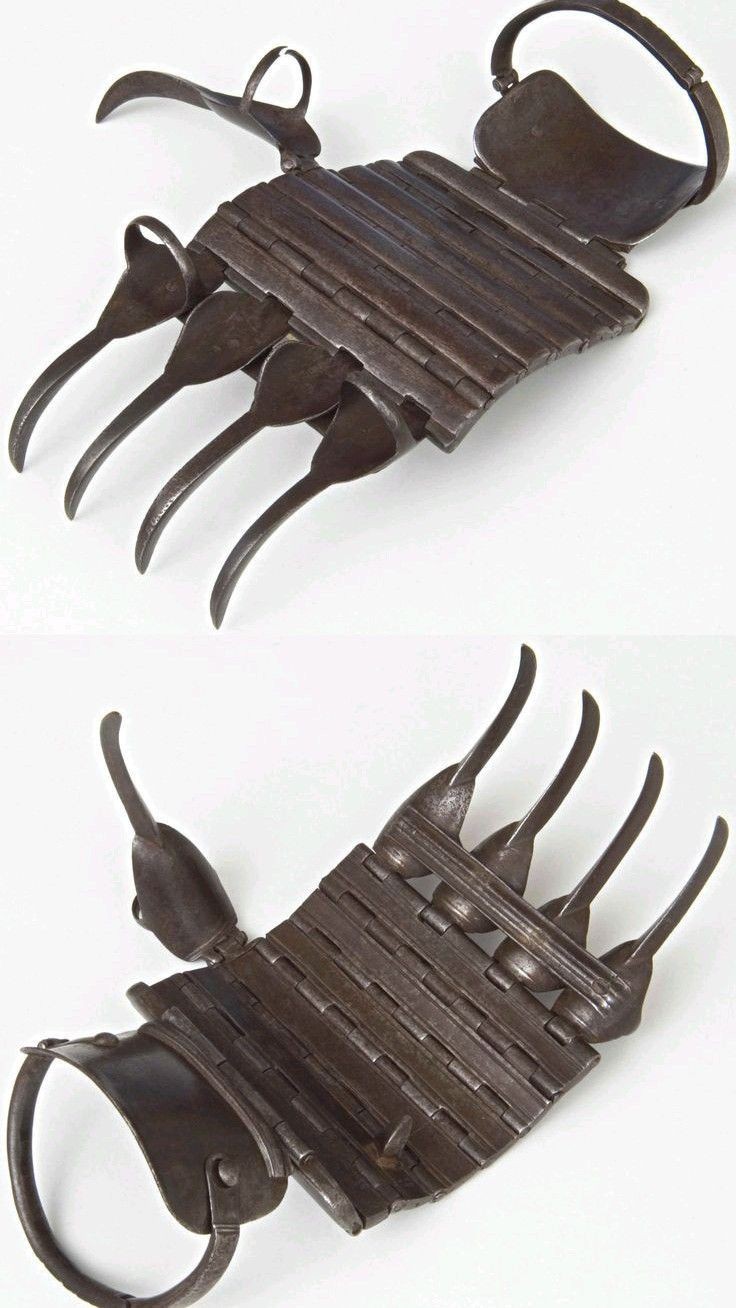
Steel Knuckles: Crafting Strength in Handmade Dusters
Creating your own steel knuckles, commonly known as brass knuckles, can be a fascinating and rewarding project. While brass knuckles have a controversial history, this guide focuses on the craftsmanship and creativity involved in making a set of steel knuckles for display or personal collection. Always remember to check local laws and regulations before creating or owning steel knuckles, as they may be classified as illegal weapons in some areas.
**Materials Needed*
1. **Steel Bar**: Choose a high-quality steel bar that is thick enough to provide strength and durability.
2. **Cutting Tools**: An angle grinder or metal saw to cut the steel bar.
3. **Drill and Bits**: For creating finger holes.
4. **Files and Sandpaper**: For smoothing and finishing edges.
5. **Protective Gear**: Gloves, safety glasses, and ear protection.
**Step-by-Step Guide*
1. **Design Your Knuckles**: Start by sketching a design for your steel knuckles. Consider the size and shape of the finger holes, the overall length, and any decorative elements you want to include.
2. **Prepare the Steel Bar**: Measure and mark the steel bar according to your design. Use a marker to outline where you will cut and drill.
3. **Cut the Steel Bar**: Using an angle grinder or metal saw, carefully cut the steel bar to the desired shape. Ensure that the cuts are clean and precise. This will form the basic outline of your knuckles.
4. **Drill Finger Holes**: Mark the positions of the finger holes on the steel bar. Using a drill press or hand drill with a suitable bit, carefully drill the holes. Ensure the holes are large enough for your fingers to fit comfortably.
5. **Shape the Knuckles**: After drilling the finger holes, use a grinder or file to smooth and shape the edges of the holes and the overall design. This step is crucial for both aesthetics and comfort.
6. **Smooth the Edges**: Use files and sandpaper to smooth all edges of the knuckles. Pay particular attention to the finger holes to avoid any sharp edges that could cause discomfort or injury.
7. **Add Decorative Elements**: If desired, you can add decorative elements such as engraving or etching to personalize your steel knuckles. Use metal stamps or a dremel tool to create designs or initials.
8. **Polish and Finish**: To give your steel knuckles a professional finish, polish them with fine-grit sandpaper and metal polish. This will enhance the appearance and protect the steel from rust.
9. **Inspect and Test**: Carefully inspect your finished steel knuckles for any rough spots or imperfections. Ensure that all edges are smooth and that the knuckles are comfortable to hold.
**Safety Tips*
- Always wear protective gear when working with tools and metal.
- Work in a well-ventilated area to avoid inhaling metal dust.
- Handle sharp tools and metal with caution to prevent injury.
Crafting your own steel knuckles is a project that combines artistry and skill, resulting in a unique and personalized piece. Whether for display, collection, or historical interest, handmade steel knuckles are a testament to the craftsmanship involved in metalworking.
**#handmadeknuckles #steelknuckles #diymetalwork #craftsmanship #metalworking #creativeprojects #customknuckles #artofmetal #metalcrafting #personalizeddesigns**
