Steel-Reinforced Fury: Crafting a Deadly Baseball Bat
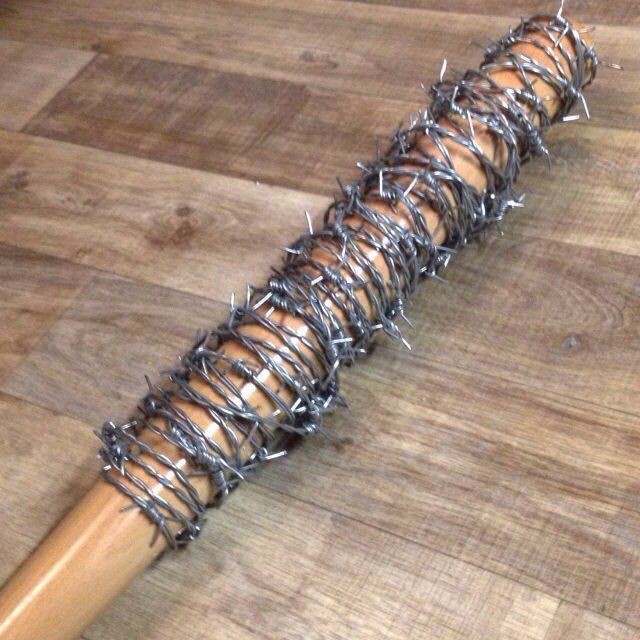
Baseball bats are typically associated with America's pastime, evoking images of home runs and spirited games. However, there's a growing trend among enthusiasts and craftsmen to create more formidable, steel-reinforced versions of these classic bats. These reinforced bats are not designed for the diamond but for personal defense and display, boasting both aesthetic appeal and practical strength.
### Materials and Tools
Creating a steel-reinforced baseball bat requires specific materials and tools to ensure both effectiveness and durability. Here’s a list of essentials:
- **Wooden Baseball Bat**: A solid, preferably hardwood bat forms the base.
- **Steel Rod**: A steel rod or pipe that fits snugly within the bat’s core.
- **Epoxy Resin or Strong Adhesive**: To secure the steel rod within the bat.
- **Power Drill**: For hollowing out the bat to insert the steel reinforcement.
- **Sandpaper and Finish**: For smoothing and polishing the final product.
- **Protective Gear**: Safety glasses, gloves, and a dust mask to ensure safety during the crafting process.
### Step-by-Step Guide
1. **Preparation**:
Begin by selecting a high-quality wooden bat. The bat should be free of cracks or significant imperfections. Measure the length of the steel rod to match the length of the bat minus a few inches at the handle end.
2. **Hollowing the Bat**:
Secure the bat in a vice or another stable setup. Using a power drill with an appropriate bit size, carefully drill down the center of the bat. Aim for a depth that allows the steel rod to sit securely within the bat. Take care to keep the drill straight to avoid damaging the bat’s exterior.
3. **Inserting the Steel Rod**:
Once the bat is hollowed out, test fit the steel rod to ensure it fits snugly. Apply epoxy resin or a strong adhesive generously to the rod before inserting it into the bat. This ensures that the rod is firmly fixed within the wooden bat. Allow the adhesive to cure completely according to the manufacturer's instructions.
4. **Finishing Touches**:
After the adhesive has cured, sand down any rough edges around the drilled hole. Smooth the entire bat with sandpaper, paying attention to any areas where the drilling may have caused splintering. Apply a wood finish or varnish to protect the bat and give it a polished look.
5. **Safety Check**:
Before considering the bat complete, conduct a thorough inspection. Ensure there are no loose parts and that the steel rod is completely secure. Test the bat in a controlled environment to confirm its integrity.
### Practical Uses
While a steel-reinforced baseball bat is primarily created for self-defense or as a conversation piece, it is crucial to understand its potential legal implications. Carrying or using such a bat for protection can lead to legal consequences depending on local laws. Always check and comply with relevant regulations.
### Conclusion
Crafting a steel-reinforced baseball bat combines the traditional appeal of woodworking with the strength of modern materials. The result is a durable, intimidating piece that stands out in any collection. Whether intended for personal protection or display, these bats embody a unique blend of craftsmanship and raw power.
### Hashtags
#crafting #diy #baseballbat #steelreinforcement #selfdefense #woodworking #handmade #personalprotection #craftsmanship #innovation


