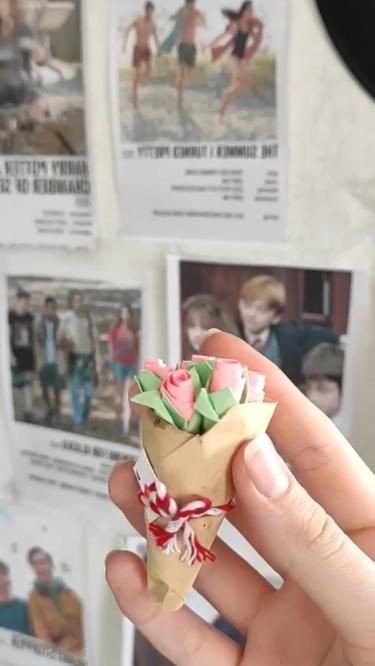
### Cute DIY Paper Bouquet: Step-by-Step
Creating a paper bouquet is a fun and rewarding craft project that adds a personalized touch to your decor or makes a heartfelt gift. Follow this step-by-step guide to make your own cute paper flowers.
#### Materials Needed
- Colored paper or cardstock
- Scissors
- Glue or double-sided tape
- Floral wire or pipe cleaners
- Green floral tape
- Pencil and ruler
#### Step 1: Choose Your Paper
Select colors and patterns that you love. Mix and match to create a vibrant bouquet.
#### Step 2: Cut Petals
Draw and cut out petal shapes. You can create different sizes and shapes for variety. Common petal shapes include teardrop, heart, and oval.
#### Step 3: Shape the Petals
Gently curl the edges of each petal using a pencil or the edge of scissors to give them a natural look.
#### Step 4: Assemble the Flower
Start by gluing or taping the smallest petals around the end of the floral wire or pipe cleaner, gradually adding larger petals as you go. Overlap the petals slightly to create a full bloom.
#### Step 5: Create the Stem
Wrap the base of the flower and the floral wire with green floral tape. This secures the petals and gives the stem a realistic appearance.
#### Step 6: Add Leaves
Cut leaf shapes from green paper and attach them to the stem with floral tape.
#### Step 7: Arrange Your Bouquet
Repeat the process to create multiple flowers. Arrange them together in a vase or tie them with a ribbon to form a bouquet.
### Tips for Customization
- Experiment with different paper textures like crepe or tissue paper for a unique look.
- Add details such as glitter, paint, or markers to enhance your flowers.
- Use different shades of green for leaves to add depth to your bouquet.
### Final Thoughts
A DIY paper bouquet is a beautiful and lasting alternative to real flowers. It’s perfect for weddings, home decor, or as a thoughtful handmade gift. Enjoy the process of creating something lovely and unique with your own hands. Happy crafting!


