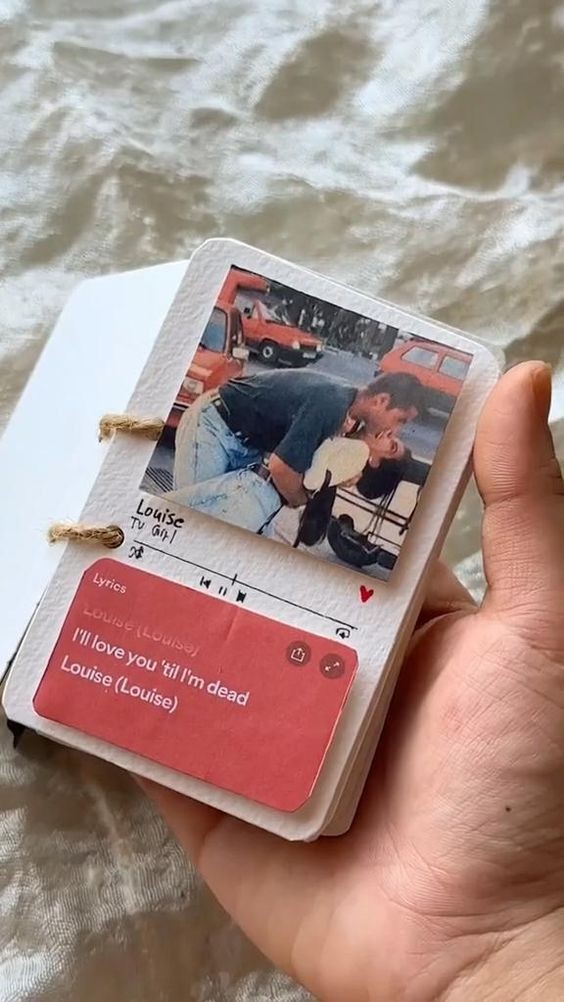
Adorable DIY Gift Idea: Personalized Photo Coasters
In a world where digital photos dominate, there's something special about tangible, personalized gifts. If you're looking for a heartfelt and adorable DIY gift idea, personalized photo coasters are a perfect choice! Not only are they practical, but they also add a personal touch that your friends and family will cherish. Follow this simple guide to create stunning photo coasters that are sure to impress.
Materials You'll Need:
Ceramic tiles (4x4 inches)
Printed photos (scaled to fit the tiles)
Mod Podge (matte or glossy finish)
Foam brush or paintbrush
Clear acrylic spray sealer
Felt pads or cork backing
Scissors
Ruler and pencil
Step-by-Step Instructions:
Step 1: Select and Prepare Your Photos
Choose your favorite photos that you know the recipient will love. These could be family pictures, pet photos, vacation snapshots, or any image that holds special meaning. Print them out on regular or photo paper and trim them to fit the size of your ceramic tiles. A 4x4 inch tile typically works well.
Step 2: Apply Mod Podge
Using a foam brush or paintbrush, apply a thin layer of Mod Podge to the surface of a ceramic tile. Carefully place the trimmed photo onto the tile, smoothing out any air bubbles or wrinkles. Ensure the photo is centered and aligned properly. Let it dry for about 15-20 minutes.
Step 3: Seal the Photo
Once the photo is securely adhered to the tile, apply another layer of Mod Podge over the top of the photo. This will seal and protect it. Allow this layer to dry for about 15-20 minutes, then apply two or three more layers, letting each layer dry completely before applying the next.
Step 4: Add a Protective Coating
After the final layer of Mod Podge is completely dry, take the coasters to a well-ventilated area and spray them with a clear acrylic sealer. This will provide a durable, waterproof finish, ensuring your coasters are both functional and long-lasting. Apply two or three coats, allowing each coat to dry according to the sealer's instructions.
Step 5: Attach the Backing
To protect your furniture from scratches, attach felt pads or cork backing to the bottom of each tile. You can find adhesive-backed felt pads or cork at most craft stores. Simply peel and stick them to the corners of each coaster.
Step 6: Wrap and Gift
Once all the components are dry and set, your personalized photo coasters are ready to be gifted! Wrap them in a decorative ribbon or place them in a cute gift box for a polished presentation.
Tips for a Professional Finish:
Ensure your tiles and work surface are clean and dust-free before starting.
Use a ruler and pencil to mark precise cuts on your photos.
Consider using black-and-white photos for a classic, timeless look.
Experiment with different finishes of Mod Podge, such as glossy or matte, to achieve your desired effect.
Personalized photo coasters are not only a thoughtful and adorable gift idea, but they also offer endless customization possibilities. Whether for a birthday, anniversary, holiday, or just because, these handmade coasters are sure to bring a smile to anyone's face. Plus, the effort and love you put into creating them will make the gift even more special. Happy crafting!


