DIY Fence: Enhancing Your Property with Creativity
A fence serves not only as a boundary marker but also as a statement piece for your property. Whether you're looking to enhance privacy, add security, or simply define your outdoor space, building a DIY fence can be a rewarding project that adds value and character to your home. Here’s a comprehensive guide to help you embark on this journey of creating your own fence.
1. Planning and Preparation
Before diving into construction, careful planning is essential:
Check Local Regulations: Ensure compliance with local zoning laws, building codes, and neighborhood regulations regarding fence height, materials, and placement.
Design Considerations: Decide on the fence style (e.g., picket, privacy, ornamental) that suits your needs and complements your home’s architecture.
Material Selection: Choose from a variety of materials such as wood, vinyl, metal, or composite based on durability, maintenance requirements, and aesthetic appeal.
2. Gathering Materials and Tools
Once you’ve settled on a design, gather the necessary materials and tools:
Materials: Fence posts, panels or pickets, concrete (for setting posts), nails/screws, hinges, and latch (for gates), and any decorative elements.
Tools: Post hole digger or auger, shovel, level, measuring tape, hammer or screwdriver, saw, and safety gear (gloves, goggles).
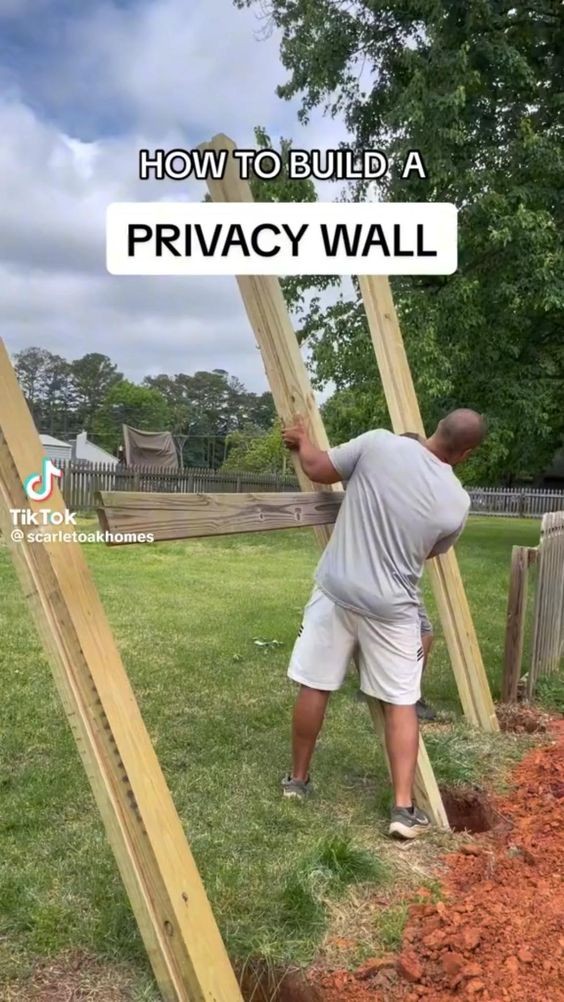
3. Installation Steps
a. Marking and Digging Post Holes:
Mark the fence line using stakes and string.
Dig post holes at regular intervals (typically 6-8 feet apart) and ensure they are deep enough according to local frost depth requirements.
b. Setting Fence Posts:
Place posts in holes, ensuring they are level and plumb.
Add concrete around posts for stability and allow it to set according to manufacturer’s instructions.
c. Attaching Panels or Pickets:
Install panels or attach pickets to posts using nails or screws, ensuring they are evenly spaced and level.
d. Installing Gates (if applicable):
Install gate posts, ensuring they are sturdy and level.
Attach hinges and latch hardware to gate posts and gate, ensuring smooth operation.
4. Finishing Touches
Staining or Painting: Apply a finish to wood fences to protect against weathering and enhance appearance.
Decorative Elements: Add finials, post caps, or lattice panels for a personalized touch.
5. Maintenance Tips
Regularly inspect and maintain your fence by checking for loose boards or panels, repainting or staining as needed, and addressing any damage promptly to prolong its lifespan.
6. Enjoying Your DIY Fence
Once your fence is complete, take pride in the accomplishment of creating a functional and aesthetically pleasing addition to your property. Whether it’s a rustic wooden fence bordering a cottage garden or a sleek modern design framing a contemporary home, your DIY fence will not only enhance privacy and security but also contribute to the overall curb appeal of your home.
By following these steps and infusing your creativity, you can build a DIY fence that not only meets your practical needs but also reflects your personal style and enhances the beauty of your outdoor space. Happy fencing