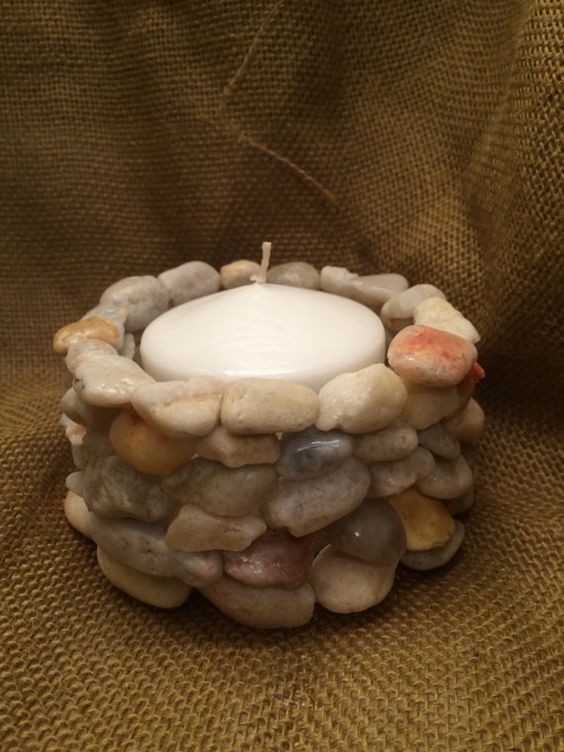
DIY Candle Stand: Enhance Your Home Decor with Creativity
Candle stands add a touch of elegance and warmth to any home decor. Creating your own DIY candle stand not only allows you to customize it to match your style but also offers a rewarding crafting experience. Whether you're a seasoned crafter or a novice, this project can be tailored to suit any skill level. Here’s how you can create your very own DIY candle stand:
Materials Needed:
Wood or Metal Base: Choose a sturdy material such as wood or metal for the base. You can repurpose items like old trays, wooden blocks, or metal stands for a unique touch.
Candle Holders: Select candle holders of varying heights and styles. These can be glass votives, metal cups, or even repurposed items like jars or glasses.
Decorative Elements: Gather decorative elements such as beads, ribbons, paint, or glitter to personalize your candle stand.
Adhesive: Use a strong adhesive suitable for your chosen materials, such as hot glue or epoxy.
Tools: Basic tools like a glue gun, scissors, paintbrushes, and protective gear if working with tools.
Steps to Create Your DIY Candle Stand:
Prepare Your Base:
Clean and prepare your chosen base material. Sand down any rough edges if necessary.
If using a wooden base, consider staining or painting it to match your decor theme. For a metal base, you can clean and polish it for a sleek look.
Attach Candle Holders:
Arrange your candle holders on the base in a pleasing layout. Experiment with different heights and placements to create visual interest.
Use the adhesive to securely attach each candle holder to the base. Allow adequate drying time as per the adhesive instructions.
Personalize Your Stand:
Once the candle holders are securely attached, it’s time to personalize your candle stand.
Add decorative elements such as beads or ribbons around the base or along the candle holders.
You can also paint or stencil designs onto the base for a more customized look.
Finishing Touches:
After decorating, inspect your candle stand for any loose ends or imperfections.
Make any necessary touch-ups and allow the stand to fully dry and set before using it.
Display Your Creation:
Once your DIY candle stand is complete and fully dried, find the perfect spot to display it in your home.
Consider placing it as a centerpiece on a dining table, mantelpiece, or even as part of a decorative vignette in a living room.
Tips for Success:
Safety First: Always follow safety guidelines when using tools and adhesives.
Experiment: Don’t be afraid to experiment with different materials and designs to create a unique candle stand.
Match Your Decor: Coordinate the colors and styles of your candle stand with your existing decor for a cohesive look.
Creating your own DIY candle stand not only adds a personal touch to your home but also allows you to unleash your creativity. Whether you prefer a rustic, modern, or eclectic style, the possibilities are endless with DIY projects like this. Enjoy the process and watch as your handmade creation becomes a beautiful addition to your living space.


