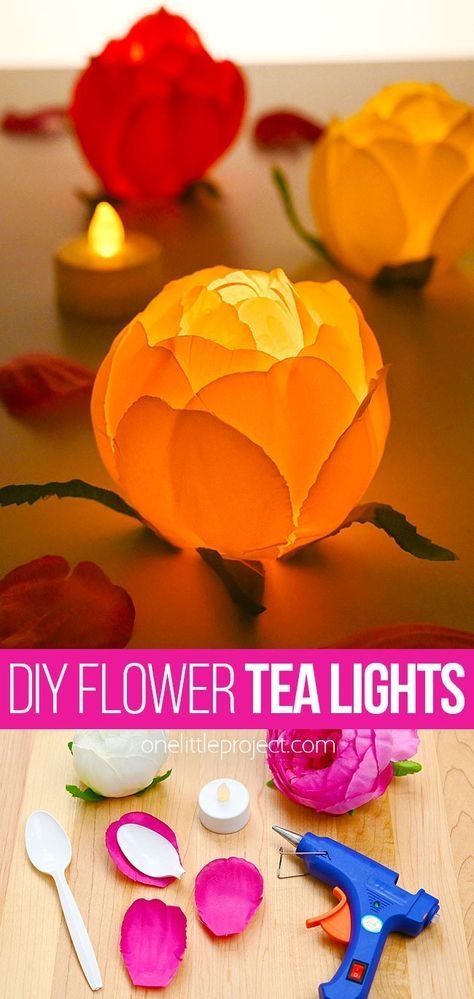
Create Your Own Flower Tealight: A Step-by-Step Guide
Transforming your living space into a cozy, inviting haven is easier than you think. One simple yet elegant way to add a touch of charm to any room is by creating your own flower tealights. These lovely, handcrafted candles not only light up your space but also serve as beautiful decorative pieces. Whether you're planning a romantic dinner, a relaxing bath, or a special event, DIY flower tealights are the perfect addition. Let's dive into how you can make these stunning creations at home.
Materials You'll Need
- Tealight candles (unscented or scented)
- Artificial or dried flowers
- Clear wax (optional)
- Candle wicks (if making candles from scratch)
- Heat-resistant containers or molds
- Double boiler or a heatproof bowl and a pot
- Tweezers
- Scissors
Step-by-Step Instructions
Step 1: Gather Your Supplies
Before you start, make sure you have all the materials you need. You can find most of these items at a craft store or online. Choose artificial or dried flowers that match your aesthetic. If you prefer a more natural look, dried flowers are an excellent choice.
Step 2: Prepare the Candles
If you're using pre-made tealight candles, you can skip to Step 4. Otherwise, follow these instructions to create your own tealight candles from scratch:
1. Melt the wax in a double boiler or a heatproof bowl over a pot of simmering water.
2. Once the wax is completely melted, carefully pour it into your heat-resistant containers or molds.
3. Place a candle wick in the center of each container or mold.
4. Allow the wax to cool and solidify completely.
Step 3: Embed the Flowers
If you're using pre-made tealights, you can still embed the flowers for a unique touch. Here's how:
1. Use tweezers to gently place the artificial or dried flowers around the wick of each tealight. Be creative with your arrangement.
2. If you want to embed the flowers within the wax, re-melt the top layer of the candle using a heat gun or by placing it in a warm oven for a few minutes.
3. Once the top layer of wax is melted, carefully press the flowers into the soft wax, ensuring they are securely embedded.
Step 4: Add a Clear Wax Layer (Optional)
For a polished finish, you can add a clear wax layer over the flowers. This step is optional but helps to seal the flowers and keep them in place.
1. Melt a small amount of clear wax in a double boiler or heatproof bowl.
2. Carefully pour the melted clear wax over the embedded flowers, covering them completely.
3. Allow the clear wax to cool and solidify.
Step 5: Trim the Wicks
Once your candles have fully cooled and solidified, trim the wicks to about 1/4 inch. This ensures a clean, even burn when you light your tealights.
Displaying Your Flower Tealights
Now that your flower tealights are ready, it's time to display them. Place them in decorative candle holders, arrange them on a tray, or scatter them around your home for a cozy, romantic ambiance. These handmade tealights also make thoughtful gifts for friends and family.
Tips and Tricks
- Safety First: Never leave burning candles unattended and keep them away from flammable materials.
- Experiment with Scents:Add essential oils to the melted wax for a delightful fragrance.
- Get Creative: Try using different types of flowers, herbs, or even small decorative items to personalize your tealights.
Creating your own flower tealights is a fun and rewarding DIY project that adds a personal touch to your home decor. Enjoy the process and the beautiful results!
#diygifts


