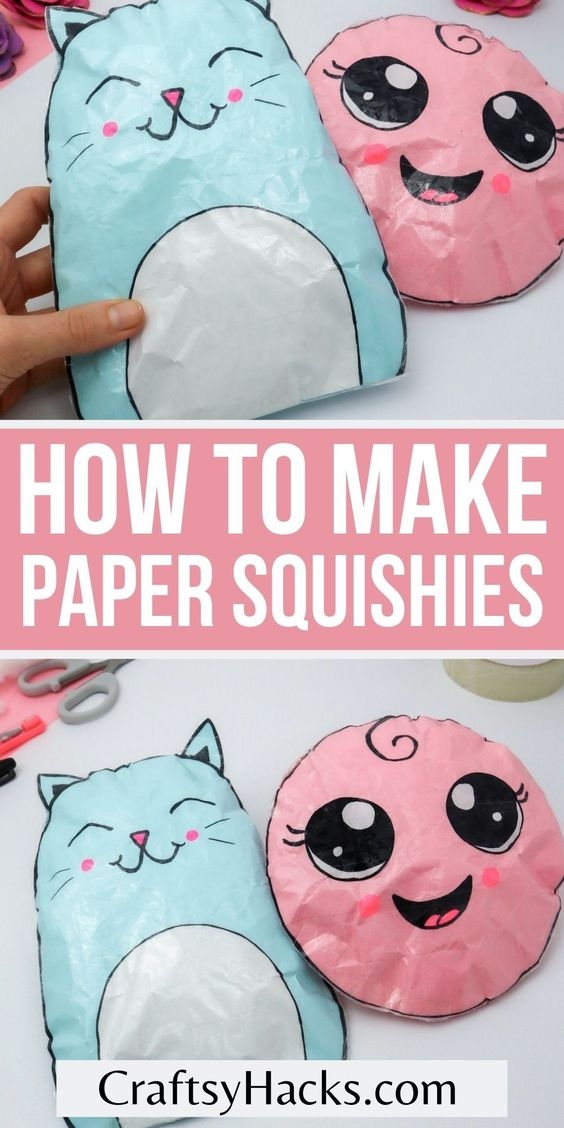
How to Make Paper Squishies: A Fun and Easy Project!
Are you looking for a creative and fun DIY project? Look no further! Making paper squishies is a delightful way to spend your time, and the best part is that it's super easy. Whether you're a kid or an adult, you'll enjoy creating these adorable, squishy toys. In this article, we'll guide you step-by-step on how to make your own paper squishies. Let's get started!
What You'll Need:
Paper (preferably cardstock or thick paper)
Markers or colored pencils
Scissors
Clear tape or packing tape
Stuffing material (cotton balls, tissue paper, or memory foam)
Optional: Stickers, glitter, or other decorative items
Step-by-Step Guide:
1. Choose Your Design:
The first step in making paper squishies is deciding what you want to create. You can make anything from cute animals to delicious-looking food items. If you're not sure where to start, try looking online for inspiration or sketching out a few ideas.
2. Draw and Color Your Design:
Once you've decided on a design, draw it on your paper. Remember, you'll need two identical shapes for each squishy – one for the front and one for the back. Use markers or colored pencils to color your design. Be creative and have fun with it!
3. Cut Out Your Shapes:
Carefully cut out the shapes you've drawn. Make sure both pieces are the same size and shape so that they align perfectly when you tape them together.
4. Tape the Edges:
Place the two shapes together with the colored sides facing out. Use clear tape to seal the edges, leaving a small opening at the top for stuffing. Make sure the tape is secure so that the stuffing doesn't come out.
5. Stuff Your Squishy:
Now, it's time to give your squishy some volume! Take your stuffing material (cotton balls, tissue paper, or memory foam) and fill the inside of your shape through the opening you left. Add enough stuffing to make it feel squishy but not too full that it bursts.
6. Seal the Opening:
Once you're happy with the amount of stuffing, seal the opening with tape. Ensure that all edges are securely taped to keep the stuffing inside.
7. Decorate (Optional):
If you want to add some extra flair to your squishy, now's the time! You can use stickers, glitter, or other decorative items to give your squishy a unique touch.
8. Squish and Enjoy:
Congratulations! You've just made your very own paper squishy. Give it a good squish and enjoy the satisfaction of your handmade creation. These squishies make great stress-relievers and can also be used as cute decorations.
Tips and Tricks:
If you want a more durable squishy, use cardstock or laminate your paper before cutting out your shapes.
Experiment with different stuffing materials to see which one gives you the best squishy feel.
Make a whole collection of squishies in different shapes and sizes for endless fun!
Making paper squishies is a fantastic way to unleash your creativity and have some hands-on fun. Plus, it's a great activity to do with friends or family. So gather your supplies and start creating your own adorable paper squishies today!
#diygifts


