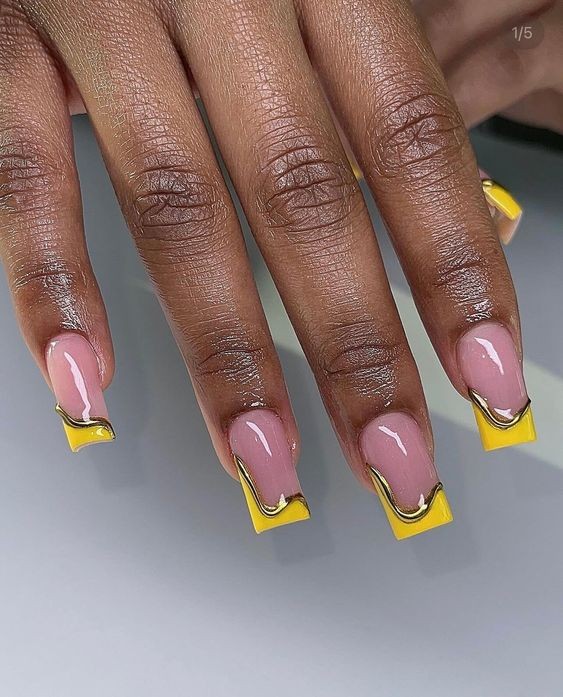
Golden Sunrise Nail Art: A Glowing Trend in Nail Design
In the ever-evolving world of nail art, certain trends capture the essence of beauty and creativity, standing out as timeless yet innovative. One such trend captivating nail enthusiasts and fashionistas alike is the Golden Sunrise nail art. This design, inspired by the warm hues and radiant glow of a sunrise, offers a stunning and sophisticated look that's perfect for any occasion.
The Inspiration Behind Golden Sunrise Nail Art
Golden Sunrise nail art draws its inspiration from the natural beauty of a sunrise, a daily spectacle that symbolizes new beginnings and endless possibilities. The gradient of warm colors—from soft pinks and peaches to vibrant oranges and yellows, culminating in shimmering gold—mimics the way the sky transforms with the rising sun. This harmonious blend of colors creates a visually striking effect that is both elegant and uplifting.
Materials and Techniques
Creating a Golden Sunrise nail design involves a combination of basic and advanced nail art techniques. Here are some of the essential materials and steps involved:
Base Coat: A clear base coat is crucial to protect the natural nails and provide a smooth canvas for the design.
Gradient Sponges: To achieve the seamless transition of colors, makeup sponges or specialized nail art sponges are used. The colors are applied to the sponge in stripes and then dabbed onto the nails.
Nail Polishes: A selection of nail polishes in sunrise hues is required. Typically, this includes a range of pinks, oranges, yellows, and golds. Shimmering or metallic polishes can add a touch of sparkle.
Top Coat: A clear top coat seals the design, enhances the shine, and prolongs the longevity of the nail art.
Nail Art Brushes: For intricate details or additional designs, fine nail art brushes are handy.
Step-by-Step Guide
Prepare the Nails: Start with clean, filed nails. Apply a base coat to each nail and let it dry completely.
Create the Gradient: Apply stripes of the chosen colors onto a sponge. Starting with the lightest color (such as a soft pink or peach), move to the deeper colors (orange and yellow), and finish with gold. Dab the sponge onto the nail, repeating until the desired gradient effect is achieved.
Add Shimmer: For an extra touch of elegance, apply a thin layer of shimmering gold polish over the gradient. This can be done with a sponge for a subtle effect or with a brush for more intensity.
Seal the Design: Once the gradient is dry, apply a clear top coat to seal the design and add a glossy finish. This also helps to smooth out any texture from the sponging technique.
Clean Up: Use a brush dipped in nail polish remover to clean any excess polish around the nails.
Variations and Personalization
One of the beauties of Golden Sunrise nail art is its versatility. Here are a few ways to personalize the design:
Accent Nails: Add glitter, rhinestones, or intricate designs on one or two accent nails for a unique touch.
Matte Finish: For a modern twist, use a matte top coat instead of a glossy one.
Seasonal Adjustments: Adjust the color palette to reflect different seasons. For example, use deeper oranges and reds for a fall-inspired look.
Conclusion
Golden Sunrise nail art is more than just a trend; it’s a celebration of nature's beauty and a way to carry a piece of that beauty with you. Whether you're a DIY enthusiast or prefer the expertise of a professional nail artist, this design offers endless possibilities for creativity and expression. Embrace the glow of the sunrise and let your nails shine with this radiant and sophisticated nail art trend.


