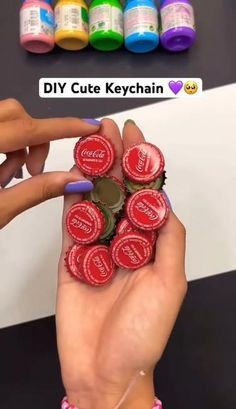
Craft Your Own Unique Keychain: A Fun DIY Guide ✦ʚ♡🌟ɞ✦
Are you looking for a creative and personalized way to keep your keys organized? Crafting your own keychain is not only a fun and rewarding DIY project, but it also allows you to create something truly unique that reflects your style. Whether you’re a seasoned crafter or a beginner, this guide will walk you through the steps to make your own keychain from scratch. Let’s get started!
Materials You’ll Need
Before diving into the crafting process, gather the following materials:
Keychain Rings: These are the metal rings that will hold your keys.
Keychain Charms: Choose from a variety of charms, such as beads, pendants, or miniatures, to personalize your keychain.
Jump Rings: These small metal rings will connect your charms to the keychain ring.
Pliers: Needle-nose pliers work best for opening and closing jump rings.
Split Rings: Optional but useful for adding an extra layer of security to your keychain charms.
Cord or Chain: For attaching charms if you prefer a more intricate design.
Glue: Strong adhesive for any small parts or embellishments.
Scissors: To trim cord or chain.
Step-by-Step Instructions
1. Plan Your Design
Start by sketching out a rough design of how you want your keychain to look. Consider the following:
Theme: Do you want a themed keychain, such as one inspired by your favorite hobby or animal?
Color Scheme: Choose colors that complement each other and fit your personal style.
Charm Selection: Decide on the charms or beads you want to use.
2. Prepare Your Charms
If you’re using beads or charms, arrange them in the order you’d like them to appear on your keychain. If you're using cord or chain, cut it to the desired length.
3. Attach Charms to the Keychain Ring
Using pliers, open a jump ring and thread it through the hole in your charm. Close the jump ring securely by pinching it shut with the pliers. Attach the jump ring to the keychain ring. If you’re using split rings, thread your charm onto the split ring before attaching it to the keychain ring.
4. Assemble the Keychain
If you’re using cord or chain, thread your charms onto it before attaching the other end to the keychain ring. Make sure everything is securely fastened, and the charms are positioned as desired.
5. Secure Any Loose Ends
If you’ve used glue for any part of your design, let it dry completely before using your keychain. Trim any excess cord or chain with scissors, and make sure everything is neatly finished.
6. Test and Adjust
Once your keychain is assembled, test it to ensure that all charms are secure and the keychain functions properly. Make any necessary adjustments to ensure that your keychain is both functional and aesthetically pleasing.
Tips and Tricks
Personalization: Add small photos or initials to make your keychain even more personal. You can use resin to encase small pictures or initials.
Durability: If you’re concerned about wear and tear, consider adding a protective coating or sealant to your keychain.
Gift Idea: DIY keychains make fantastic, personalized gifts. Customize them for friends and family to create thoughtful presents.
Conclusion
Creating your own keychain is a fantastic way to express your creativity and make something uniquely yours. With just a few materials and some imagination, you can craft a stylish and functional accessory that will keep your keys safe and easy to find. So grab your supplies, let your creativity flow, and enjoy the process of making your own custom keychain! 🌟


