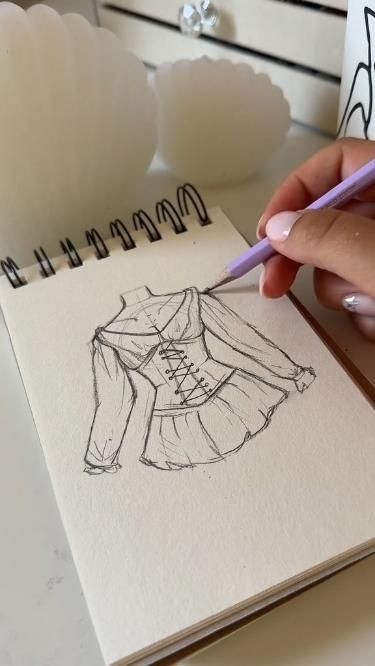
Creating a beautiful dress drawing can be a rewarding and creative process, whether you’re an aspiring fashion designer or simply enjoy sketching. This tutorial will guide you through the steps of drawing a dress, providing tips on capturing fabric flow, designing details, and adding color and texture to bring your dress to life. Here’s a step-by-step guide to help you create a stunning dress illustration.
Step 1: Gather Your Materials
Before you begin, make sure you have all the necessary materials:
Sketchbook or drawing paper
Pencils (ranging from 2H for light lines to 6B for dark shading)
Eraser
Ruler
Colored pencils or markers (optional)
Reference images for inspiration
Step 2: Create a Basic Outline
Draw the Figure:
Start by sketching the outline of a human figure, which will serve as the base for your dress. You can use a croquis, a fashion sketch template, to ensure correct proportions. If you’re drawing from scratch, sketch a vertical line to guide the symmetry, then draw an oval for the head and lines for the shoulders, torso, and legs.
Define the Pose:
Decide on the pose of your model. Will she be standing straight, walking, or in a dynamic position? The pose will affect the way the dress falls and moves. Lightly sketch the arms and legs in the desired position.
Step 3: Design the Dress
Choose a Style:
Decide on the style of dress you want to draw. Will it be a flowing evening gown, a sleek cocktail dress, or a casual summer dress? Consider the silhouette and length.
Sketch the Dress Shape:
Begin drawing the outline of the dress over your figure. Use light lines to explore different shapes. Focus on the neckline, sleeves, waist, and hemline. Consider how the dress interacts with the figure’s pose.
Add Details:
Once you’re satisfied with the basic shape, add details such as seams, darts, pleats, and embellishments. Consider the fabric type and how it affects the dress's structure. Add elements like buttons, zippers, or pockets if desired.
Step 4: Capture the Fabric Flow
Study Fabric Movement:
Pay attention to how fabric drapes and folds. Fabrics like silk and chiffon have a smooth flow, while materials like cotton and denim are stiffer. Observe reference images to understand how different fabrics behave.
Draw the Folds:
Sketch the folds and creases in the fabric to add realism. Use curved lines to depict the flow and direction of the fabric. Areas near the waist, elbows, and knees often have more folds.
Emphasize the Movement:
If the dress is in motion, use sweeping lines to suggest movement. Consider how the fabric sways with the model's movement, adding a dynamic element to your illustration.
Step 5: Add Texture and Shading
Create Depth with Shading:
Use your pencils to add shading and create a sense of depth. Determine your light source and shade accordingly, adding darker tones where the fabric folds or overlaps.
Use Textures:
Add texture to suggest different fabrics. For instance, use cross-hatching for a woolen look or smooth shading for silk. Experiment with different pencil strokes to achieve the desired effect.
Highlight with Erasers:
Use an eraser to create highlights on the dress. This will enhance the illusion of light hitting the fabric, adding dimension to your drawing.
Step 6: Incorporate Color
Select a Color Palette:
Choose colors that complement your dress design. You can keep it monochromatic or add pops of color for a vibrant look. Use colored pencils or markers to bring your dress to life.
Layer the Colors:
Start with a base layer of color and gradually build up the tones for a richer appearance. Blend colors for smooth transitions, especially if you’re depicting a gradient or ombre effect.
Add Finishing Touches:
Enhance details with finer lines and accents. Consider adding accessories like belts, scarves, or jewelry to complete the look.
Step 7: Review and Refine
Check Proportions:
Step back and review your drawing to ensure the proportions are accurate and the dress flows naturally with the figure.
Make Adjustments:
Make any necessary adjustments to improve the overall composition and balance of your illustration. Use your eraser to refine edges and clean up stray marks.
Finalize the Drawing:
Once you’re satisfied with your dress drawing, consider signing and dating your artwork. Take a moment to appreciate your creative process and the final result.
Conclusion
Drawing a dress involves creativity, observation, and practice. By understanding fabric behavior, mastering proportions, and adding personal flair, you can create stunning dress illustrations. Whether for fashion design or personal enjoyment, these steps will help you develop your skills and express your artistic vision. Keep practicing, experimenting with new styles and techniques, and most importantly, have fun with your art!


