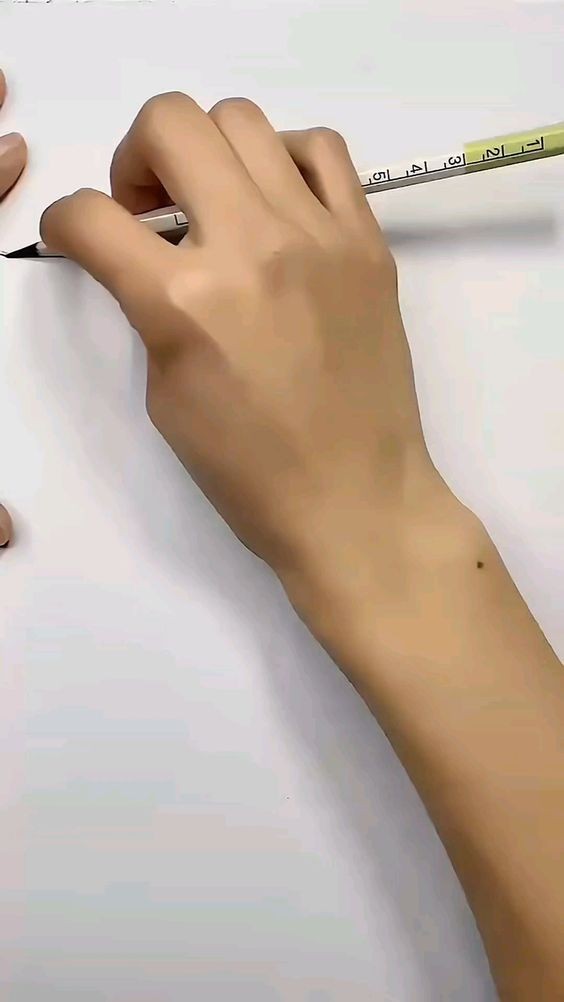
Creating stunning pencil art might seem daunting at first, but with a simple and easy-to-follow tutorial, anyone can start making impressive drawings. Whether you're a beginner or someone looking to refine your skills, this guide will walk you through the basics of pencil art and help you get started with your own creations.
Materials You Will Need
Before you begin your pencil art journey, make sure you have the following materials:
Pencils: Start with a range of pencils from 2H to 8B. The H pencils are harder and lighter, while the B pencils are softer and darker.
Paper: Choose a high-quality sketching paper that can handle various shading techniques.
Eraser: A kneaded eraser is great for subtle erasing and creating highlights.
Blending Stumps or Tissues: These are used for blending and smoothing out the pencil marks.
Sharpener: Keep your pencils sharp for fine details.
Step-by-Step Tutorial
Step 1: Sketch the Basic Outline
Start with light pencil strokes to sketch the basic outline of your subject. If you’re drawing a portrait, focus on the overall shape of the head and facial features. For landscapes, map out the horizon line and main elements.
Use a 2H or HB pencil to keep the lines light and easy to erase if needed.
Avoid pressing too hard to maintain flexibility for adjustments.
Step 2: Add Details and Define Shapes
Once you have the basic outline, begin adding details. Pay attention to the proportions and positions of various elements within your drawing.
Switch to a slightly softer pencil, such as a B or 2B, to start defining shapes.
Use light strokes to build up the details gradually.
Step 3: Shading
Shading adds depth and dimension to your drawing. It’s essential to understand the light source and how it affects the subject.
Identify where the light is coming from and shade the opposite side.
Use a 4B or 6B pencil for darker areas and a 2H or HB pencil for lighter areas.
Apply different pressure levels to create a range of tones from light to dark.
Step 4: Blending
Blending smooths out the pencil strokes and creates a more realistic appearance.
Use a blending stump or tissue to softly blend the shaded areas.
Avoid blending too much in the highlight areas to maintain contrast.
Step 5: Highlighting
Adding highlights can make your drawing pop and appear more lifelike.
Use a kneaded eraser to lift graphite and create highlights where the light hits the subject.
Be subtle with highlights to keep them looking natural.
Step 6: Final Touches
Take a step back and review your artwork. Look for areas that may need more contrast or refinement.
Darken lines where necessary to make features stand out.
Refine edges and details to enhance clarity.
Tips for Improving Your Pencil Art
Practice Regularly: Like any skill, practice is crucial. Try to sketch daily to build muscle memory and improve your techniques.
Study Anatomy and Proportions: Understanding the basics of anatomy and proportions can significantly improve your ability to draw realistic figures.
Experiment with Styles: Don’t be afraid to try different styles and techniques to find what works best for you.
Learn from Others: Watch tutorials and learn from other artists to gain new insights and inspiration.
Conclusion
Creating pencil art is a rewarding and accessible hobby that allows you to express your creativity. With the right materials and techniques, you can produce impressive artwork that reflects your unique style. Remember, art is a personal journey, so enjoy the process and keep experimenting with new ideas and methods. Happy drawing!


