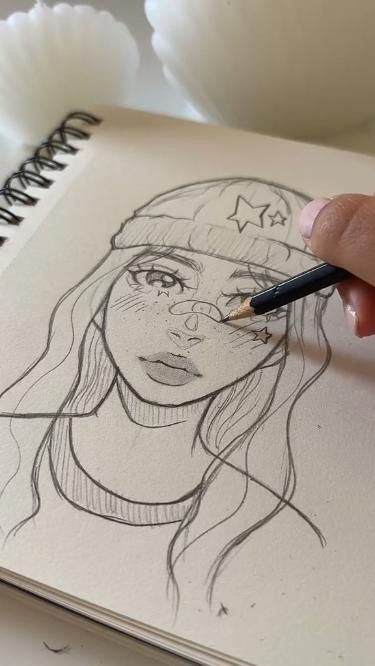
Draw a Face: A Quick Art Tutorial
Drawing faces is a fundamental skill in art that can initially seem challenging but becomes manageable with practice. This tutorial is designed to help you draw a face quickly by breaking down the process into simple steps. Whether you’re a beginner or just looking to refine your skills, this guide will help you achieve a solid representation of a face with minimal effort.
1. Gather Your Materials
Before you begin, ensure you have the following materials:
Pencil and eraser
Paper (any type will do)
Fine-tipped pen (optional, for outlining)
Reference image (optional, for better accuracy)
2. Start with Basic Shapes
Begin by sketching a simple oval for the head. This doesn’t need to be perfect; it’s just a guideline. Draw a vertical line down the middle of the oval, and then add a horizontal line halfway down the oval. This horizontal line will help place the eyes later on.
3. Place the Facial Features
Eyes: Draw two almond shapes on the horizontal line, evenly spaced on either side of the vertical line. The width of one eye should roughly fit between the two eyes. The space between the eyes is about the width of one eye.
Nose: Position the nose along the vertical line, halfway between the horizontal eye line and the bottom of the oval. Start with a simple line or small shape to mark the nose’s base, then add nostrils and refine the shape.
Mouth: Draw the mouth slightly below the nose. Position it such that the corners of the mouth align with the pupils of the eyes. Draw a gentle curve for the upper lip and a wider curve for the lower lip. Adjust the width and shape according to the expression you want to convey.
Ears: Add the ears on either side of the head. The top of the ear should be roughly aligned with the eyes, and the bottom should align with the bottom of the nose.
4. Add Details and Refine
Now that you have the basic placement of features, add details:
Eyes: Draw the pupils, add eyelids, and detail the iris. The eyes should have a natural curve and include highlights for realism.
Nose: Refine the nose shape by adding shading or lines to indicate the bridge and nostrils.
Mouth: Add detail to the lips, such as lines for texture and shading to give them depth.
5. Outline and Final Touches
If you’re using a pen, carefully outline the features you’ve drawn. For pencil sketches, you can use a darker pencil or add shading to bring depth and dimension. Erase any unnecessary lines and refine the details as needed.
6. Shading and Depth
Add shading to give the face more depth and realism:
Light Source: Determine where the light is coming from and shade the opposite side of the face accordingly.
Shadows: Add subtle shadows under the chin, around the nose, and under the eyes to create a three-dimensional effect.
Blending: Use a blending tool or your fingers to smooth out shadows and create a natural look.
7. Practice and Experiment
Drawing faces takes practice, so don’t be discouraged if your first attempts aren’t perfect. Experiment with different expressions, angles, and styles to develop your unique approach.
Conclusion
Drawing a face can be simplified into manageable steps, making it an accessible and rewarding skill. With this quick tutorial, you’ve learned the basics of facial proportions and detailing. Keep practicing, and soon enough, you’ll be able to draw faces with confidence and ease.


