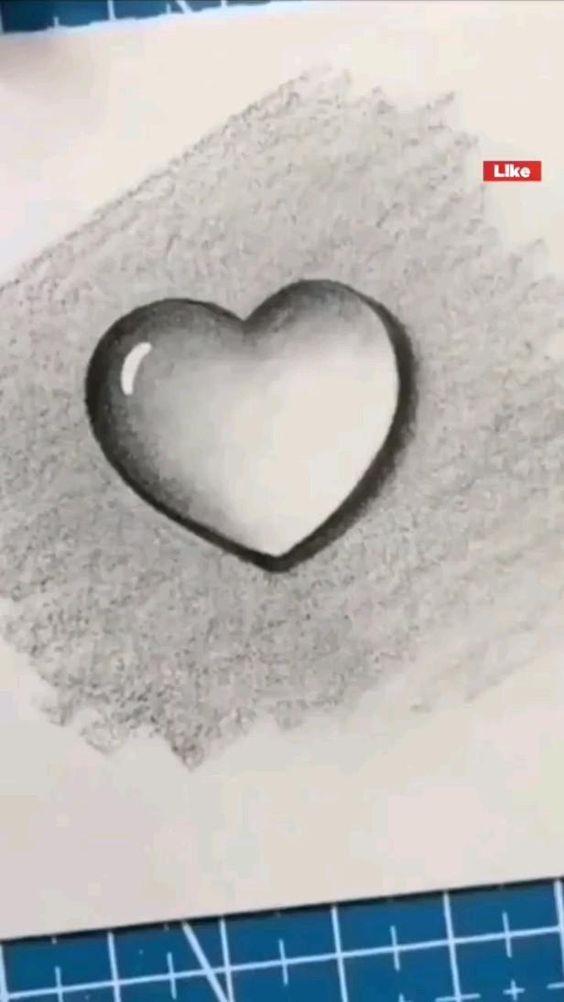
Mastering the Art of Realistic Heart Drawing
Drawing a realistic heart can be an intriguing challenge, combining anatomical accuracy with artistic flair. Whether you're aiming to create a medical illustration or a symbolic piece of art, understanding the structure and appearance of the heart is crucial. Here’s a guide to help you draw a realistic heart quickly and effectively.
1. Understanding the Anatomy
Before you put pencil to paper, it's essential to understand the heart's anatomy. The human heart is a complex organ with four chambers: two atria and two ventricles. It also has major blood vessels— the aorta, the pulmonary arteries, and the vena cava— that connect it to the rest of the body.
Atria: The upper chambers that receive blood.
Ventricles: The lower chambers that pump blood out of the heart.
Valves: The heart has four valves (tricuspid, pulmonary, mitral, and aortic) that control blood flow.
2. Gathering References
Use anatomical diagrams and medical illustrations as references. They provide detailed depictions of the heart's structure, which can be invaluable in achieving realism. Online resources, textbooks, or even 3D models can be helpful.
3. Sketching the Basic Shapes
Start with a light pencil sketch to outline the basic shapes:
Draw an Oval: This will form the general shape of the heart.
Divide into Sections: Draw a vertical line down the center and horizontal lines to mark the division of the heart into chambers.
Add the Blood Vessels: Sketch the major blood vessels connected to the heart.
4. Defining the Heart’s Structure
Refine your sketch by defining the major features:
Outline the Chambers: Draw the atria and ventricles with accurate proportions.
Include the Valves: Sketch the positions of the heart valves and ensure they align with the correct chambers.
Add Details: Incorporate the texture of the heart’s surface and the vessels’ curvature.
5. Adding Shading and Texture
To create a realistic effect, shading is crucial:
Light Source: Decide on a light source direction. This will help you create consistent shadows and highlights.
Shading the Chambers: Use a variety of pencil grades to add depth. Darken areas where shadows naturally fall and lighten where highlights occur.
Textural Details: Add texture to indicate the heart’s muscle fibers and the surface of the blood vessels.
6. Final Touches
Refine the Lines: Go over the lines with a sharper pencil or ink to enhance clarity.
Eraser Work: Use an eraser to lighten any areas that need highlighting or to clean up stray marks.
Add Details: Include any final details such as the veins’ branches or small textural variations to increase realism.
7. Review and Adjust
Take a step back and review your drawing. Compare it with your references and make adjustments as needed. This final review is crucial for ensuring accuracy and achieving a polished result.
Conclusion
Drawing a realistic heart involves a combination of anatomical knowledge and artistic skill. By understanding the heart's structure, using references, and applying detailed shading techniques, you can create a drawing that is both accurate and visually compelling. Practice regularly, and you’ll find yourself improving with each attempt.


