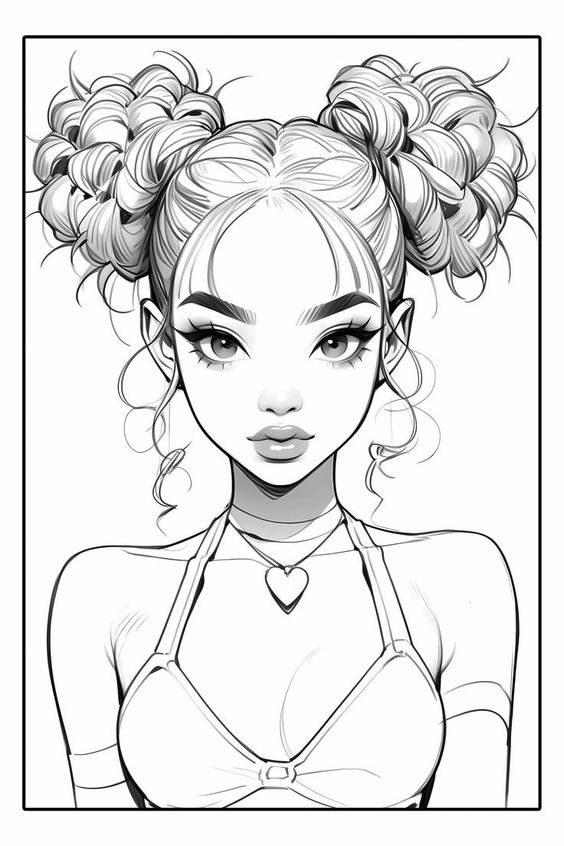
How to Draw a Beautiful and Easy Girl's Face: A Step-by-Step Guide
Drawing a girl’s face might seem challenging at first, but with the right approach, it becomes an enjoyable and rewarding experience. This guide will walk you through the process step-by-step, making it easy for beginners and fun for those with more experience.
Materials You’ll Need:
Pencil (HB for sketching, 2B or 4B for shading)
Eraser
Paper
Optional: Colored pencils or markers for adding color
Step 1: Basic Outline of the Face
Start by drawing an oval shape, which will serve as the basic structure of the face. This shape doesn’t have to be perfect; it’s just a guide. Draw a vertical line down the middle of the oval. This line will help you keep the facial features symmetrical. Then, draw a horizontal line slightly below the middle of the oval—this will be your eye line.
Step 2: Placing the Eyes
On the horizontal line, draw two almond-shaped eyes. The eyes should be spaced about one eye-width apart. If you're unsure about the proportions, imagine the face is divided into five equal parts horizontally—the eyes should occupy the second and fourth parts. Draw a small circle within each eye to represent the pupils, and add a slight curve above each eye for the eyelids.
Step 3: Drawing the Nose
Move down the vertical line to about halfway between the eye line and the bottom of the oval. This is where you’ll place the nose. Start with a simple curve or a small triangle shape for the nose tip. Then, draw two small curves on either side to represent the nostrils. For a more refined look, you can add a gentle curve to outline the bridge of the nose.
Step 4: Adding the Lips
To draw the lips, find the point on the vertical line that is about a third of the way down from the nose to the chin. This will be where the center of the lips meets. Draw a horizontal line at this point. Start with the upper lip by drawing a curved “M” shape on top of this line. For the lower lip, draw a simple curve beneath the line. The lower lip should be fuller than the upper lip.
Step 5: Shaping the Face
Now, refine the shape of the face. Add slight curves to the sides of the oval to define the cheeks and jawline. The cheeks should be widest just below the eyes, tapering down to a more pointed chin.
Step 6: Drawing the Ears
The top of the ears should align with the eye line, while the bottom of the ears should align with the bottom of the nose. Draw simple, curved lines on each side of the face to create the ears. If your character has long hair that covers the ears, this step can be simplified or skipped.
Step 7: Adding the Hair
Hair can drastically change the character’s appearance. Start by sketching the hairline, which typically begins slightly above the eyes. Then, draw the hair in sections, following the natural flow of hair. You can create a variety of hairstyles—long, short, straight, curly—depending on the look you want. Remember that hair has volume, so draw it slightly above the head.
Step 8: Final Details and Shading
Now, go back and add details to the eyes, such as eyelashes and reflections in the pupils. Add eyebrows above the eyes, keeping their shape consistent with the expression you want to convey. For shading, use a softer pencil like 2B or 4B to add depth to the eyes, nose, lips, and hair. Gently shade under the eyebrows, along the sides of the nose, and beneath the lower lip to give the face more dimension.
Step 9: Coloring (Optional)
If you want to add color, now’s the time. Lightly color the skin with a soft peach or pink shade, the eyes with your chosen color, and the lips with a light red or pink. Use different shades for the hair to add texture and shine.
Final Thoughts
With practice, these steps will become second nature, and you’ll be able to draw beautiful and diverse faces with ease. The key is to start with basic shapes and slowly refine your drawing by adding details. Don’t be afraid to experiment with different styles, expressions, and hairdos.


