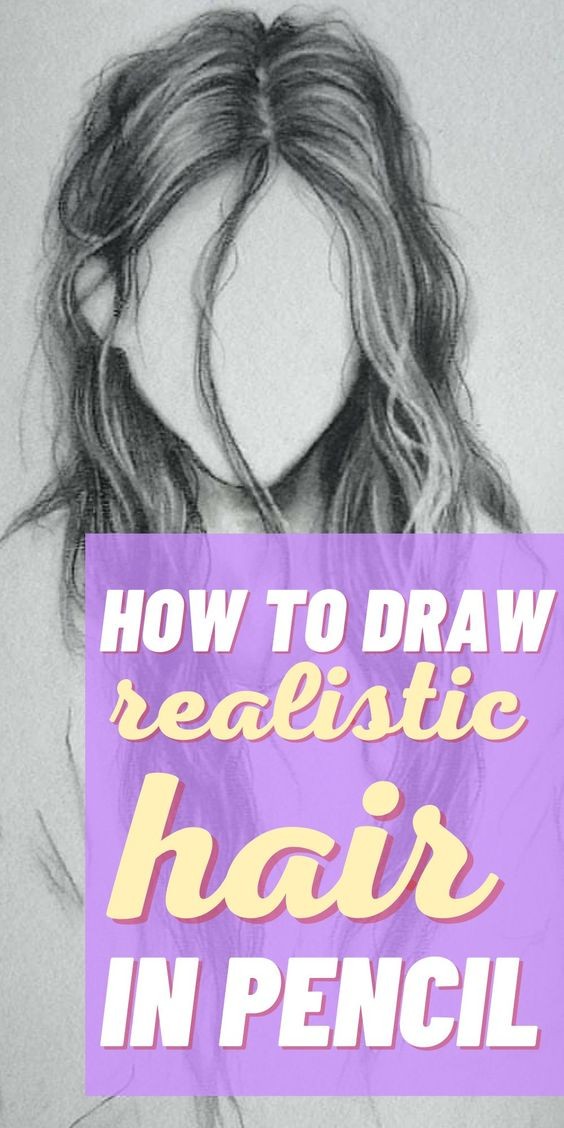
How to Draw Hair: Easy-to-Follow Instructions for Realistic Pencil Drawings
Drawing hair can be a challenge, but with a few tips and techniques, you can create realistic and detailed hair using just a pencil. Here’s a step-by-step guide to help you master drawing hair with ease.
1. Understand Hair Structure
Before you start drawing, it’s crucial to understand the structure of hair. Hair consists of individual strands that flow in various directions. These strands are grouped into clumps and layers, creating texture and volume. Hair also has a natural flow and direction that follows the shape of the scalp or head.
2. Start with a Basic Sketch
Begin by sketching the outline of the head and the hairline. Lightly draw the general shape of the hair, focusing on the overall flow and direction. Use simple lines to indicate where the hair will fall and how it will frame the face. Don’t worry about details at this stage; the goal is to establish the structure and layout.
3. Determine Light Source and Shadows
Decide where your light source is coming from. This will help you determine where to place highlights and shadows. The light will typically hit the top and sides of the hair, while the areas underneath and away from the light source will be darker. This contrast will give your drawing depth and realism.
4. Draw the Hair Strands
Start adding details by drawing individual hair strands. Use long, flowing strokes to mimic the natural movement of hair. Vary the length and direction of the strokes to create a more realistic effect. For a more detailed approach, you can use a finer pencil to draw each strand with precision.
5. Create Texture and Volume
To add texture and volume, layer your pencil strokes. Begin with lighter strokes to build up the base and then use darker strokes to add depth and shadow. Pay attention to the direction of the strokes to maintain a natural flow. Use an eraser to lift some pencil marks and create highlights where the light hits the hair.
6. Refine the Details
Once you have the basic texture and volume, go over the drawing to refine the details. Smooth out any harsh lines and blend areas to create a more natural look. Use a blending stump or your fingers to gently blend the pencil marks for a softer appearance.
7. Add Final Touches
Finally, add any final touches to enhance the realism of your drawing. Darken the shadows where necessary and brighten the highlights to give the hair a polished look. Make sure the edges of the hair blend seamlessly with the rest of the drawing to create a cohesive image.
Tips for Realistic Hair Drawing
Use reference images: Study photographs or other drawings of hair to understand different textures and styles.
Practice different hair types: Experiment with various hair types and styles to improve your skills and versatility.
Be patient: Drawing realistic hair takes time and practice. Don’t be discouraged if it doesn’t look perfect on your first try.
With these steps and tips, you should be able to create realistic pencil drawings of hair with confidence. Keep practicing, and soon you’ll be able to draw hair that looks both natural and expressive.