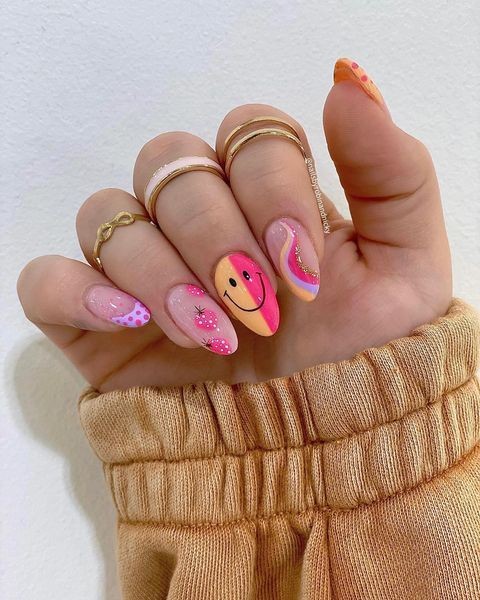
Comic-Themed Nail Polish Wraps – Fun & Vibrant Designs.
Unleash your inner superhero with “Comic-Themed Nail Polish Wraps – Fun & Vibrant Designs”! These eye-catching nail wraps bring the excitement and energy of comic book art to your fingertips, offering a playful and dynamic look that’s perfect for anyone who loves bold, graphic designs. With their vibrant colors and unique patterns, these wraps are a fantastic way to add some fun to your manicure routine.
Why Choose Comic-Themed Nail Polish Wraps?
Comic-themed nail polish wraps are the ultimate choice for those who want to make a statement with their nails. Combining the convenience of nail wraps with the excitement of comic book aesthetics, these wraps offer a perfect blend of style and ease. Ideal for adding a touch of personality to your look, these wraps are perfect for both casual days and special occasions.
Key Features of Comic-Themed Nail Polish Wraps
Bold and Vibrant Designs – Featuring comic-inspired patterns and bright colors, these nail wraps offer a fun and energetic look that’s sure to turn heads. From dramatic action scenes to playful graphics, there’s a design to match every mood.
Easy Application – Applying these nail wraps is simple and hassle-free. Just apply the wraps to clean, dry nails, smooth out any wrinkles, and trim to fit. It’s a quick way to achieve a standout manicure without the need for complicated nail art techniques.
Long-Lasting Wear – These wraps are designed to stay put, offering a durable and chip-resistant manicure that can last for days. Enjoy vibrant and fresh-looking nails without the need for frequent touch-ups.
Convenient and Mess-Free – Unlike traditional nail polish, nail wraps don’t require drying time or cleanup. Simply apply, smooth, and you’re ready to go, making them a great option for busy lifestyles.
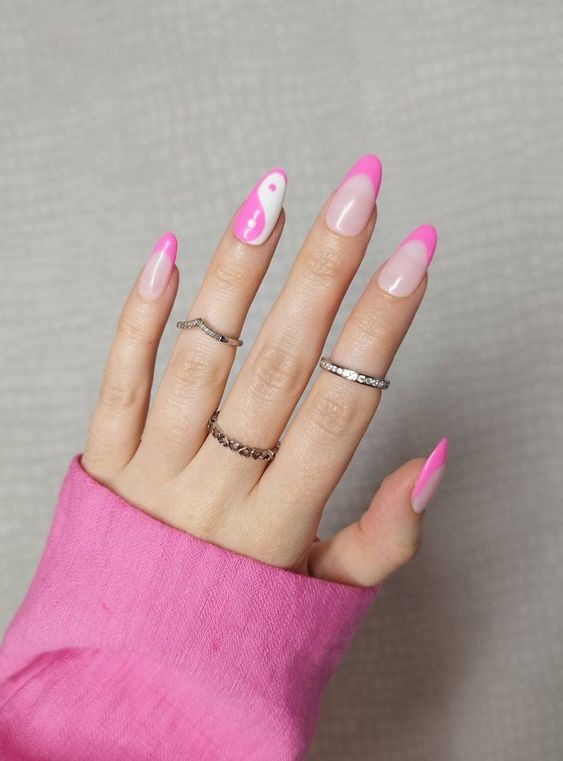
Variety of Designs – Choose from a range of comic-themed designs that suit your style. Whether you’re into classic superhero motifs or quirky comic strip elements, there’s a wrap for you.
How to Apply Comic-Themed Nail Polish Wraps
Prepare Your Nails – Start by cleaning and filing your nails. Make sure they are dry and free from any oils or residues to ensure the wraps adhere properly.
Select Your Wraps – Choose the wraps that best fit the size and shape of your nails. Each set includes various sizes to accommodate different nail shapes.
Apply the Wraps – Carefully peel off the wraps and apply them to your nails. Smooth out any bubbles or wrinkles with a nail file or cuticle stick.
Trim and Seal – Trim any excess wrap from the edges of your nails. For added durability, you can seal the wraps with a clear topcoat.
Enjoy Your Look – Once applied, admire your new comic-themed manicure! These wraps offer a fun and unique way to express your personality.
Conclusion
“Comic-Themed Nail Polish Wraps – Fun & Vibrant Designs” offer an exciting and stylish way to enhance your manicure. With their bold designs, easy application, and long-lasting wear, these wraps are perfect for adding a playful touch to your look. Embrace the fun of comic book art and enjoy a vibrant, eye-catching manicure that stands out!
#nailwraps #comicnails #nailart #naildesign #graphicnails #funnails #vibrantnails #diynails #nailtrends #nailstyle #manicureinspiration