Stunning Floral Pin Designs: A Blooming Trend in Fashion
Floral pins have blossomed into a prominent trend in fashion, combining the beauty of nature with the creativity of artisans. These intricate accessories can transform any outfit, adding a touch of elegance and a splash of color. From delicate, handcrafted petals to bold, modern interpretations, floral pin designs cater to diverse tastes and styles. Let's explore the allure and variety of stunning floral pins and their impact on the fashion scene.
The Timeless Appeal of Floral Pins
Flowers have long been symbols of beauty, love, and renewal. Incorporating these elements into jewelry and accessories allows wearers to carry a piece of nature's splendor wherever they go. Floral pins, in particular, have a rich history, dating back to ancient civilizations where they were used to signify status and adorn clothing.
In modern times, floral pins have evolved into versatile fashion statements. They can be pinned to lapels, hats, bags, and scarves, offering endless possibilities for personal expression. The timeless appeal of floral designs ensures that these pins remain a cherished accessory across generations.
Craftsmanship and Creativity
The craftsmanship involved in creating floral pins is nothing short of remarkable. Artisans use various materials such as metals, enamel, gemstones, and fabrics to bring their designs to life. Each pin is a testament to the skill and creativity of the designer, often featuring intricate details that mimic the delicate structure of real flowers.
Handcrafted Elegance: Handcrafted floral pins stand out for their attention to detail and uniqueness. Artisans often use techniques like hand-painting, wirework, and beading to create lifelike petals and leaves. These pins are perfect for those who appreciate artisanal craftsmanship and one-of-a-kind pieces.
Vintage Charm: Vintage floral pins exude a sense of nostalgia and charm. Often made from materials like brass, gold, and rhinestones, these pins feature classic designs that harken back to the glamour of bygone eras. Collectors and fashion enthusiasts alike treasure these timeless accessories.
Modern Minimalism: Contemporary designers are reinterpreting floral pins with a modern twist. Sleek, minimalist designs use clean lines and bold colors to create striking accessories. These pins are ideal for those who prefer a more understated yet impactful look.
Popular Floral Pin Designs
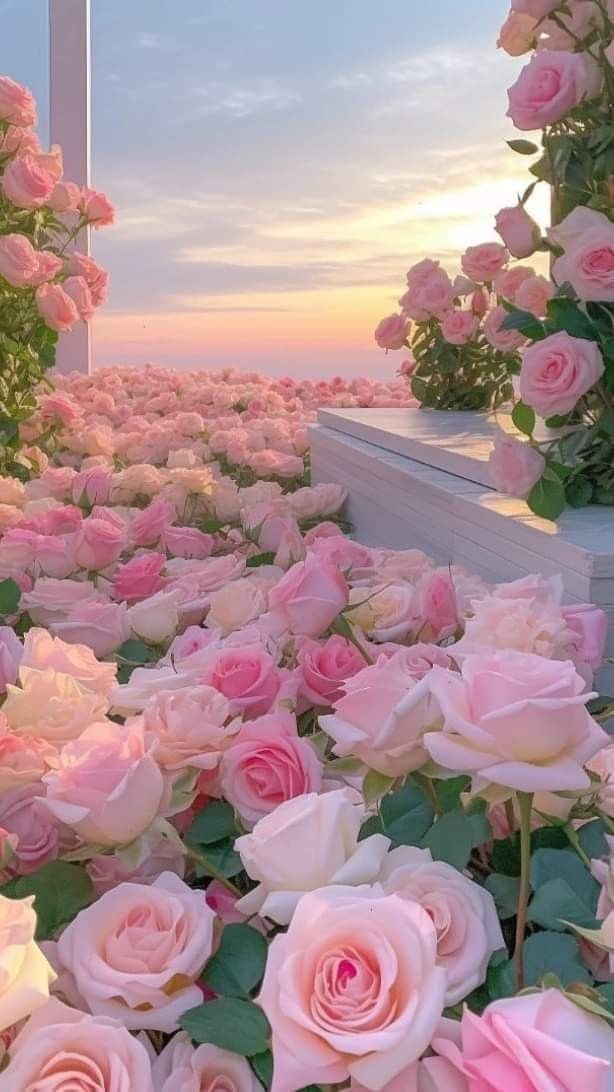
Rose Pins: Roses symbolize love and passion, making rose pins a popular choice. Whether crafted from metal, enamel, or fabric, these pins add a romantic touch to any outfit.
Daisy Pins: Daisies represent innocence and purity. Daisy pins, often featuring bright colors and simple designs, are perfect for a cheerful and youthful look.
Lotus Pins: The lotus flower, symbolizing purity and enlightenment, is a favorite in many cultures. Lotus pins often incorporate intricate detailing and vibrant colors, making them a standout accessory.
Orchid Pins: Known for their exotic beauty, orchids are a symbol of luxury and sophistication. Orchid pins are often made with high-quality materials and exquisite craftsmanship, reflecting the flower's elegance.
Cherry Blossom Pins: Cherry blossoms are a symbol of renewal and the fleeting nature of life. Cherry blossom pins, with their delicate pink petals, are a lovely addition to any spring wardrobe.
How to Style Floral Pins
Floral pins are incredibly versatile and can be styled in various ways to suit different occasions:
Formal Attire: Pin a sophisticated floral design to the lapel of a blazer or coat for an elegant touch at formal events or business meetings.
Casual Wear: Add a playful floral pin to a denim jacket or a casual dress to elevate your everyday look.
Accessories: Attach a floral pin to a hat, bag, or scarf for a unique and personalized accessory.
Special Occasions: Floral pins are perfect for weddings, garden parties, and other special occasions. Choose a design that complements your outfit and adds a touch of charm.
Conclusion
Floral pins are more than just accessories; they are wearable works of art that celebrate the beauty of nature. Whether you prefer classic, vintage designs or modern, minimalist styles, there is a floral pin to suit every taste. As this trend continues to flourish, floral pins will undoubtedly remain a beloved and timeless addition to the world of fashion. So, pin on a flower and let your style bloom!