Mi piace
Commento
Condividi


Citra 100mg is a perfect opioid, aids in pain relief faster than other medications. If used correctly, the drug can also improve your overall health. The medication does not repair the injury; instead, it acts on the brain to make you feel better. Buy Citra 100mg online works by lowering pain rather than curing the injury.
Visit Here : https://www.blinkhealth.us/pro....duct/citra-tramadol-
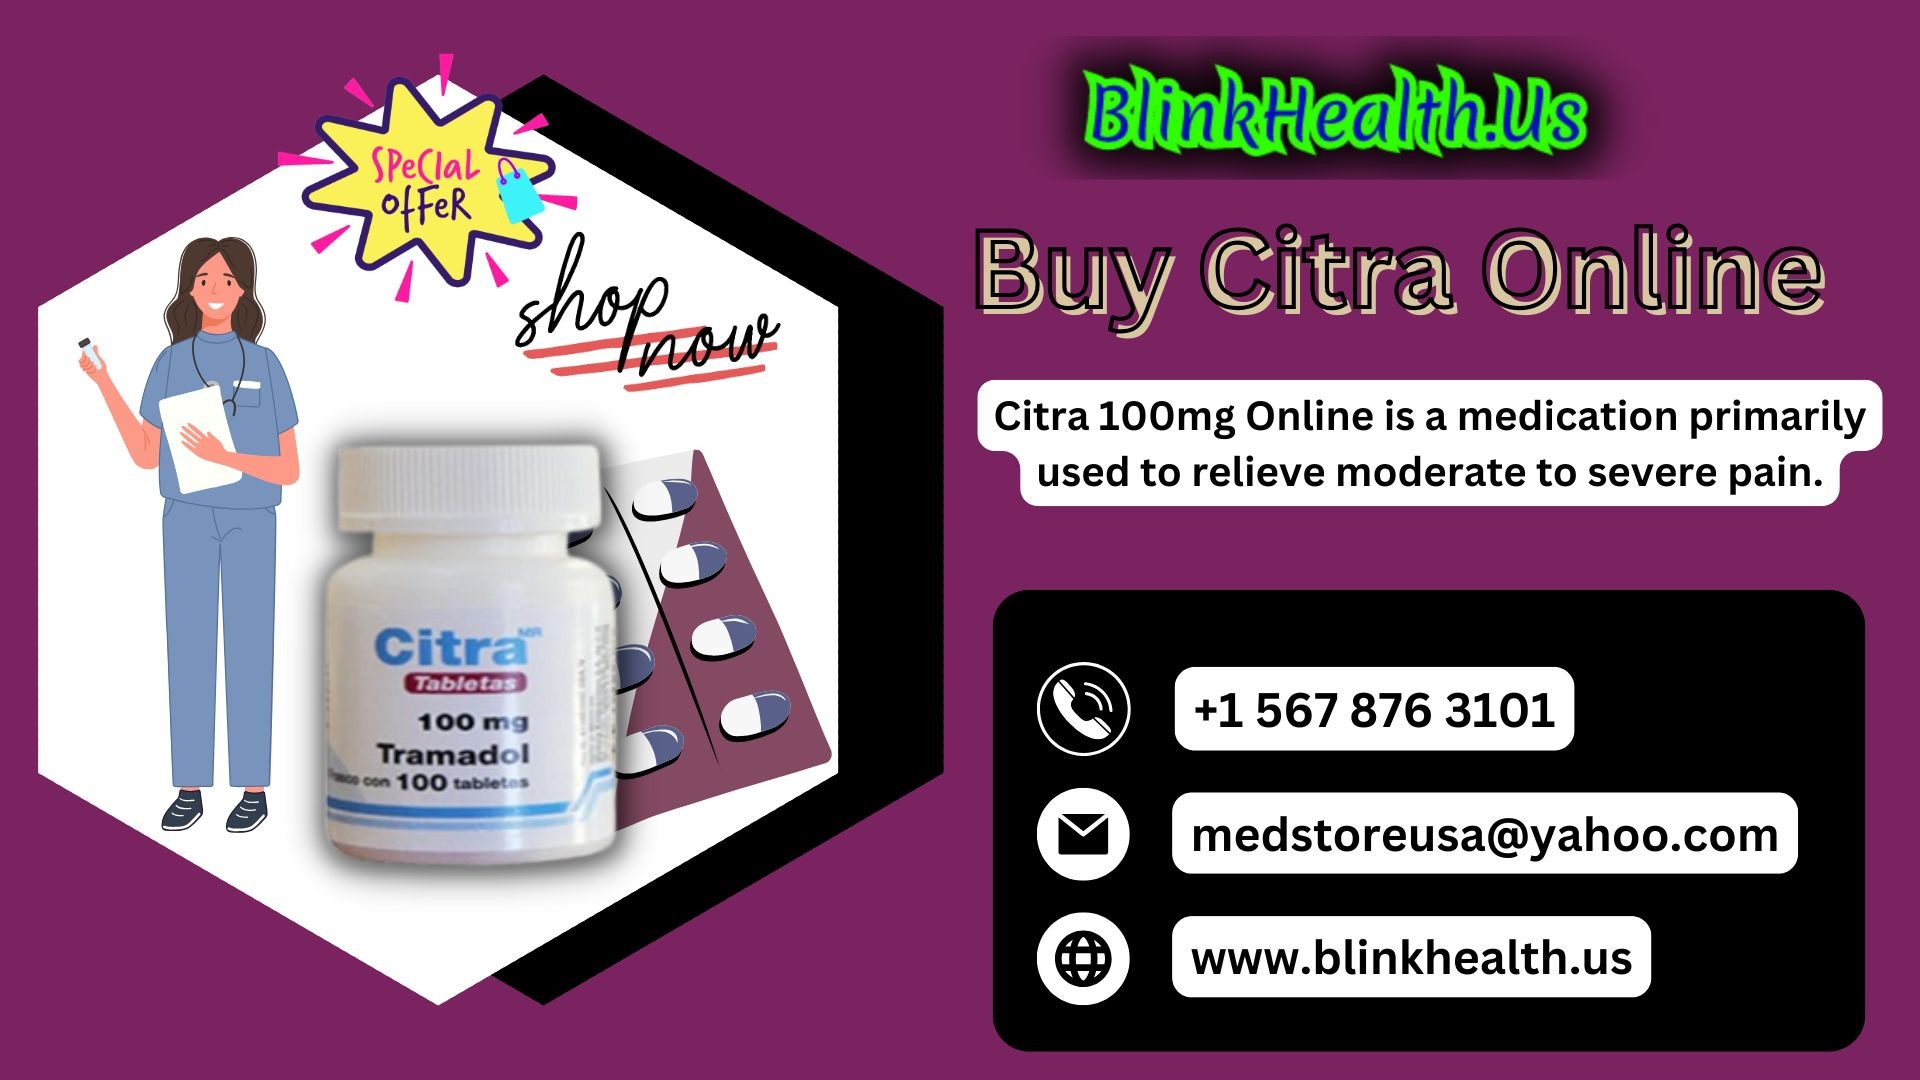