✨ Outfit Inspo: Trendy and Chic Fall Fashion Ideas ✨
As the seasons change, updating your wardrobe with fresh and stylish outfit ideas is essential. Fall is the perfect time to embrace layers, rich colors, and cozy textures. Here’s some outfit inspiration to help you look and feel your best throughout the season.
1. Cozy Layers for Ultimate Comfort
a. Sweater Weather
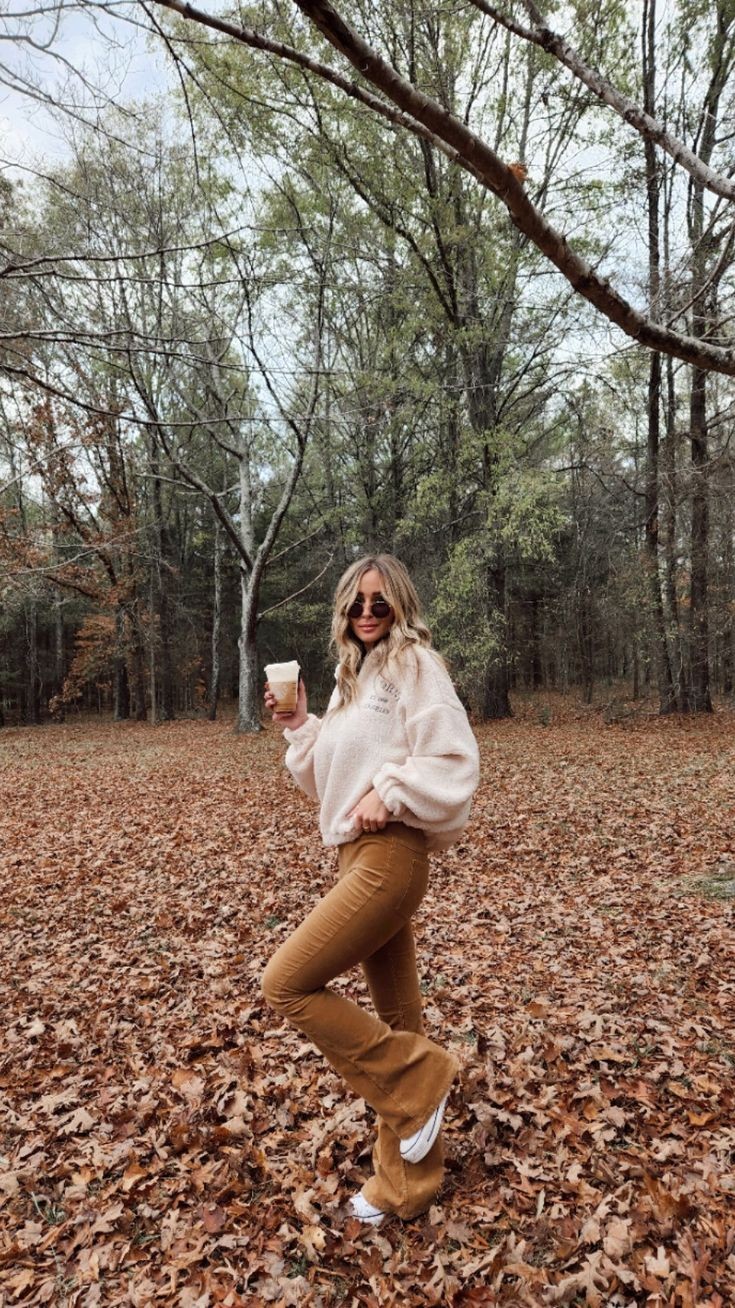
Sweaters are a fall staple, offering both warmth and style. Opt for oversized sweaters for a relaxed look or choose fitted styles to layer under coats and jackets. Play with textures like knit, cable, or cashmere to add variety to your fall wardrobe.
b. Layered Looks
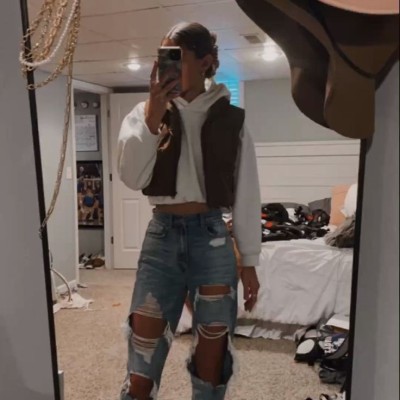
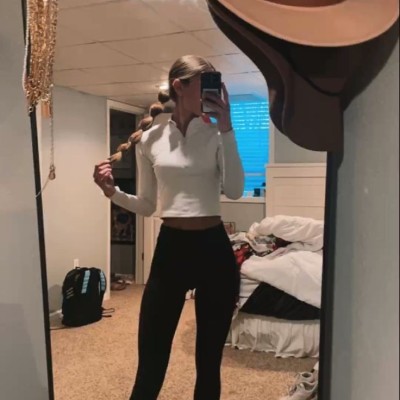
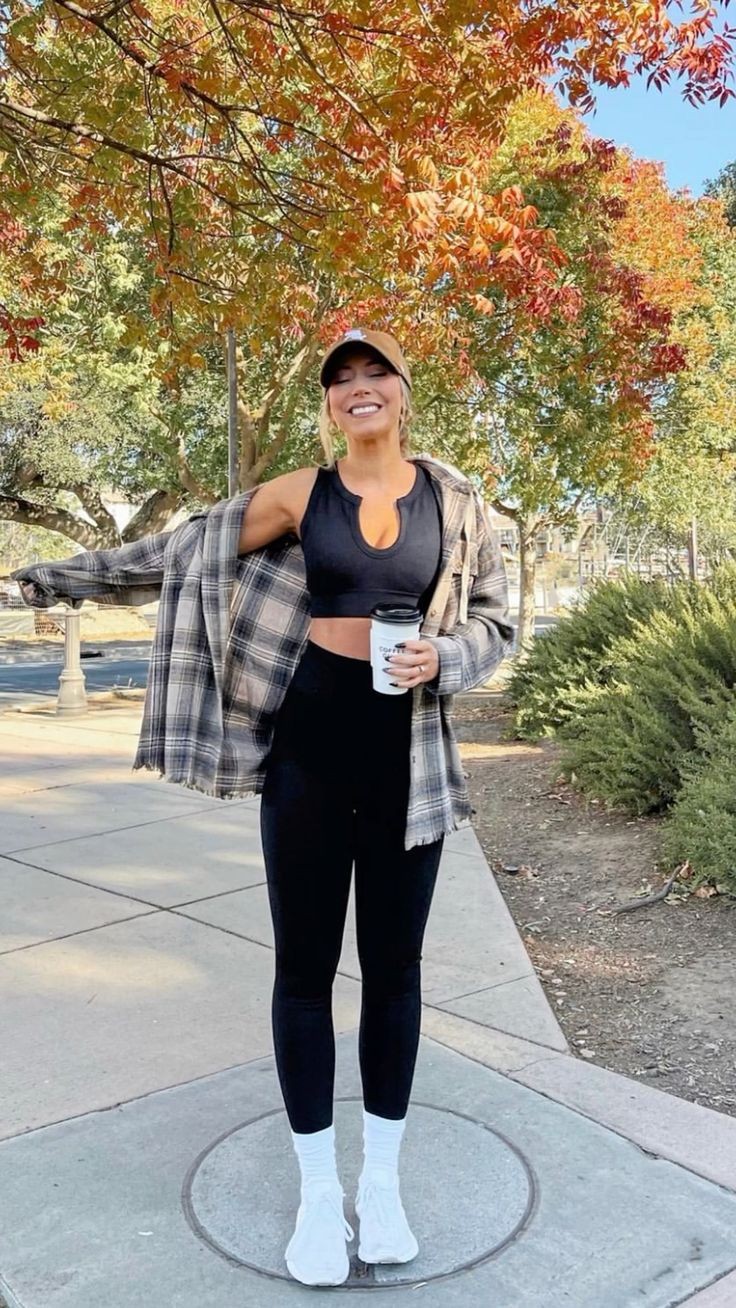
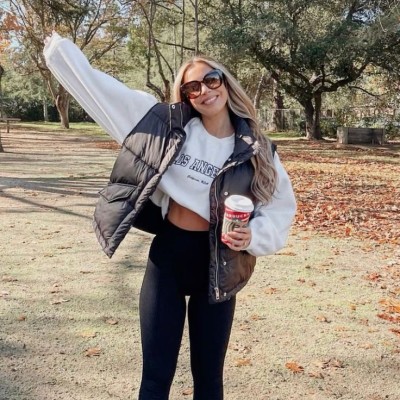
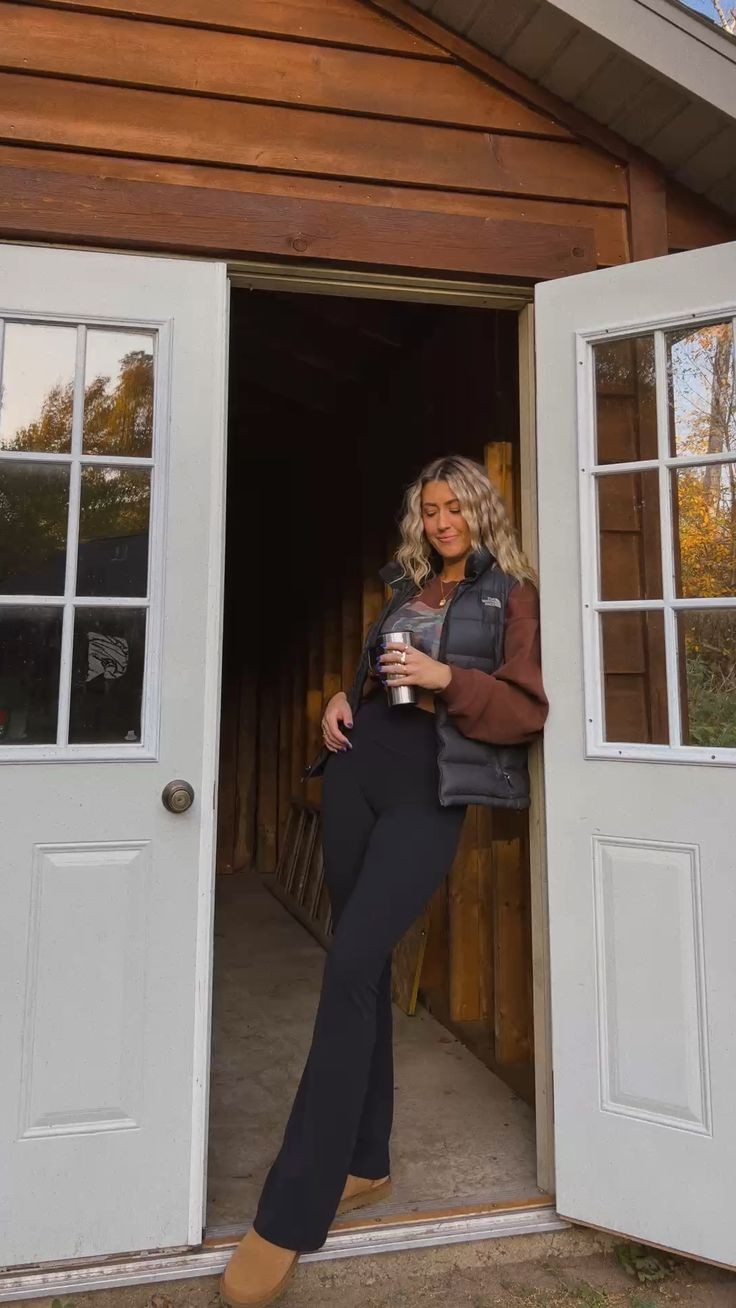
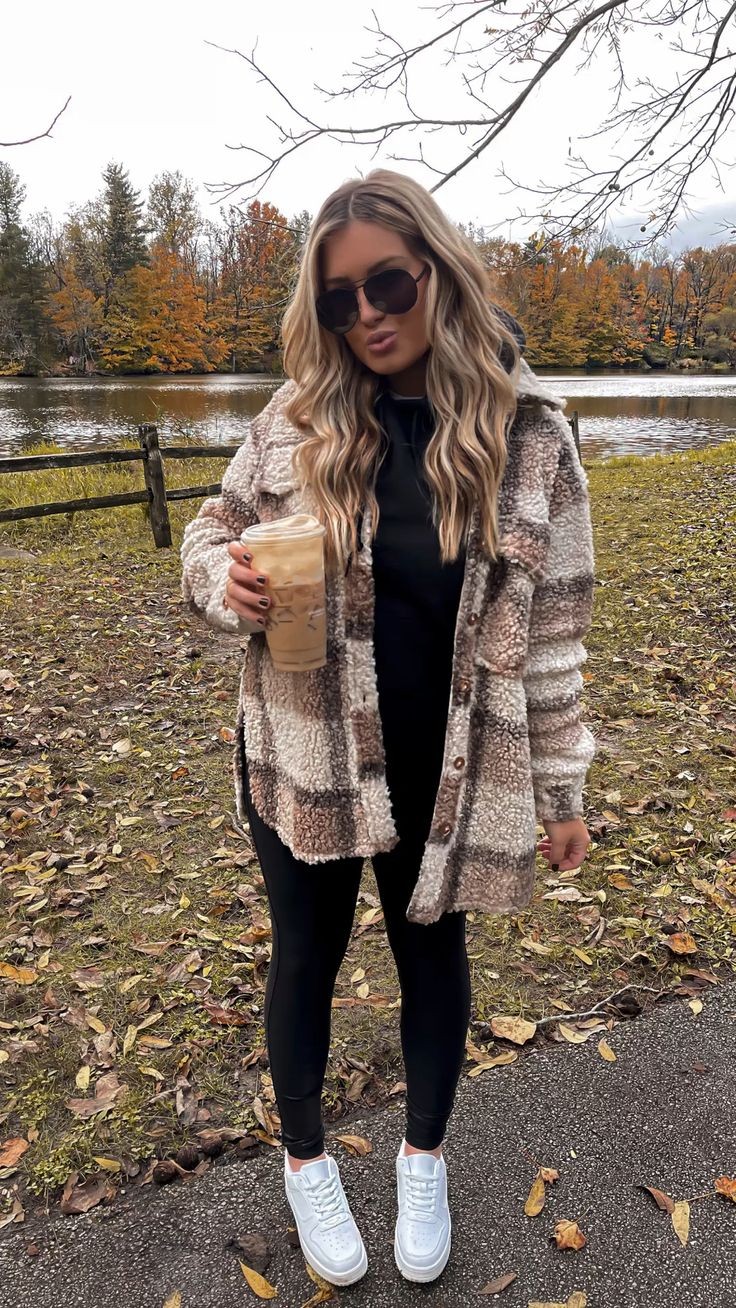
Layering is key in fall fashion. Combine your favorite sweaters with denim jackets, flannel shirts, or puffer vests. Experiment with different layers to create versatile outfits that can transition from day to night.
c. Scarves and Shawls
Accessorize with scarves and shawls to add both warmth and style. Choose chunky knits or elegant silk scarves to complement your outfit. Wrap a scarf around your neck or drape a shawl over your shoulders for a chic and cozy look.
2. Rich Fall Colors and Textures
a. Earthy Tones
Fall is the perfect time to embrace earthy tones like rust, olive green, deep burgundy, and mustard yellow. These colors reflect the season’s natural beauty and create a warm, inviting palette.
b. Textured Fabrics
Incorporate textured fabrics such as corduroy, velvet, and suede into your outfits. These materials add depth and interest to your look, making your fall outfits stand out.
c. Patterns and Prints
Add patterns like plaid, houndstooth, or animal prints to your wardrobe. These prints are timeless for fall and can be paired with solid colors for a balanced, stylish outfit.
3. Chic Accessories to Complete Your Look
a. Statement Jewelry
Elevate your outfit with statement jewelry pieces. Bold necklaces, oversized earrings, and stacked rings can add a touch of glamour to your fall ensembles. Choose pieces that complement your outfit’s color scheme and style.
b. Trendy Hats
Add a hat to your fall look for both functionality and style. Fedora hats, beanies, and berets can transform an outfit and keep you warm during chilly days. Choose a hat that suits your face shape and personal style.
c. Stylish Boots
Boots are a fall favorite, offering both comfort and style. From knee-high boots to ankle booties, there’s a style for every occasion. Opt for leather or suede for a classic look, and play with colors and patterns to make a statement.
4. Effortless Casual Outfits
a. Denim and Tees
For an easy, everyday look, pair your favorite jeans with a classic tee or graphic shirt. Layer with a cardigan or jacket for added warmth and style. This casual outfit is perfect for running errands or casual outings.
b. Maxi Dresses with Layers
Maxi dresses aren’t just for summer. Pair a fall maxi dress with a denim jacket or a cozy cardigan. Add knee-high boots and a belt to create a flattering silhouette and keep warm during cooler days.
c. Joggers and Hoodies
For a laid-back, comfortable outfit, choose joggers and a hoodie. This look is perfect for lounging at home or casual activities. Opt for trendy joggers with stylish details and a hoodie in a rich fall color.
5. Polished Workwear
a. Tailored Blazers
Elevate your work wardrobe with a tailored blazer. Pair it with dress pants or a pencil skirt for a sophisticated look. Choose blazers in neutral tones or classic patterns like plaid for a timeless appearance.
b. Structured Dresses
Opt for structured dresses that offer a professional yet stylish look. A wrap dress or sheath dress in fall colors can be both flattering and office-appropriate. Add a pair of ankle boots or loafers to complete the outfit.
c. Classic Trousers and Blouses
Combine classic trousers with blouses in rich fabrics and colors. Look for blouses with subtle details like ruffles or bow ties for added elegance. This outfit is perfect for a polished and professional appearance.
Conclusion
With these fall outfit inspirations, you’re ready to embrace the season in style. From cozy layers and rich colors to chic accessories and effortless casual looks, there are endless ways to update your wardrobe. Mix and match these ideas to create outfits that reflect your personal style and keep you looking fabulous all season long.
#outfitinspo #fallfashion #styleideas #chicoutfits #fashiontrends #ootd #fallstyle #cozylayers #richcolors #fashionaccessories