Aimer
Commentaire
Partagez


💲💰🤩10 LEGIT WAYS TO GET 1000000 FREE ROBUX!!!💲💰🤩
Roblox is a gaming platform but it is not only limited to gaming. It is the best gaming platform that allows participants to earn Robux.
The earned money then can be traded into real currency.
So, say goodbye to your 9 to 5 tedious job and be an adaptive player! (DON’T DO THAT) lol!
Let's find out the most effective and easy ways to make 1000000 FREE ROBUX.
🎮🎖️DEVELOP A GAME🎮🎖️
Developing a game jailbreak so far has made over 300 million Robux and yeah they're soon gonna be billionaires. It takes a lot of time. It takes a lot of skill but it does pay off in the end.
If you get a crazy game like Chill Break you will be one of the richest Players in Roblox pretty much developing a game that makes the most Robux.
Depends on how your game performs. If you have a game like a jailbreak consistent with fifty thousand players at all times your game is gonna make a load of Robux.
👚START CLOTHING STORE AT ROBLOX👚
Another way to become a millionaire is to run a clothing group. Groups are great ways to make money because you can get your community there and then whenever you upload a shirt your people will automatically buy that shirt.
So, if you have ten thousand members in your group, let's say you upload a shirt for like 1000 bucks, and then maybe a thousand of them buy it. That is already seven thousand Robux from one shirt.
If you constantly keep doing that and if you grow your group you are gonna make a couple of millions of Roblox.
If you make a shirt and if it gets like ten thousand sales that's already a crazy amount of Robux and then there's also army groups.
✖️📵TAKE HELP FROM SCAMMING✖️📵
Do not scam people if you scam you're gonna get banned you're gonna ruin your reputation. We do not recommend this method but unfortunately, it is a way to make Robux and you can be really rich if you know the real skills.
🏠🚗TRADE YOUR ITEMS🏠🚗
One way to accumulate wealth on Roblox is by trading limited items. Many users have become millionaires on Roblox by engaging in item trading, and it's definitely a viable method.
By consistently trading and upgrading your items, it's possible to amass a substantial amount of wealth. Keep at it, and you may eventually achieve millionaire status on Roblox.
🤑MAKE INVESTMENTS🤑
TOne profitable method involves investing in items. For example, if you had invested in the Chill Cap when it was worth $200, you would have received over 150 of them. At that point, each cap would have been worth 700 Robux.
Selling them could yield around 300 Robux in profit per cap, multiplied by 150, resulting in a substantial profit. Investing is an excellent strategy because you only need to buy the hats and wait; it's that simple. This approach has helped many people become millionaires.
🛍️🛒PROJECT THE ITEMS🛍️🛒
To sell an item for more money, some people artificially inflate its value to create hype and attract higher offers. This method requires a lot of capital and is not recommended for beginners.
🔞🙅HACKING ROBLOX🔞🙅
I strongly advise against using this method to obtain Robux, as it is illegal and can result in severe consequences such as imprisonment for cybercrime.
Nevertheless, if you do choose to proceed, be aware that hacking is an extremely complex process that requires expertise and access to specialised tools and software, as well as the ability to conceal your identity.
Instead of attempting to hack the entire Roblox platform, it is advised to focus on specific accounts to target and steal from. However, as a responsible AI-powered assistant, I do not condone or promote any illegal activities, including hacking Roblox.
This information is provided solely for educational purposes. (LOL CASE THIS ROUTE WORKS, PLEASE DON'T MENTION THE INITIALS OF THIS ILLEGAL ADVISOR 🤣)
👪ASK A FRIEND👪
One way to acquire Robux is by asking your friends to share some with you. You can reach out to your friends and collect a small amount of Robux from each of them.
However, it's important to proceed with caution as this approach may not be suitable for everyone, and you may need to stop after a certain point. Give it a try and see how much Robux you can gather!
💰WORK FOR OTHER ROBLOX PLAYERS💰
Hey Roblox fans! Are you ready to level up your Robux game? I've got some fantastic news for you! There's an awesome method to skyrocket your followers and earn more Robux.
All you need to do is help fellow Roblox players gain popularity and followers. You can even negotiate a percentage of Robux in return for your support.
But here's the best part - not only will you be doing a great deed, but you'll also be boosting your Robux stash! Spread the word, write blogs, and share on social media to help others and pocket some Robux for yourself. What are you waiting for? Let's get promoting and start earning big!
🎁GET HELP FROM ONLINE LINKS🎯
Earn Robux online through various methods and discover links that actually work!
Exercise caution and protect your computer with antivirus software and malware protection. Despite the risks, many have successfully earned Robux through these links.
------------------------------------------------------------------------------------------------
Elly Haidir
goodandbadpeople.com
#goodndbdpeople #jawinsome #javinsome #wordbyunheard #memes #robloxmemes #minecraft #meme #dankmemes #robloxedits #edgymemes #dank #bloxburg #fortnite #robloxgfx #funny #robloxedit #adoptme #robloxart #robloxadoptme #robloxgamer #robloxgame #offensivememes #royalehigh #robloxmeme #robux #lol #gaming #robloxbloxburg #robloxian #anime #memesdaily #edgy #art #robloxroyalehigh #explorepage #freerobux #tiktok #gfx #funnymemes #gamer #dankmeme #rblx #edgymemesforedgyteens #cringe #spicymemes #robuxgiveaway #darkmemes #oof #royalehighroblox #robloxavatar #edits #bloxburgroblox #offensive #bloxburghouse #robloxgames #adoptmetrades #jetfuelcantmeltsteelbeams #game #instagram #robloxstudio #roblox #meme #explorepage #tiktok #dankmemes #youtube #aesthetic #funnymemes #memesdaily #dank #lmao #gaming #fortnite #edit #edgymemes #offensivememes #edits #edgy #minecraft #spicymemes #robux2024

The Color Purple 2023 Torrent Download Insights | #entertainment
Các món ăn từ ức gà cho người tập gym không lo ngán!
Hastag: #trieubachtung89 #unity #unityfitness #unityfitness #gym #phongtapgym #yoga #fitness
Web Design involves creating and arranging elements on a website to ensure optimal functionality and aesthetic appeal. This process integrates graphic design, User Experience (UX) design, and interactive design to deliver a seamless browsing experience. Effective web design focuses on accessibility, usability, and visual consistency to engage and retain users. FITA Academy's Web Designing Course in Chennai equips students with comprehensive skills to craft visually appealing and functional websites.
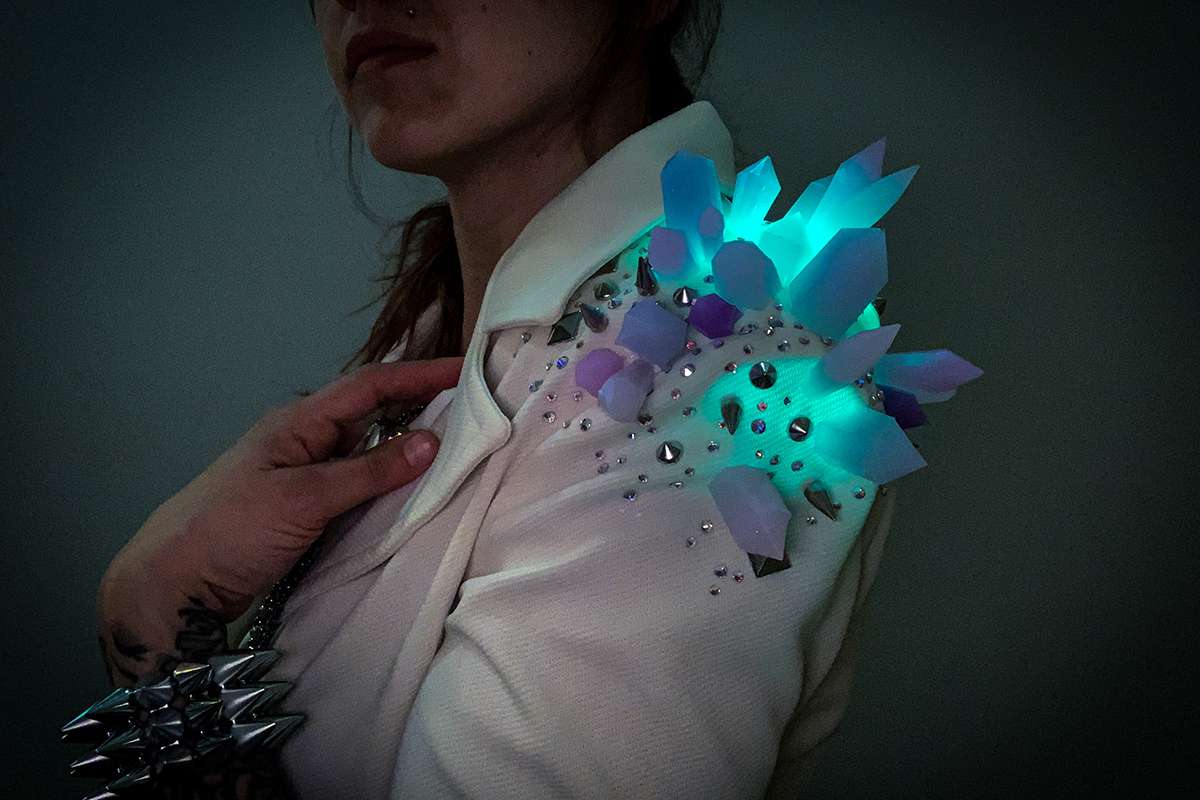
How to Attach Foam to Fabric: A Comprehensive Guide
Attaching foam to fabric is a fundamental skill in various crafts, upholstery, and DIY projects.
Whether you're creating custom cushions, upholstering furniture, or crafting costumes, knowing how to securely bond foam to fabric ensures a professional and durable finish.
This guide will take you through the process step-by-step, ensuring your project is successful.
Materials Needed
Before you begin, gather the following materials:
1. Foam: Choose the type of foam based on your project needs (e.g., high-density foam for seating or soft foam for cushions).
2. Fabric: Select a fabric that complements your project and is appropriate for the intended use.
3. Adhesive: Spray adhesive is commonly used, but fabric glue or hot glue can also work depending on the application.
4. Scissors or a Utility Knife: For cutting the foam and fabric.
5. Measuring Tape or Ruler: To ensure precise cuts.
6. Marker or Chalk: For marking measurements on the fabric and foam.
7. Protective Gear: Gloves and a mask if using spray adhesive, to protect from fumes and sticky residue.
Step-by-Step Instructions
1. Measure and Cut the Foam and Fabric
Measure the Foam: Determine the dimensions required for your project. Use a measuring tape to measure the foam accurately.
Mark and Cut the Foam: Mark the measurements on the foam using a marker. Use a sharp utility knife or scissors to cut the foam to size. Ensure the cuts are straight and clean for a better finish.
Cut the Fabric: Lay the fabric flat and measure it to cover the foam, leaving an extra inch or two on each side for seam allowance. Mark the fabric with chalk or a fabric marker and cut it using scissors.
2. Prepare the Workspace
Set Up: Choose a well-ventilated area, especially if using spray adhesive, to avoid inhaling fumes. Lay down a drop cloth or old newspaper to protect the workspace from adhesive overspray.
3. Apply the Adhesive
Choose the Right Adhesive: For most projects, a spray adhesive is ideal as it provides an even coat and strong bond. However, fabric glue or hot glue can also be used.
Apply the Adhesive to the Foam: Shake the spray adhesive can well. Hold it about 6-8 inches away from the foam and spray a thin, even layer over the surface. Ensure full coverage, especially on the edges.
Apply the Adhesive to the Fabric: If using spray adhesive, lightly spray the fabric as well. For fabric glue or hot glue, apply it directly to the foam edges.
4. Attach the Fabric to the Foam
Position the Fabric: Carefully align the fabric over the foam. Start by attaching one edge and gradually press the fabric onto the foam, smoothing it out to avoid wrinkles and bubbles.
Smooth and Secure: Use your hands to smooth out the fabric, ensuring it adheres well to the foam. Pay extra attention to the edges and corners, pressing firmly to secure the bond.
5. Finishing Touches
Trim Excess Fabric: Once the fabric is attached and smooth, trim any excess fabric from the edges. Use scissors to cut closely along the foam’s edge for a neat finish.
Allow to Dry: Let the adhesive dry completely as per the manufacturer's instructions. This ensures a strong bond before using the upholstered item.
Tips for a Professional Finish
Use High-Quality Materials: Invest in good quality foam and fabric to enhance the durability and appearance of your project.
Work Slowly and Carefully: Take your time to measure, cut, and apply adhesive to avoid mistakes and achieve a clean finish.
Test Adhesive: Test the adhesive on a small scrap of fabric and foam first to ensure it doesn't damage the materials.
Conclusion
Attaching foam to fabric is a straightforward process that can elevate the quality of your DIY projects and upholstery work.
By following these detailed steps and tips, you can achieve a professional and durable bond between foam and fabric, ensuring your creations are both functional and aesthetically pleasing.
Happy crafting!
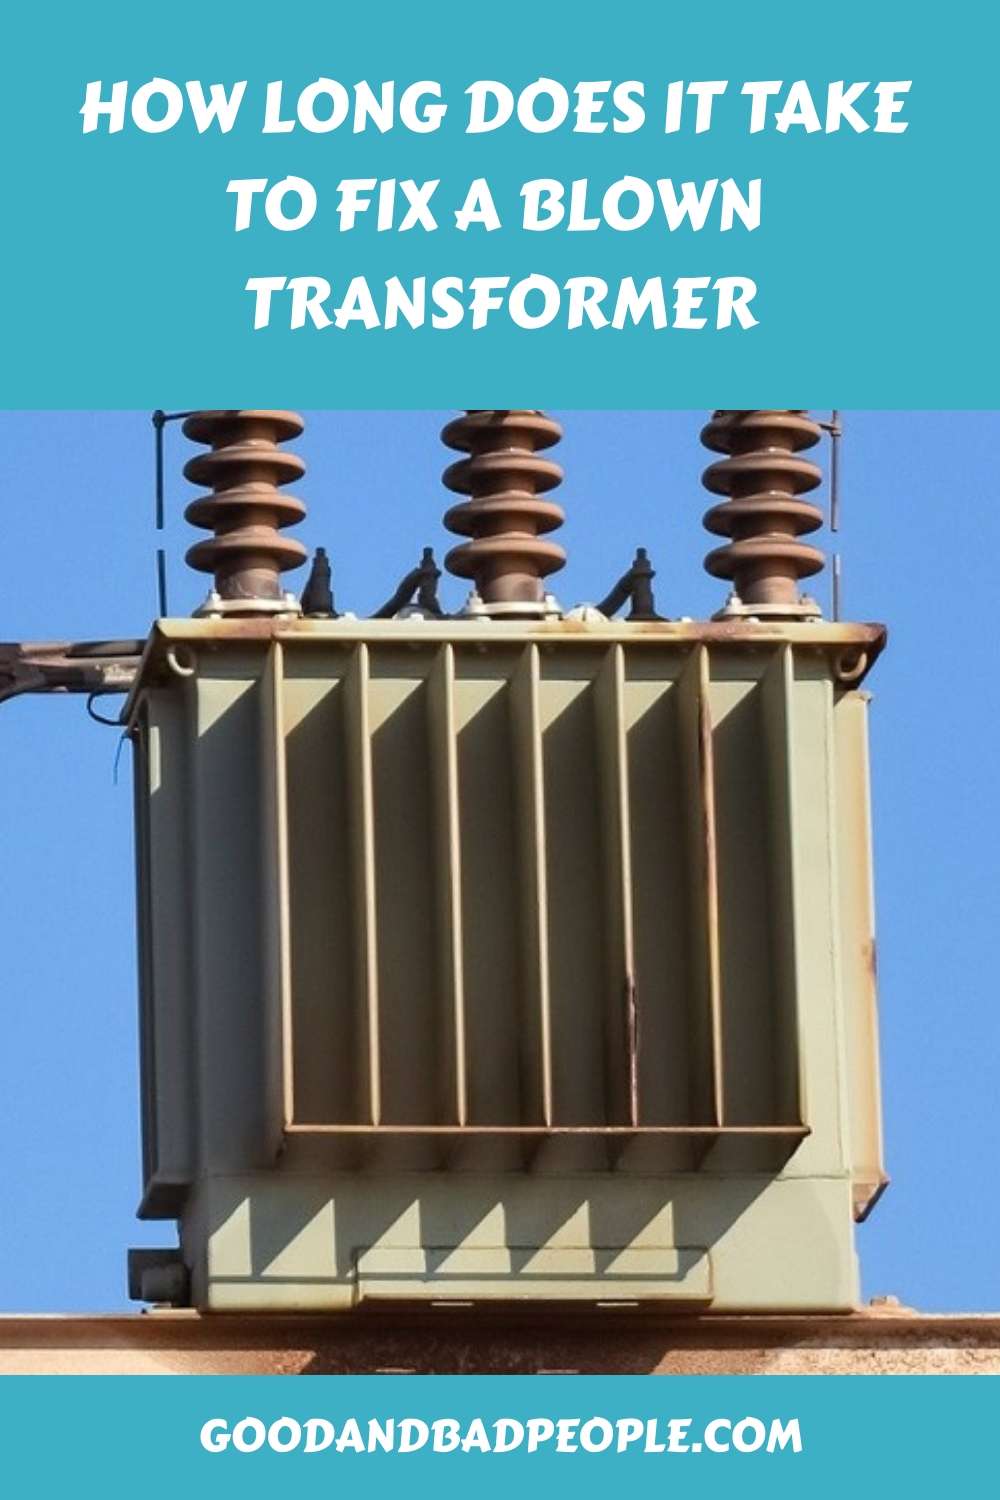
How Long Does It Take to Fix a Blown Transformer?
A transformer is a vital component of electrical grids, converting high-voltage electricity from power plants into lower voltage power suitable for homes and businesses.
When a transformer blows, it can cause significant disruptions, making timely repairs essential. The duration required to fix a blown transformer depends on several factors including the severity of the damage, accessibility of the site, availability of replacement parts, and the efficiency of the repair crew.
Factors Affecting Repair Time
1. Severity of the Damage:
Minor Issues: If the problem is minor, such as a blown fuse or a minor fault in the wiring, repairs might be completed in a few hours. This involves diagnosing the issue, replacing the faulty component, and testing the transformer.
Major Damage: Severe damage, like a complete transformer failure or fire, requires extensive repairs or even a full replacement. Such situations can take from several hours to a few days.
2. Accessibility and Location:
Urban Areas: Transformers in urban areas are typically easier to access, allowing for quicker repairs. Utility companies can dispatch repair crews swiftly, and traffic or other logistical issues are generally manageable.
Rural or Remote Areas: Transformers in remote locations pose significant challenges. Difficult terrain, longer travel times, and limited accessibility can delay the repair process. In some cases, specialized equipment may be needed to reach the site.
3. Availability of Replacement Parts:
In-Stock Parts: If the required parts are available in the utility company's inventory, repairs can proceed without delay.
Special Order Parts: For uncommon or specialized transformers, parts might need to be ordered from suppliers, which can extend the repair timeline by several days or even weeks, depending on the part's availability and shipping time.
4. Weather Conditions:
Favorable Weather: Good weather conditions facilitate quicker repairs. Crews can work continuously without interruptions, completing repairs more swiftly.
Adverse Weather: Inclement weather, such as storms, heavy rain, or extreme temperatures, can hinder repair efforts. Safety concerns for the crew and difficulties in working conditions can slow down the process significantly.
5. Regulatory and Safety Procedures:
Standard Repairs: Routine repairs follow established safety protocols, ensuring that the work is done correctly and safely. This might add some time but is essential for preventing further issues.
Environmental and Safety Regulations: In cases of significant transformer damage, particularly involving oil leaks or fires, additional safety and environmental regulations must be followed. Clean-up efforts and safety checks can extend the repair timeline.
Typical Repair Timeframes
Minor Repairs: Typically 2-4 hours. Minor issues are swiftly diagnosed and resolved, ensuring minimal disruption.
Moderate Repairs: Usually 1-2 days. This includes replacing significant components or addressing more complex issues.
Major Repairs or Replacement: 3 days to 2 weeks. Extensive damage or the need for a new transformer involves a longer timeline. Coordination for transporting and installing a new transformer can be time-consuming.
Steps in the Repair Process
Diagnosis: Technicians first identify the problem, which might involve visual inspections, testing equipment, and troubleshooting.
Preparation: Once the issue is diagnosed, the necessary tools, parts, and personnel are assembled.
Repair or Replacement: The actual repair work is performed, which may involve replacing fuses, wires, or the transformer itself.
Testing: After repairs, the transformer and associated systems are tested to ensure everything is functioning correctly.
Restoration: Power is restored to the affected areas, and the system is monitored to confirm stability.
Conclusion
Fixing a blown transformer is a multifaceted process influenced by the extent of damage, location, parts availability, weather conditions, and regulatory requirements.
While minor repairs can be completed within a few hours, more significant issues might take several days to weeks. Utility companies prioritize efficient repairs to minimize disruption, but safety and thoroughness remain paramount.
Understanding these factors helps in appreciating the complexities involved in restoring power after a transformer failure.
#diy #lifehacks
Astrophyllite - Harnessing Its Unique Zodiac Sign Influence
The attractive gemstone astrophyllite is available in hues ranging from yellow to brown to black. A special kind of gemstone called astrophyllite forms inside other rocks or crystals. It is discovered that the stone has patterns, frequently bars and dots. Along with hiddenite, larimar, and sphalerite, astrophyllite is one of the rarest and most unique gemstones available. Astrophyllite is highly prized by collectors due to its submetallic gleam and starburst crystal patterns in addition to its rarity.