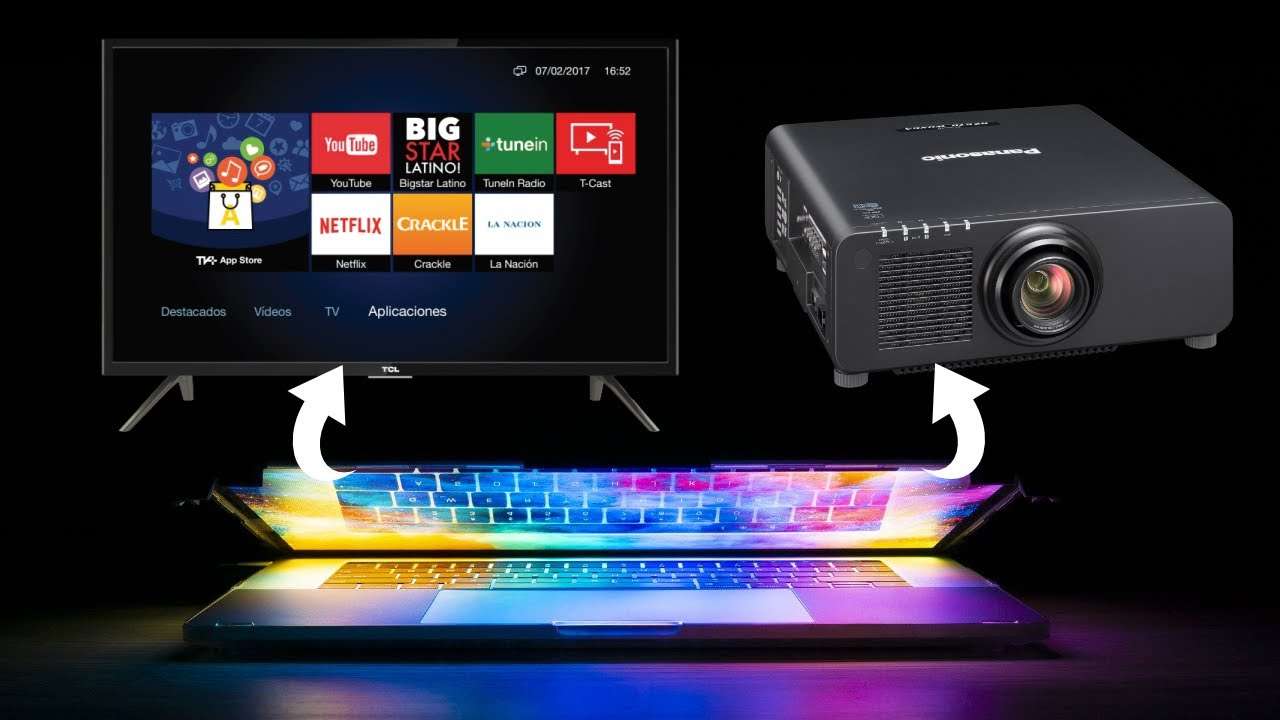
How to Connect Your Laptop to a Projector Wirelessly in 6 Easy Steps
In today's fast-paced world, technology plays a pivotal role in enhancing productivity and efficiency. When it comes to delivering presentations or sharing content in a professional setting, the ability to connect your laptop to a projector wirelessly can significantly streamline the process and create a seamless experience. Gone are the days of cumbersome cables and complicated setups. With wireless connectivity options readily available, you can easily showcase your ideas without being tethered to a physical connection. Let's delve into the six simple steps to connect your laptop to a projector wirelessly and elevate your presentation game.
Step 1: Check Compatibility and Requirements
Before diving into the wireless connection process, ensure that both your laptop and the projector support wireless connectivity. Most modern laptops and projectors come with built-in wireless capabilities or offer compatible adapters. Verify the specifications and requirements of your devices to proceed smoothly.
Step 2: Set Up the Projector
Start by setting up the projector in the desired location. Ensure it is powered on and ready to establish a wireless connection. If your projector has specific wireless settings or requires a separate wireless module, refer to the user manual for instructions on setup and configuration.
Step 3: Connect to the Same Network
For wireless connectivity, both your laptop and the projector must be connected to the same network. This could be a Wi-Fi network in your office or a dedicated network created by the projector itself. Access the Wi-Fi settings on your laptop and join the appropriate network to establish a connection.
Step 4: Enable Wireless Display on Your Laptop
Most laptops running Windows or macOS offer built-in options to wirelessly connect to external displays such as projectors. On a Windows laptop, open the "Settings" menu, navigate to "System" or "Display," and look for the "Connect to a wireless display" option. On a Mac, go to "System Preferences," select "Displays," then click on the "AirPlay Display" or "Screen Mirroring" option.
Step 5: Connect to the Projector
Once you've enabled wireless display functionality on your laptop, it should detect available wireless display devices, including the projector. Select the projector from the list of available devices to initiate the connection. Follow any on-screen prompts to complete the pairing process.
Step 6: Adjust Display Settings (if necessary)
After successfully connecting to the projector wirelessly, you may need to adjust display settings to optimize the output. Depending on your operating system and preferences, you can configure resolution, screen mirroring, extend display mode, or customize other display settings to suit your presentation needs.
Congratulations! You've successfully connected your laptop to the projector wirelessly, eliminating the hassle of tangled cables and simplifying your presentation setup. Now you can focus on delivering impactful content without worrying about technical glitches or connectivity issues.
Wireless connectivity offers flexibility, mobility, and convenience, making it an ideal choice for modern presentations in various professional environments. By following these six straightforward steps, you can harness the power of wireless technology and enhance your presentation experience, captivating your audience with seamless transitions and engaging visuals. Embrace the future of wireless connectivity and elevate your presentations to new heights.


