DIY Unique Anniversary Gift Ideas: Photocube and Photo Album
Celebrating an anniversary is a wonderful way to reflect on the beautiful journey you've shared with your partner. Instead of opting for store-bought gifts, why not create something unique and personal? DIY gifts, especially those featuring photos, are perfect for commemorating cherished memories. Here are two delightful DIY projects: a Photocube and a Photo Album.
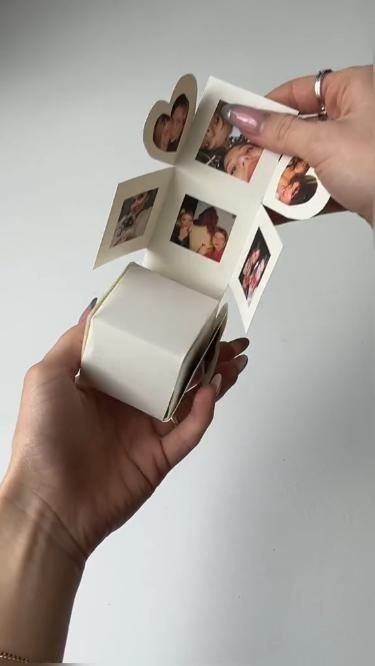
DIY Photocube
A photocube is a charming and creative way to display multiple photos in a three-dimensional format. It’s a fantastic gift that can be placed on a desk, shelf, or bedside table, serving as a constant reminder of your special moments together.
Materials Needed:
6 square wooden blocks (each side should be the same length; 3-4 inches is a good size)
Photos (printed and cut to fit the sides of the blocks)
Mod Podge or any decoupage glue
Sponge brush or paintbrush
Scissors
Sandpaper (optional)
Acrylic sealer spray (optional)
Instructions:
Prepare the Blocks: If the wooden blocks are rough, sand them down to ensure a smooth surface for the photos.
Select and Print Photos: Choose 6-12 of your favorite photos. You can opt for black and white or color prints. Resize and print the photos to fit the sides of the blocks.
Cut the Photos: Cut the photos to the exact size of the sides of the blocks.
Apply Mod Podge: Using the sponge brush, apply a thin layer of Mod Podge to one side of a block.
Attach the Photo: Carefully place a photo on the glued side. Smooth out any air bubbles or wrinkles.
Seal the Photo: Apply another layer of Mod Podge over the photo to seal it. Let it dry completely.
Repeat: Repeat steps 4-6 for each side of the blocks, allowing each side to dry before moving on to the next.
Finishing Touches: Once all sides are dry, you can spray an acrylic sealer to protect the photos (optional).
DIY Photo Album
A DIY photo album is a timeless gift that can hold an array of memories. Unlike a digital album, a handmade photo album carries a personal touch and sentimental value, making it a treasured keepsake.
Materials Needed:
Blank scrapbook or photo album
Photos (printed in various sizes)
Decorative paper and cardstock
Adhesive (glue stick, double-sided tape, or photo corners)
Scissors or a paper cutter
Pens, markers, and stickers for embellishment
Ribbons, buttons, and other decorative elements (optional)
Instructions:
Select a Theme: Decide on a theme for your photo album. It could be "Our Love Story," "Adventures Together," or "A Year in Review."
Organize Photos: Sort through your photos and organize them chronologically or by theme.
Create Layouts: Plan the layout for each page. Mix full-page photos with smaller ones, and include spaces for notes or quotes.
Decorate Pages: Cut decorative paper and cardstock to create backgrounds and frames for your photos. Use pens and markers to add captions, dates, and personal messages.
Attach Photos: Secure the photos using adhesive or photo corners. Ensure they are firmly attached.
Add Embellishments: Enhance your album with stickers, ribbons, buttons, and other decorative elements to add texture and interest.
Personal Touches: Write heartfelt notes, quotes, and anecdotes throughout the album to make it even more personal.
Final Review: Flip through the album to ensure everything is secure and looks cohesive.
Tips for Both Projects
Plan Ahead: Gather all materials before starting to ensure a smooth crafting process.
Take Your Time: Don’t rush. Enjoy the process of creating something meaningful.
Add Personal Touches: Include handwritten notes, song lyrics, or inside jokes that are special to your relationship.
Quality Materials: Use high-quality photos and materials to ensure your gift lasts for years.
Creating a DIY Photocube or Photo Album is not only a gift to your partner but also a wonderful trip down memory lane for you. These personalized gifts are perfect for anniversaries as they celebrate the time you've spent together and the memories you've created. Happy crafting, and happy anniversary!