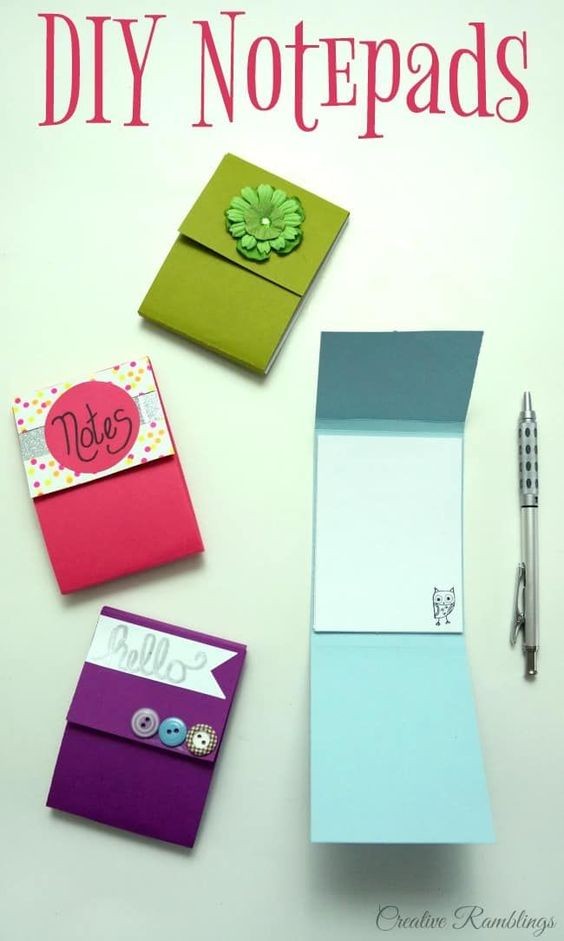
Easy DIY Notepad Using Scrap Paper - Creative Ramblings
In a world increasingly conscious of sustainability, finding creative ways to repurpose scrap materials not only reduces waste but also sparks creativity. One such project that combines practicality with eco-friendliness is creating your own notepad from scrap paper. Whether you have leftover sheets from old notebooks, printed papers, or even cardboard boxes, this DIY notepad project offers a fun and functional solution.
Materials Needed:
Scrap Paper: Gather any paper you have on hand that's blank on one side. This could include used printer paper, old notes, or even the backs of envelopes.
Cardboard or Cardstock: This will be used for the backing of the notepad to provide support.
Ruler
Scissors
Paper Cutter (optional): Useful for achieving straight and even cuts, but scissors work just fine.
Binder Clips or Bulldog Clips
Decorative Paper (optional): If you want to embellish the cover of your notepad.
Step-by-Step Instructions:
1. Gather and Sort Scrap Paper:
Collect all your scrap paper and sort through it to ensure each sheet is clean and usable. Remove any staples or paper clips.
2. Trim Paper to Size:
Using a ruler and scissors (or a paper cutter if available), trim the paper into uniform rectangles. A common size for notepad paper is around 4x6 inches, but you can adjust according to your preference.
3. Prepare the Backing:
Cut a piece of cardboard or cardstock to the same size as your trimmed paper sheets. This will serve as the back cover of your notepad, providing stability.
4. Stack and Align the Paper:
Stack your trimmed paper sheets neatly together, ensuring they are aligned perfectly.
5. Secure with Binder Clips:
Use binder clips or bulldog clips to hold the stack of paper together firmly. Clip them along one edge of the stack, making sure the clips are evenly spaced.
6. Apply Glue to the Binding Edge:
Apply a thin, even layer of glue along the edge of the stack where the clips are attached. Use a glue stick or craft glue suitable for paper.
7. Let the Glue Dry:
Allow the glue to dry completely. This step ensures that the sheets of paper adhere together securely.
8. Attach the Backing:
Once the glue is dry, remove the binder clips. Apply glue to the back side of the stack and carefully press it onto the cardboard or cardstock backing you prepared earlier. Press firmly to ensure it sticks evenly.
9. Optional: Decorate the Cover (if desired):
If you want to personalize your notepad, you can decorate the cardboard backing with decorative paper, stickers, or drawings. This step adds a creative touch to your DIY project.
10. Trim Excess if Necessary:
If any edges are uneven, trim them with scissors to create a neat finish.
11. Enjoy Your Notepad:
Your DIY notepad is now ready to use! Whether for jotting down notes, making lists, or sketching ideas, your handmade notepad is both functional and environmentally friendly.
Creating a DIY notepad from scrap paper not only reduces waste but also encourages resourcefulness and creativity. It’s a simple project that anyone can enjoy, offering a practical solution while promoting sustainability. So gather your scrap paper, unleash your creativity, and start making your own personalized notepads today!