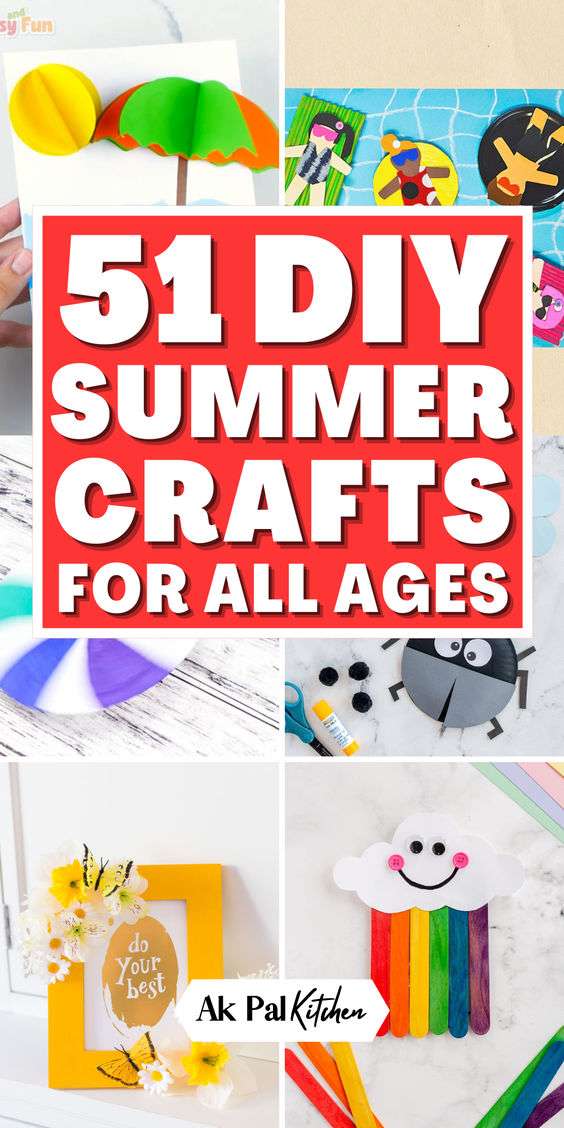
### Fun and Easy DIY Summer Crafts for All Ages
Summer is the perfect time to get creative and engage in fun DIY crafts. Whether you're looking for activities to entertain kids, projects for teens, or relaxing crafts for adults, there's something for everyone. Here are some delightful DIY summer crafts that are easy to make and enjoyable for all ages.
#### 1. **Painted Rocks**
**Materials*
- Smooth rocks
- Acrylic paint
- Paintbrushes
- Clear sealant spray
**Instructions*
1. Collect smooth rocks from your garden or local park.
2. Wash and dry the rocks thoroughly.
3. Use acrylic paint to create fun designs, patterns, or even little characters on the rocks.
4. Once the paint is dry, spray a coat of clear sealant to protect your artwork.
5. Use these painted rocks as garden decorations, paperweights, or even gifts!
#### 2. **DIY Wind Chimes**
**Materials*
- Sticks or a wooden dowel
- String or fishing line
- Beads, shells, small bells, or other decorative items
- Hot glue gun (optional)
**Instructions*
1. Find a sturdy stick or wooden dowel to use as the base of your wind chime.
2. Cut different lengths of string or fishing line and tie them to the stick, spacing them evenly.
3. Thread beads, shells, and other decorative items onto the strings.
4. Secure the items in place with knots or a dab of hot glue.
5. Hang your wind chime outside and enjoy the soothing sounds as the wind blows through it.
#### 3. **Tie-Dye T-Shirts**
**Materials*
- Plain white t-shirts
- Fabric dye in various colors
- Rubber bands
- Plastic squeeze bottles
- Plastic gloves
- Plastic table cover or garbage bags
**Instructions*
1. Lay out a plastic cover to protect your work surface.
2. Twist, fold, or scrunch the t-shirt and secure it with rubber bands.
3. Fill plastic squeeze bottles with different colors of fabric dye.
4. Apply the dye to the t-shirt, making sure to get into all the folds and crevices.
5. Once you're satisfied with the design, place the t-shirt in a plastic bag and let it sit for 6-8 hours.
6. Rinse the t-shirt under cold water until the water runs clear, then wash and dry it according to the dye instructions.
#### 4. **Homemade Bird Feeders**
**Materials*
- Pine cones or empty toilet paper rolls
- Peanut butter or vegetable shortening
- Birdseed
- String
**Instructions*
1. Spread peanut butter or vegetable shortening all over the pine cone or toilet paper roll.
2. Roll the sticky surface in birdseed until it's well-coated.
3. Tie a piece of string around the top of the pine cone or through the toilet paper roll.
4. Hang the bird feeder on a tree branch and watch the birds enjoy their treat.
#### 5. **Paper Plate Fans**
**Materials*
- Paper plates
- Craft sticks
- Markers, crayons, or paint
- Glue or tape
**Instructions*
1. Decorate one side of the paper plate with markers, crayons, or paint.
2. Once the design is dry, fold the paper plate in half.
3. Glue or tape a craft stick to the inside of the plate to create a handle.
4. Fan yourself on hot summer days with your colorful and personalized fan.
#### 6. **Salt Dough Ornaments**
**Materials*
- 2 cups flour
- 1 cup salt
- 1 cup water
- Cookie cutters
- Paint and paintbrushes
- Ribbon or string
**Instructions*
1. Preheat your oven to 250°F (120°C).
2. In a bowl, mix flour, salt, and water to form a dough.
3. Roll out the dough to about 1/4 inch thick and use cookie cutters to cut out shapes.
4. Use a straw to make a hole at the top of each shape for hanging.
5. Bake the shapes in the oven for 2-3 hours until hard.
6. Once cool, paint and decorate your ornaments.
7. Thread a ribbon or string through the hole and hang your creations.
#### Conclusion
These DIY summer crafts are not only fun and easy to make but also a great way to spend quality time with family and friends. They provide an excellent opportunity to express creativity, develop fine motor skills, and create lasting memories. So gather your materials, pick a project, and let the summer crafting begin!


