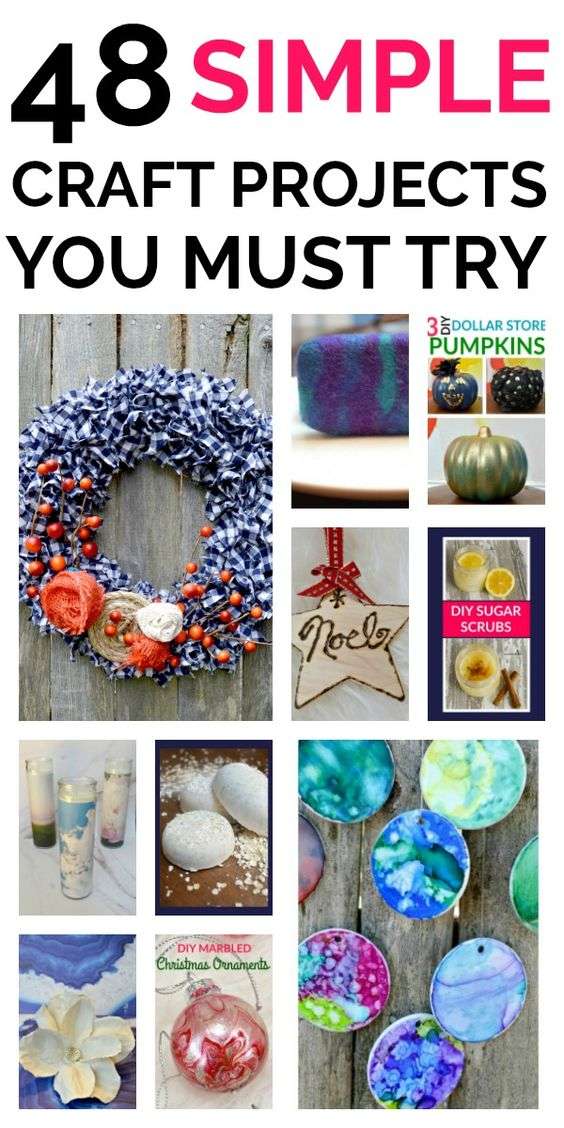
### Must-Try Simple Craft Projects: Easy and Enjoyable DIY Ideas
Crafting is a wonderful way to unwind, express creativity, and create handmade treasures that bring joy to everyday life. Whether you're looking for a quick project to pass the time or want to explore new crafting techniques, these simple craft projects are sure to inspire and delight you with their ease and creativity.
#### 1. **Decorative Paper Fans**
**Materials Needed* Colored paper or cardstock, scissors, glue stick, ruler, pencil.
**Instructions*
- Cut a piece of colored paper or cardstock to your desired size (e.g., 8x11 inches).
- Fold the paper accordion-style, making each fold about 1 inch wide.
- Secure the folds at one end with glue.
- Fan out the folds to create a fan shape and glue the ends together to secure.
- Decorate the fan with stickers, drawings, or patterns to personalize it.
- Use your decorative paper fan to stay cool on hot days or as a colorful accent in your home decor.
#### 2. **Handmade Greeting Cards**
**Materials Needed* Blank cards or cardstock, colored paper or patterned paper, scissors, glue stick, markers or pens.
**Instructions*
- Fold a piece of blank cardstock in half to create a card base.
- Cut out shapes or designs from colored or patterned paper.
- Glue the shapes onto the front of the card to create a design (e.g., flowers, hearts, animals).
- Add a handwritten message inside the card using markers or pens.
- Create multiple handmade greeting cards to have on hand for birthdays, holidays, or special occasions.
#### 3. **DIY Photo Coasters**
**Materials Needed* Ceramic tiles (4x4 inches), Mod Podge, foam brush, printed photos or decorative paper, scissors, felt pads.
**Instructions*
- Cut printed photos or decorative paper to fit the size of the ceramic tiles.
- Apply a thin layer of Mod Podge to the back of the photo or paper and press it onto the ceramic tile.
- Smooth out any air bubbles and let it dry completely.
- Apply several coats of Mod Podge over the top of the photo or paper, allowing each coat to dry before applying the next.
- Attach felt pads to the bottom corners of the ceramic tiles to prevent scratching surfaces.
- Use your DIY photo coasters to protect tabletops while adding a personal touch with favorite photos or designs.
#### 4. **Washi Tape Bookmarks**
**Materials Needed* Cardstock or plain bookmarks, washi tape in various colors and patterns, scissors.
**Instructions*
- Cut cardstock into rectangular shapes to create bookmarks.
- Choose different colors and patterns of washi tape.
- Tear off strips of washi tape and apply them diagonally or horizontally across the bookmark.
- Trim the ends of the washi tape neatly with scissors.
- Optional: Add decorative stickers, stamps, or ribbon to personalize your bookmarks.
- Use your washi tape bookmarks to mark pages in books or journals, or give them as thoughtful gifts.
#### 5. **Painted Pebble Paperweights**
**Materials Needed* Smooth pebbles or stones, acrylic paint in various colors, paintbrushes, clear varnish (optional).
**Instructions*
- Wash and dry smooth pebbles or stones.
- Paint each pebble with acrylic paint in different colors and designs (e.g., stripes, dots, geometric patterns).
- Let the paint dry completely between coats.
- Optional: Apply a coat of clear varnish to protect the painted surface and add shine.
- Use your painted pebble paperweights to hold down papers on desks or shelves, or display them as decorative accents.
#### Tips for Simple Craft Projects:
- **Start Small* Begin with easy projects to build confidence and skills before tackling more complex crafts.
- **Personalize* Add your own flair and creativity to make each project uniquely yours.
- **Have Fun* Crafting should be enjoyable and relaxing, so don't be afraid to experiment and try new techniques.
#### Conclusion
These must-try simple craft projects offer a delightful way to explore your creativity and create handmade treasures that bring joy and personalization to your life. Whether you're crafting solo or with loved ones, these projects are accessible and enjoyable for crafters of all ages and skill levels. Embrace the satisfaction of creating something with your own hands and enjoy the process of making beautiful and functional crafts that brighten your day and your surroundings.


