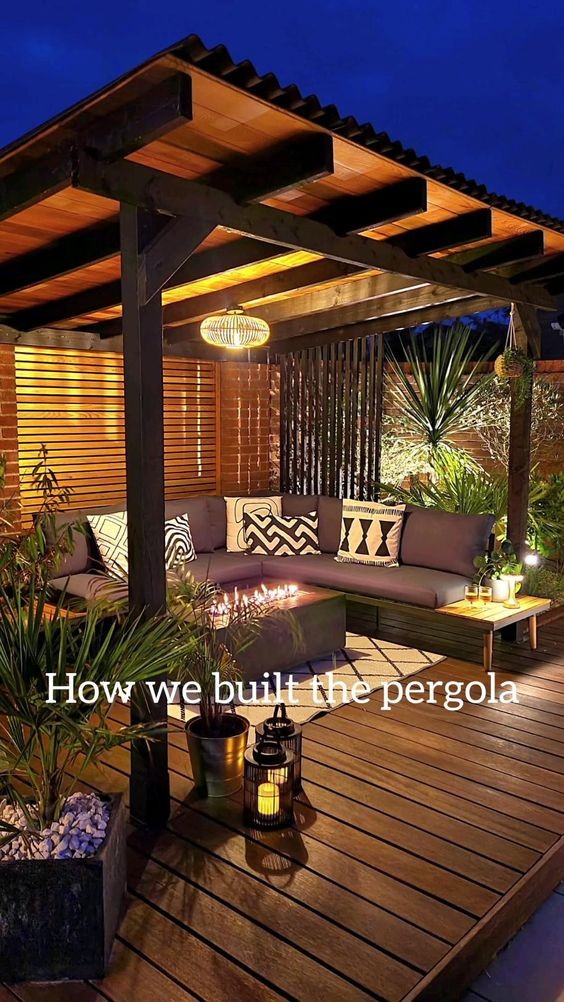
Building the Perfect Pergola: A Step-by-Step Guide
A pergola is more than just an outdoor structure; it's a gateway to transforming your backyard into a charming retreat. Whether you envision it as a shady spot for summer gatherings or a serene escape for quiet moments, building a pergola can be a rewarding project. Here’s a detailed guide on how to build your own pergola, from planning to completion.
Step 1: Planning and Preparation
Before picking up any tools, careful planning is essential:
Location: Decide where your pergola will stand. Consider factors like sunlight, privacy, and proximity to your home.
Design: Choose a style that complements your home and landscape. Pergolas can range from simple structures to elaborate designs with intricate details.
Materials: Select materials that suit your climate and desired aesthetic. Common choices include wood (cedar, pine) for a rustic feel or metal (aluminum, steel) for a modern look.
Permits: Check local building codes and obtain any necessary permits before starting construction.
Step 2: Gathering Materials and Tools
Once your plan is in place, gather the following materials and tools:
Materials: Posts, beams, rafters, screws/nails, concrete mix (if using posts), and any decorative elements.
Tools: Tape measure, level, hammer, drill/driver, saw (hand saw or power saw), post hole digger (if needed), and safety gear (gloves, goggles).
Step 3: Setting the Foundation
A sturdy foundation ensures your pergola stands the test of time:
Marking the Layout: Use stakes and string to outline where each post will go.
Digging Holes: Dig post holes according to your design’s specifications, typically 1/3 the height of the post and wider at the bottom.
Setting Posts: Place posts in the holes and fill with concrete mix for stability. Use a level to ensure posts are straight and aligned.
Step 4: Building the Structure
With the foundation set, it’s time to build the framework:
Attaching Beams: Secure horizontal beams to the tops of the posts. Use brackets or toenail them in place for a strong connection.
Adding Rafters: Install rafters across the beams, evenly spaced. These will provide the structure for the roof and shade.
Optional Decorative Touches: Add lattice, cross beams, or decorative cuts to personalize your pergola.
Step 5: Finishing Touches
Complete your pergola with these final steps:
Staining or Painting: Apply a weather-resistant finish to protect the wood and enhance its appearance.
Roofing (Optional): If desired, add a canopy, vines, or retractable shades for additional shade and style.
Furnishing: Place furniture, lighting, and plants around your pergola to create an inviting outdoor space.
Step 6: Maintenance
To keep your pergola looking its best, perform regular maintenance:
Inspect: Check for loose screws, cracks, or signs of wear.
Clean: Remove debris and mildew regularly, especially in humid climates.
Refinish: Every few years, reapply stain or paint to maintain the wood’s integrity.
Conclusion
Building a pergola is a rewarding DIY project that adds both beauty and functionality to your outdoor space. With careful planning, the right materials, and a bit of elbow grease, you can create a retreat that enhances your home’s charm and provides a perfect spot to enjoy the outdoors year-round. Whether for entertaining guests or enjoying a quiet morning coffee, your pergola will undoubtedly become a cherished part of your home.