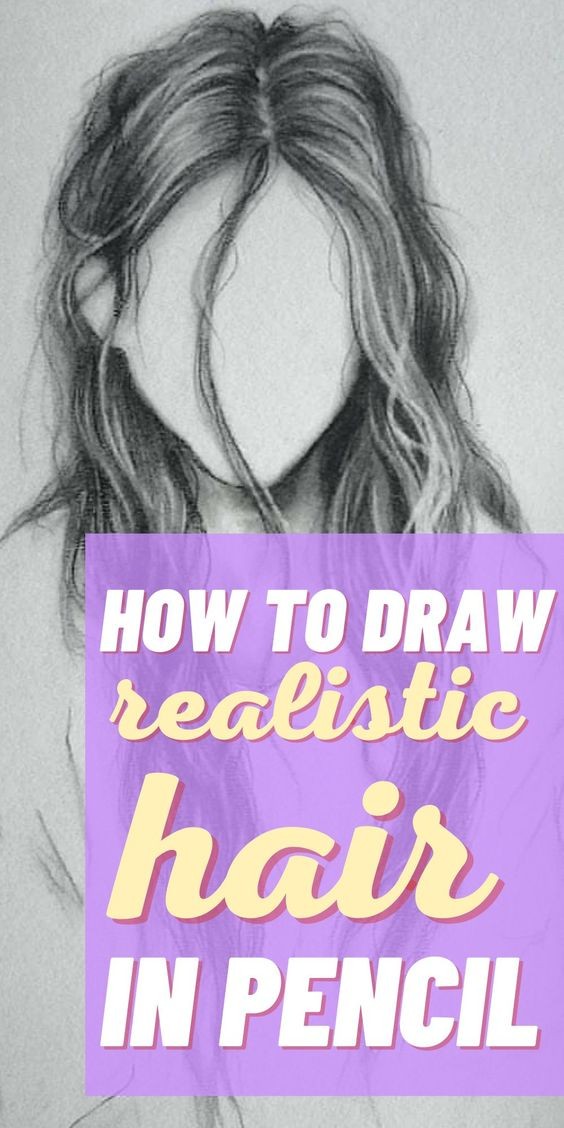
How to Draw Hair: Easy-to-Follow Instructions for Realistic Pencil Art
Drawing realistic hair can seem daunting, but with a few simple techniques and a bit of practice, you can achieve lifelike results. Here’s a comprehensive guide to help you draw hair with a pencil, whether you're a beginner or looking to refine your skills.
Materials You'll Need:
Pencils (HB, 2B, 4B, 6
Erasers (kneaded and regular)
Drawing paper
Sharpener
Blending stumps or cotton swabs
Step-by-Step Instructions:
1. Prepare Your Paper and Pencils
Start with clean, smooth drawing paper and sharpen your pencils to ensure precise lines. Using different pencils (HB for lighter lines, 2B for medium tones, and 4B or 6B for darker areas) will help you create depth and texture.
2. Sketch the Basic Hair Outline
Begin by lightly sketching the general shape of the hair. Pay attention to the natural flow and volume. Use light, loose strokes to outline where the hair will fall, keeping in mind the direction of growth and any natural parting.
3. Define the Hair Strands
Draw individual hair strands within the outline. Start with the lighter pencils (HB or 2 to create fine lines that mimic the texture of real hair. Focus on the direction of each strand and vary their lengths and thicknesses for a more realistic look. Remember, hair typically follows the shape of the head, so align your strokes accordingly.
4. Add Depth and Texture
Use a 4B or 6B pencil to darken areas where the hair casts shadows. Pay special attention to the roots and the areas under layers of hair. Blend these areas gently with a blending stump or cotton swab to soften harsh lines and create a smooth gradient. This will give your drawing a more three-dimensional appearance.
5. Highlight and Refine
To add highlights, gently erase areas where light would naturally hit the hair, such as the top layers and the edges. Use a kneaded eraser to create subtle highlights and refine your drawing. Add final touches to enhance texture and volume by darkening the shadows and refining the strands.
6. Final Touches
Step back and review your drawing. Adjust any areas that may need more depth or texture. Ensure the hair flows naturally and that the highlights and shadows blend seamlessly.
Tips for Realistic Hair Drawing:
Observe Real Hair: Study photographs or real-life examples to understand how hair behaves and reflects light.
Practice Different Styles: Experiment with various hair types (straight, curly, wavy) to improve your technique.
Keep It Light: Start with light strokes and gradually build up to avoid making the drawing too dark too soon.
Drawing hair takes patience and practice, but with these easy-to-follow steps, you’ll be well on your way to creating realistic pencil drawings. Keep practicing, and don’t be afraid to experiment with different techniques to find what works best for you.