Unveil Stunning Henna Designs: A Guide to Breathtaking Patterns
Henna art has a rich history and a timeless appeal, offering a canvas for creativity and self-expression. Whether you’re preparing for a special event or simply want to enhance your everyday look, stunning henna designs can make a remarkable impact. In this guide, we’ll explore some of the most breathtaking henna patterns that will elevate your style and leave everyone in awe.
#### **Why Opt for Stunning Henna Designs?**
Stunning henna designs are not just about decoration—they’re about making a statement. These intricate patterns can transform any occasion, from weddings and festivals to casual gatherings. The beauty of henna lies in its versatility; it can range from elaborate, traditional designs to modern, minimalistic patterns, each with its unique charm.
#### **What You’ll Need*
- **Henna Paste* Choose high-quality, natural henna for the best results.
- **Applicator Cone* For precise application and detailed designs.
- **Stencils (Optional)* Ideal for achieving symmetrical and complex patterns.
- **Essential Oils* Such as eucalyptus or lavender to enhance the stain.
- **Cotton Swabs and Lemon Sugar Mix* For aftercare and to improve stain longevity.
#### **Step-by-Step Guide to Creating Stunning Henna Designs**
**1. Prepare Your Skin*
Ensure that your skin is clean and free from oils or lotions. Apply a thin layer of lemon sugar mix to the area where you’ll be applying henna. This helps the paste adhere better and results in a more vivid stain.
**2. Choose Your Design*
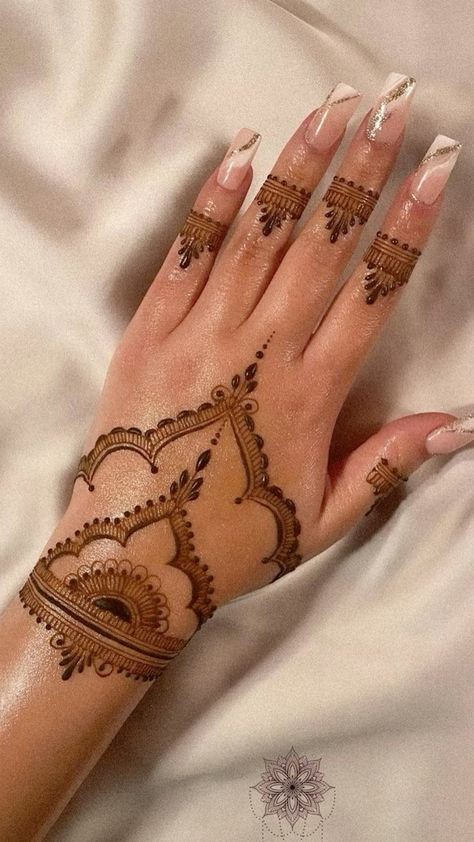
Stunning henna designs can vary widely, from traditional paisley and mandala patterns to modern geometric shapes and floral motifs. Consider what fits the occasion and your personal style. For a dramatic effect, opt for intricate patterns that cover larger areas, such as full hand designs or elaborate back pieces.
**3. Draw the Design*
Using your henna applicator cone, start outlining your chosen design. Begin with the largest elements and work your way to the finer details. For intricate patterns, take your time to ensure clean lines and precise placement. If you’re using stencils, position them carefully before tracing the henna paste.
**4. Add Details*
Once the main design is outlined, fill in additional details like smaller motifs, intricate line work, or shading. These details will add depth and richness to your design, making it truly stunning. Remember to keep your lines smooth and your patterns balanced.
**5. Allow the Henna to Dry*
Let the henna paste dry completely, which usually takes about 30 minutes to an hour. Avoid touching or smudging the design during this time. For the best results, leave the paste on for as long as possible.
**6. Remove the Paste*
Gently scrape off the dried henna paste using a blunt object like a spoon or your fingernail. Avoid using water immediately, as it can impact the final color. For a richer, darker stain, try to leave the henna on for several hours or overnight before removing it.
**7. Aftercare*
To enhance the depth of your henna stain, apply a mixture of lemon juice and sugar to the dried design. This helps in darkening the color and extending its duration. Be gentle with the area and avoid excessive washing or scrubbing.
#### **Tips for Perfecting Your Stunning Henna Designs**
- **Practice Makes Perfect* If you're new to henna, practice your design on paper or a practice hand before applying it to skin.
- **Experiment* Don’t be afraid to experiment with different styles and elements to create a unique design that reflects your personal taste.
- **Seek Inspiration* Explore henna art books, online galleries, and social media for inspiration and techniques to enhance your designs.
#### **Conclusion**
Stunning henna designs offer an opportunity to showcase your creativity and make a lasting impression. Whether you choose traditional patterns or modern motifs, the key is in the details and the application. With practice and patience, you can master the art of henna and create designs that are both beautiful and memorable.
**Ready to transform your look with breathtaking henna designs? Share your creations with us and use #hennaart for a chance to be featured! 🌟✨**
---
With these tips and steps, you’re set to create henna designs that not only catch the eye but also reflect your unique style. Enjoy the process and let your creativity shine!