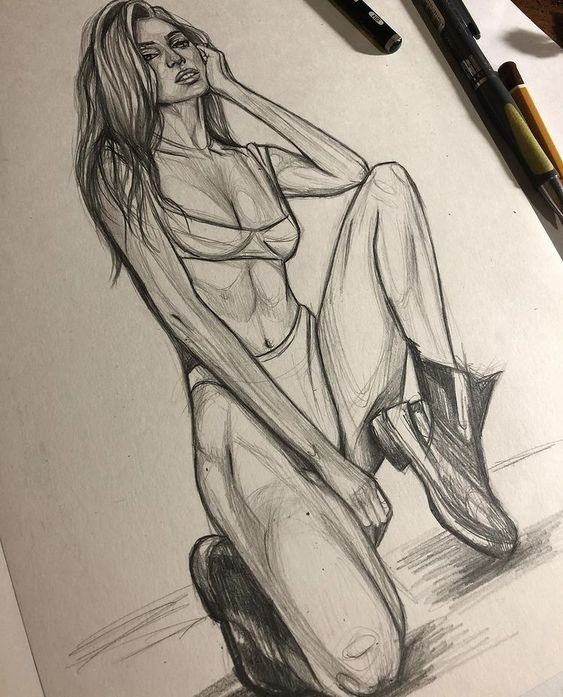
Sketching with a Pencil: A Guide to Body Drawings
Drawing the human body can be both challenging and rewarding, offering artists the chance to capture the beauty, complexity, and movement of the human form. Whether you’re an aspiring artist or a seasoned creator looking to refine your skills, understanding how to sketch the body effectively is crucial. This guide will walk you through essential techniques, tips, and practices for creating compelling body drawings with just a pencil.
1. Understanding Proportions
The foundation of a successful body drawing lies in accurate proportions. Begin by familiarizing yourself with basic proportion rules:
Head-to-Body Ratio: Traditionally, the human body is about 7.5 to 8 heads tall. This ratio helps maintain realistic proportions in your sketches.
Shoulders and Hips: The width of the shoulders is roughly 2 head widths, and the hips are slightly wider than the shoulders.
Limbs: The arms and legs should be proportionate to the torso. The arms typically reach mid-thigh when hanging naturally.
Use these guidelines as a starting point, but remember that variations can occur based on body types and poses.
2. Mastering Basic Anatomy
A solid understanding of anatomy is vital for realistic body drawings. Focus on:
Skeleton Structure: Study the basic skeletal structure to understand the underlying framework. Key areas include the rib cage, spine, and limb bones.
Muscle Groups: Learn the major muscle groups and how they affect the body’s surface contours. Key muscles include the deltoids, biceps, triceps, and quadriceps.
Anatomy books, online resources, and practice with life drawing models can deepen your knowledge and improve your sketches.
3. Gesture Drawing for Dynamic Poses
Gesture drawing is a technique used to capture the essence of a pose quickly and fluidly. It’s not about details but rather about conveying movement and energy. Practice short, quick sketches (1-5 minutes) focusing on the overall action and flow of the body.
Start with Simple Lines: Begin by sketching a basic line or curve that represents the body’s movement.
Add Major Forms: Incorporate simple shapes (e.g., circles and ovals) to represent the torso, head, and limbs.
Refine the Pose: Gradually add details and correct proportions as you develop the sketch.
4. Shading and Texture
Shading adds depth and dimension to your drawings, making them more lifelike. Follow these tips:
Light Source: Determine the light source’s direction to create consistent shadows and highlights.
Use a Range of Pencils: Different pencils (e.g., 2B, 4B, 6 offer varying degrees of darkness. Use softer pencils for darker areas and harder pencils for lighter areas.
Blending Techniques: Use blending tools or your fingers to smooth out transitions between light and dark areas. Avoid harsh lines for a more realistic effect.
5. Practice and Observation
The key to improvement is consistent practice and keen observation. Here are some ways to enhance your skills:
Draw from Life: Practice sketching real people in various poses. Life drawing classes or sessions with models can be invaluable.
Analyze Works of Masters: Study the body drawings of renowned artists. Pay attention to their techniques and how they handle proportion, anatomy, and shading.
Keep a Sketchbook: Regularly sketch in a dedicated book to track your progress and experiment with different styles and techniques.
Conclusion
Drawing the human body is a skill that takes time and dedication to master. By understanding proportions, anatomy, gesture drawing, shading, and consistently practicing, you’ll be well on your way to creating expressive and accurate body drawings. Embrace the learning process and enjoy the journey of bringing the human form to life with your pencil.


