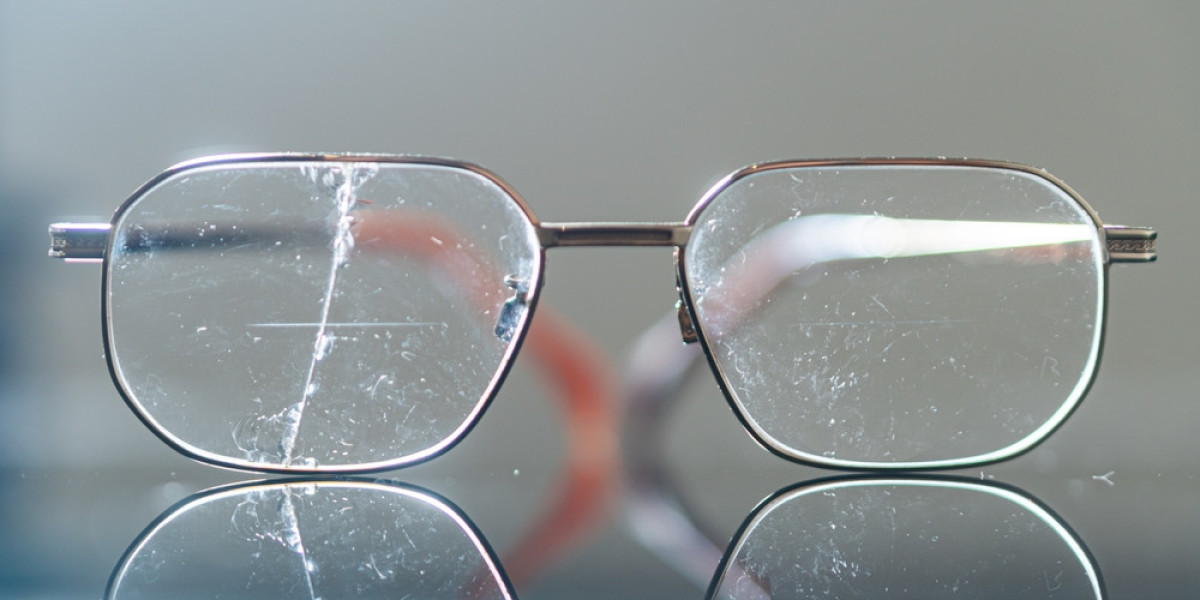
A lampshade reducer ring is a small metal or plastic ring that fits on top of a light bulb socket to reduce the size of its opening for lamp shades, enabling smaller shades to fit on larger lights without risking glare from an exposed bulb.
Lampshade reducers can also help create an appealing and balanced aesthetic in any room. They help make lampshades shorter for greater aesthetics.
Moreover, Lampshade reducer rings are metal rings designed to fit onto lampshades to adapt them for smaller harp bases or sockets. When deciding on one for your fixture, be sure to select the appropriate size ring to guarantee its safety and secure connection.
Now before you begin removing the lampshade reducer ring start by taking measurements of your lightbulb socket's diameter; this will give you an idea of the appropriate reducer ring size.
Use A Screwdriver with a Socket on the End
Lampshade reducer rings are small pieces of metal that fit around the base of lamps and help make shades fit more comfortably. Available from hardware stores or online, lampshade reducer rings come in multiple sizes to meet different shade sizes - some even come with decorative finishes like chrome or brass to match lamp bases!
Before installing a lamp shade reducer ring, it is vitally important that all hardware has been unplugged from your lamp and removed. This step is vital as it reduces the risk of electrical shock or damage to your lamp; if unsure, use a non-contact voltage tester as additional assurance that everything is off.
Start by unbolting and unscrewing the lampshade from its lamp, followed by locating and unscrewing its harp or cluster socket underneath. This should be easy since most harps feature a screw that can be unscrewed with a screwdriver; once unscrewed, unscrew from the bottom of the lamp, unscrew the screw from the harp, and install a new socket.
Once you've swapped out your old socket with a new one, the reducer ring must fit securely around it. A too-large reducer ring may not sit on the socket snugly and could hinder light output - for optimal results it should be slightly smaller than its diameter to guarantee secure fitment.
Once the reducer ring has been fitted to a lampshade in its proper size, it can be attached with glue or adhesive and attached back onto its base and attached back together using screws or rivets. Once this step has been completed, it is time to reattach the shade back onto its base, screw in your bulb, test the lamp before turning it on, and adjust as necessary using a wrench or pliers if required if the nipple has become off balance; tighten if necessary to align everything before turning on.
Lampshade reducer rings come in various sizes, so you must select one suitable for your lamp. If unsure, consult an expert or consult your manual. Once selected, installation requires using a screwdriver under the harp base, loosening screws using the said tool, then finally lifting off and taking away. Once this process has taken place, lampshade removal becomes free from its mountings and can take place as desired.
After you have taken steps to remove and replace your harp base, reassembling it requires taking certain precautions. First and foremost, ensure that its diameter matches that of the old base as it must fit seamlessly. Use a screwdriver to tighten any loose screws without overdoing it; additionally, glue can also help secure it in its place.
A lampshade reducer ring is an essential accessory for a lampshade and can help convert larger shades to fit onto smaller harp bases. Made from either metal or plastic, the circular reducer rings usually fit snuggly inside larger openings on lampshades before being attached securely onto their respective lamp bases for secure connections.
Using a flathead screwdriver
The lampshade reducer ring is a small piece of metal that connects a lampshade to its base, helping reduce the size of its opening at the top and making fitting lightbulbs simpler. Available in multiple sizes for different lamp styles and types, installation requires no tools - perfect for DIY-ers!
Care must be taken when removing the ring so as not to damage or break it, and before beginning this process it would be prudent to separate the lamp from its base to minimize accidental damage during this process. This will also help avoid any unexpected expenses that might be incurred as a result.
If you are having difficulty removing the lampshade reducer ring, consider using a screwdriver with a flathead tip. This type of screwdriver can easily fit into screws to loosen them, making removing it simpler. Or try heating the ring using a hairdryer; that may make removal simpler too!
Once the ring has been taken off, you can replace it with one that fits better. Make sure that when purchasing new rings, they are slightly smaller than the inner diameter of your lampshade for optimal results and don't fall off when turning on your lamp.
As the first step of replacing a lampshade, identifying and locating the harp should be your top priority. This component sits below the socket and supports the lampshade; typically connected to its base using notched legs inserted into slotted arms on its base. If you want to remove this part from the lamp altogether, unscrew or otherwise remove its finial from its position above, gently squeeze these notched legs inward until they slip out from under their slots on its base.
Unscrew the Light Bulb
This lampshade ring reducer washer is perfect for quickly and easily fitting smaller lampshades onto larger lamps. Easy to use and snugly fitting on any lamp base, its simplicity ensures its use without hassle or mishap. For optimal use ensure that it fits slightly smaller than the inside diameter of the shade - this will prevent it from dislodging off its socket!
To successfully change lampshades, it's crucial to know how to unscrew the lamp harp base properly and unhook the lamp harp without damaging or restricting access to new bulbs. To unhook a harp properly, first loosen its decorative nut using a screwdriver before unplugging it with your fingers.
After turning off the light, use pliers to unscrew the base of the bulb. Be wary not to break it while trying to unscrew it! For assistance removing fastened bulbs consult a professional.
Once the bulb is out of the lamp, you can begin dismantling its shade. Unscrewing its ring can be done using needle nose pliers; simply slide one into its slot as wide open as possible before turning it anticlockwise until it comes off.
After disassembling and installing new bulbs (with new rings), attach new lampshades (including any replacement rings you might need to purchase) then turn on and adjust accordingly before leaving home. Always test lighting conditions first! You may require adjustments on some bulbs.
Remove the Lampshade
Lampshade reducer rings are small circular pieces of metal or plastic that connect the base of your lampshade to its socket. They typically come in neutral colors like black or white but can also be finished off in decorative chrome or brass to match your lamp base. While not necessary for every fixture, lamp shade reducer rings can come in handy when changing up its look by swapping out its lampshade or bulb.
Before beginning to remove or install a lampshade, ensure the light switch is off and no one else is in the room - this will help avoid accidents while working. In addition, if your lampshade cannot be reached from ground level directly, consider working from a secure ladder instead.
When replacing lampshades, they must fit properly on their lamp bases. You can do this by feeling for any ridges on top of the metal lampshade ring; if any exist, a flathead screwdriver must be used to loosen and eventually dismantle it before removal can begin.
Finding a lamp shade reducer ring of the appropriate size is equally crucial. Make sure that it fits just slightly smaller than the diameter of your lamp base socket, so it stays secure in place, and if in doubt about what size to purchase ask an advisor at hardware or lighting showrooms for advice.
When buying a lamp, consider getting a lampshade reducer ring as part of its installation. This small piece screws onto your light bulb socket to reduce its size for your lampshade opening and reduce cost by using smaller shades. It is easy to set up and could save you money with its use!
Lampshade reducer rings can be purchased at most hardware stores and lighting showrooms, as well as online. When selecting one for your lamp's lightbulb socket diameter, select one slightly smaller to ensure it fits securely without falling off over time.
To take off a lampshade from its lampshade reducer ring, first remove all screws. Once that is completed, take some rubbing alcohol and rub it onto a paper towel or cotton swab, starting from the top and working around to the bottom until all adhesive residue has been cleared away with damp cloth wipes - at this point your lampshade should slide right off!
Use a screwdriver equipped with both Phillips head and flathead tips for leverage to remove the ring from its mount but beware not to overtighten as this could damage the harp base. Once detached from its mount, reuse or discard. For extra help removing lampshades from lampshade reducer rings ask friends or neighbors; they might have some valuable advice that'll save time and effort!
Unscrew the Reducer Ring
Lampshade reducer rings are circular metal or plastic rings designed to fit inside the larger opening of lampshades, shrinking their diameter to match that of their socket or harp base. While any material can be used, brass and silver tend to provide more of an appealing and sturdy aesthetic. They are available at hardware stores or lighting showrooms or can even be ordered online.
Step one of fitting a lamp shade reducer ring is finding the appropriate size; this can be accomplished using a tape measure to determine the diameter of your light bulb socket. A slightly smaller size ring should ensure it fits securely without falling off when the lamp is turned on.
Once the ring is the appropriate size, it can be attached to the lampshade's top. When setting it in place, make sure it sits flush against the inner rim of the shade to create a balanced and polished appearance for your lamp. After it is secured to its position, embellishments or decorations may be added for an individualized touch.
Checking for wear and tear regularly on rings is essential to their durability, especially during active use. If they become loose, they should be secured back together using glue or another form of adhesive so as not to come loose during usage.
In addition, periodically wiping down with a damp cloth may help ensure the ring remains free from dust or other forms of debris - this will extend its lifespan.
Step one in uninstalling a lampshade reducer ring is to loosen the screw at the top of its base, followed by unplugging its metal ring from its socket. If this proves difficult, try heating it with a hairdryer until it becomes easier to grip.
To remove the ring from your lamp, use a screwdriver with a socket at its end to loosen its screw. Once removed, screw back onto your socket before turning off the circuit breaker; if unsure how to wire a lamp it is best to consult an experienced electrician.
Unscrew the Harp Base
Lampshade reducer rings are small rings designed to fit inside of lampshades to help narrow and proportional their opening, which makes them easier to use if your lampshade does not fit onto conventional North American sockets, or your existing shade is too big, but you want to keep it on the lamp base. They are especially helpful if your lampshade won't fit onto European sockets or already has too big of an opening; such a reduction may help.
This ring screws into the top stud on your harp base and has a groove on its surface to prevent it from unscrewing too far. To unscrew it safely, use a flathead screwdriver and insert its tip into any groove before working your way looser along all ridges until you can completely unfasten it from your lamp.
Install a new harp base once the ring has been removed and make sure it fits your lamp perfectly - ensure it fits by making sure its thread size matches 3/8", while its top stud has 1/4x27 threads for compatibility with glass shades. Sunshine offers both bright brass and antique brass finish harp bases, along with special models tailored specifically for glass shades.
If you want to add an elegant and polished touch to your harp base, add a finial. Think of finials like hair pins: functional yet decorative, they secure your shade to the harp. Available at most home improvement stores as well as online, finials can take an ordinary lampshade and give it an impressive and polished appearance.
Remove the Harp Base
Lamp shades may not always fit their bases exactly, creating a lamp that appears off-balance and looks discordant. While you could always adjust its height using different harps or swap out for taller or shorter versions of one type or another, that alone may not create an appealing aesthetic height. A lampshade riser provides an easy solution that comes in a range of beautiful styles and finishes to address this problem.
First, remove the harp base from your lamp by unscrewing its screws. Once this step has been accomplished, install your new one using its supplied screws. If unsure which size harp to get, take measurements of your socket diameter for use as guidance when purchasing a reducer ring - this way a tape measure can help.
Before installing your new harp, be sure to remove any grease or oil build-up. This will ensure it remains in top shape without harming the lampshade, while wiping down its interior can help clear away dirt or dust build-up.
Once your new harp is attached, simply screw in the bulb and connect your lampshade - add any decorative accents you like, and your lamp is ready to be used!
While this method can be an efficient way to remove the ring from a lampshade, it should only be applied to metal lampshades. Plastic shades will likely be damaged by trying this approach so it's best left to professionals.
If you do attempt it with plastic rings instead, make sure you use something such as rubbing alcohol or another solvent such as mineral spirits to clean away any adhesive residue left on their surfaces before trying again with this approach.
Once done, store away your harp base safely so it doesn't become damaged or lost, and make sure you keep one as an extra option should something arise that needs replacing at some point down the road!
Reattach the Shade
Lampshade reducer rings are circular metal or plastic rings designed to fit inside the larger opening of lampshades to reduce their size and can be found at hardware stores and lighting showrooms. You may need to measure your lamp base or light bulb socket to get the correct size ring; once fitted correctly it provides a stable connection between shade and base for greater stability and alignment.
Before beginning the task of unwrapping your lamp shade reducer ring, make sure that both your light switches are off and no one else is present - this ensures you do not accidentally turn on or hurt yourself by turning on any lights unexpectedly or turning them on by accident. Carefully unwrap the lampshade by twisting it gently while pulling it towards you while twisting it away from you; this will loosen its hold on you and make it simpler to unwrap with just one hand.
Once you've removed a lampshade reducer ring, it must be thoroughly cleaned to prevent debris from falling into your light bulb or damaging the lamp base. Rubbing alcohol and paper towel or cotton swabs works effectively here; once cleaned you can reattach your lampshade and adjust its height. Make sure the ring remains secure as time goes on; should it loosen, hot glue or another adhesive may need to be used to reattach it if necessary.