Transform Your Space: DIY Homemade Yarn Pom-Pom Rug That's Totally Trending
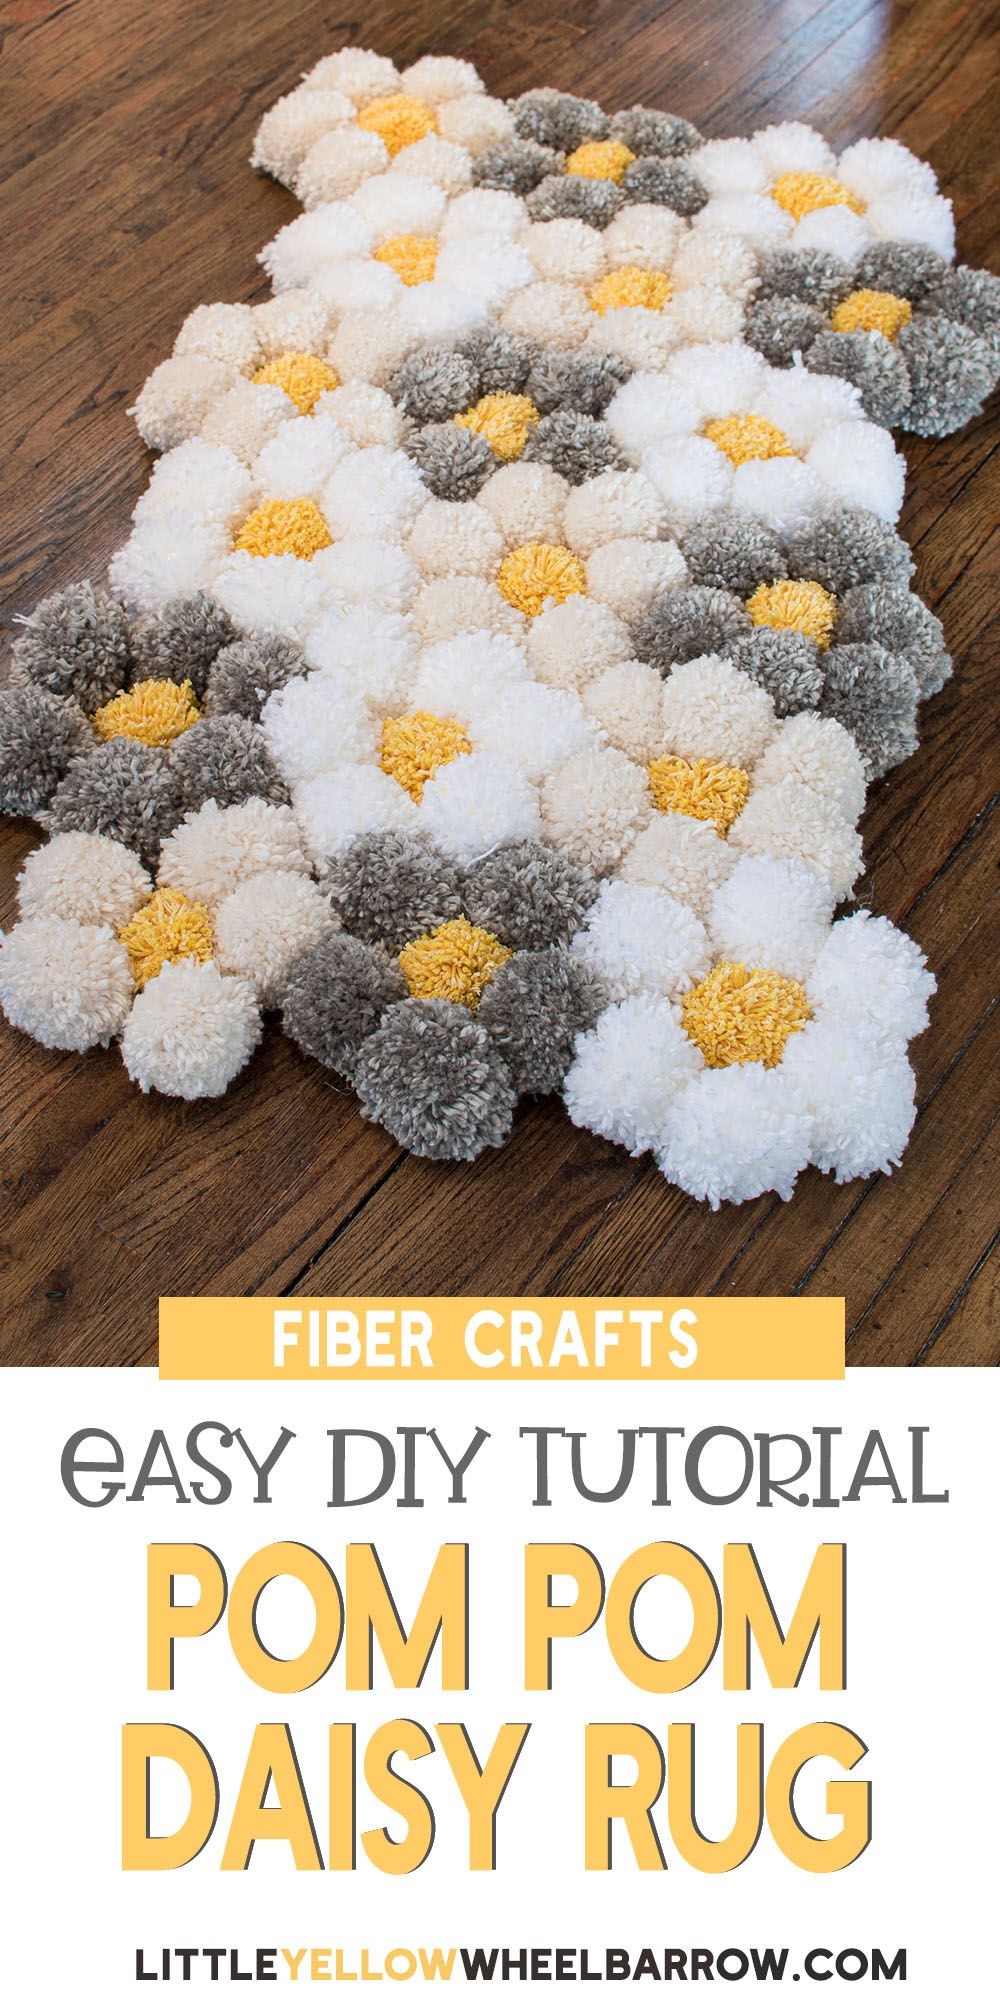
Looking to add a pop of personality and coziness to your home decor? A DIY homemade yarn pom-pom rug might be just what you need! This trendy, handcrafted rug is not only a fun project but also a stylish addition to any room. Whether you’re a seasoned crafter or a DIY novice, creating your own pom-pom rug is a satisfying and rewarding experience. Let’s dive into how you can transform your space with this charming and customizable rug!
## Why Choose a Yarn Pom-Pom Rug?
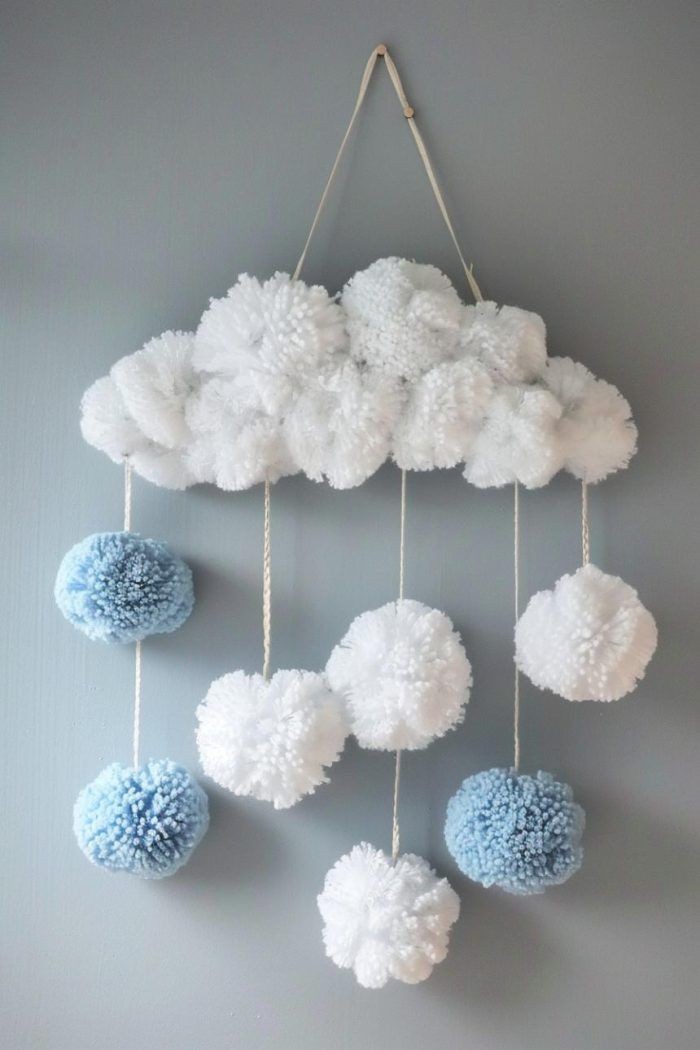
**Unique Style* Pom-pom rugs bring a playful and whimsical touch to your home decor. With their fluffy texture and vibrant colors, they can become a standout piece in any room.
**Personalization* You can customize the colors, sizes, and patterns of your pom-pom rug to perfectly match your style and space. Whether you prefer a bold, bright design or a more subtle, neutral look, the choices are endless.
**Craftsmanship* Making a pom-pom rug is a rewarding craft project that allows you to create something beautiful with your own hands. Plus, it’s a great way to relax and unwind while working on a creative project.
## Materials You'll Need
1. **Yarn* Choose your favorite yarn colors and textures. You’ll need several skeins of yarn to make enough pom-poms for your rug.
2. **Pom-Pom Maker* A pom-pom maker tool makes it easy to create evenly sized pom-poms. Alternatively, you can use cardboard circles to make pom-poms by hand.
3. **Rug Base* You can use a pre-made rug base or make your own by cutting a piece of fabric or burlap to the desired size.
4. **Scissors* Sharp scissors are essential for trimming your pom-poms to the desired fluffiness.
5. **Hot Glue Gun* A hot glue gun is useful for attaching the pom-poms to your rug base. Make sure to have plenty of glue sticks on hand.
6. **Ruler and Marker (Optional)* Use a ruler and marker to plan your pom-pom layout if you want a specific pattern or design.
## Steps to Create Your Yarn Pom-Pom Rug
### 1. **Prepare Your Yarn**
Choose your yarn colors and textures based on your design vision. For a vibrant rug, select a variety of bright colors. For a more subdued look, stick to neutral shades.
### 2. **Make Your Pom-Poms**
Using a pom-pom maker or cardboard circles, create your pom-poms:
- **Using a Pom-Pom Maker* Follow the instructions provided with your pom-pom maker. Generally, you’ll wrap yarn around the tool, secure it, and cut the loops to create fluffy pom-poms.
- **Using Cardboard Circles* Cut two circles of cardboard with a small hole in the center. Place the yarn between the circles, wrap it around, and then tie off the center. Cut the outer edges to create pom-poms.
### 3. **Trim and Fluff**
Once you’ve made your pom-poms, trim them to ensure they are even and fluffy. Use sharp scissors to cut any uneven areas and fluff up the pom-poms for a full, rounded look.
### 4. **Prepare Your Rug Base**
If you’re using a pre-made rug base, lay it flat on your work surface. If you’re making your own base, cut your fabric or burlap to the desired size and shape of your rug.
### 5. **Arrange Your Pom-Poms**
Before gluing, arrange your pom-poms on the rug base to plan your design. You can create a random, colorful pattern or a more structured design based on your preferences.
### 6. **Attach the Pom-Poms**
Using a hot glue gun, start attaching your pom-poms to the rug base. Apply glue to the center of each pom-pom and press it firmly onto the base. Continue adding pom-poms until the entire base is covered.
### 7. **Let It Dry**
Allow the glue to dry completely before using your new rug. This ensures that all the pom-poms are securely attached and won’t come loose.
### 8. **Add the Finishing Touches**
Once the glue is dry, you can give your rug a final trim if needed. Check for any uneven areas and adjust the pom-poms as necessary.
## Tips for Success
- **Be Patient* Making a pom-pom rug takes time and patience. Don’t rush the process, and take breaks if needed.
- **Experiment with Textures* Try using different types of yarn, such as chunky or fluffy yarn, to add texture to your rug.
- **Mix and Match Colors* Play with color combinations to create a dynamic and eye-catching rug.
## Caring for Your Pom-Pom Rug
To keep your pom-pom rug looking its best:
- **Vacuum Regularly* Gently vacuum the rug to remove dust and debris.
- **Spot Clean* If spills occur, spot clean with a damp cloth and mild detergent. Avoid soaking the rug.
- **Avoid High Traffic Areas* Consider placing your rug in low-traffic areas to prevent excessive wear.
## Final Thoughts
A DIY yarn pom-pom rug is more than just a home decor item; it’s a creative expression and a fun project that can transform any space. With its vibrant colors, fluffy texture, and personalized design, this rug is sure to bring joy and style to your home. So gather your materials, unleash your creativity, and enjoy the process of crafting your own adorable pom-pom rug!
Happy crafting!


