### Summer Nails: Pink and Orange Starfish Design
Transform your nails into a seaside escape with a playful and vibrant starfish design featuring pink and orange hues. Here’s how to achieve this fun and tropical look for your summer manicure:
1. **Base Coat Preparation**
- Clean and prepare your nails with a clear base coat to protect and strengthen.
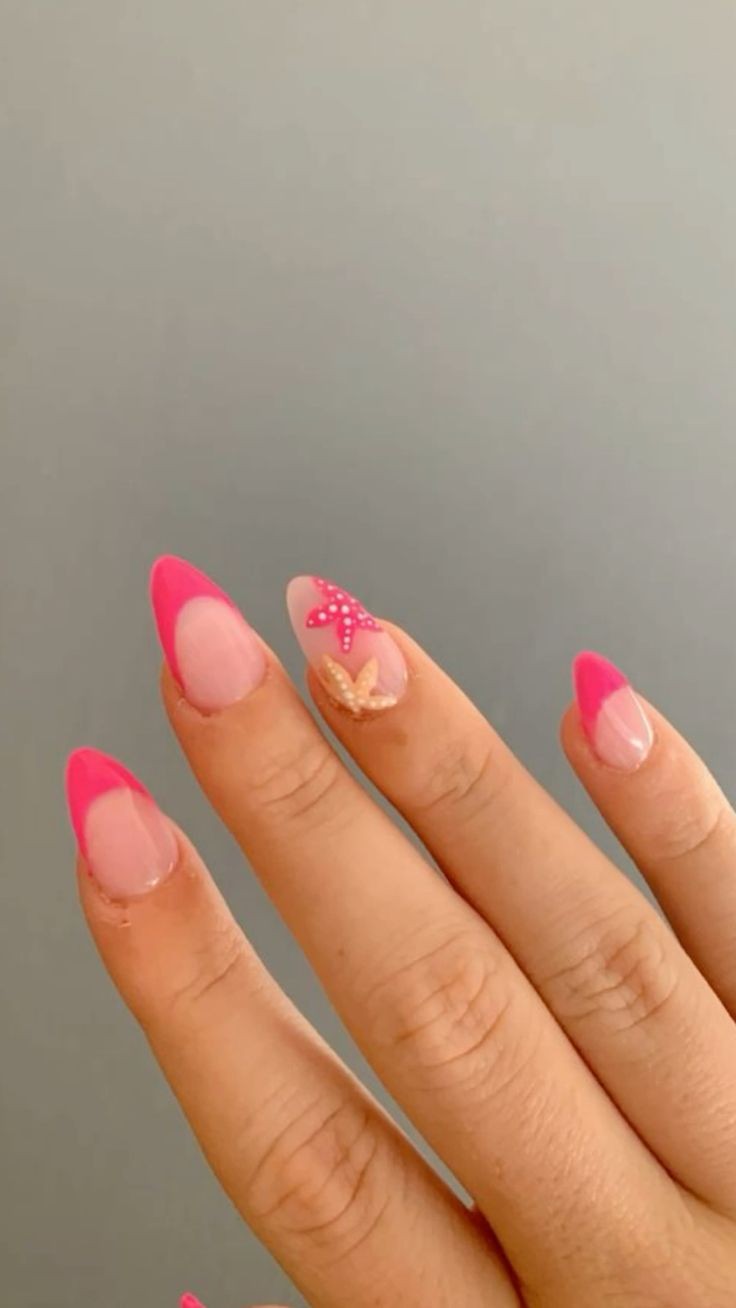
2. **Pink Base Color**
- Apply a light pink nail polish as the base color on all nails. Let it dry completely.
3. **Orange Starfish Design**
- Use a small nail art brush or dotting tool to create starfish shapes on each nail using an orange nail polish. Start with the body of the starfish in the center of the nail.
4. **Adding Details**
- Add details to the starfish design with tiny dots or lines using a darker shade of orange or white to create texture and definition.
5. **Accent Nails**
- Choose one or two accent nails for a more elaborate starfish design or add smaller starfish designs to other nails for variation.
6. **Seal with Top Coat**
- Once the design is complete and dry, apply a glossy top coat to seal the manicure and add shine. This also helps to protect the design from chipping.
7. **Optional Beach Elements**
- For an extra beachy vibe, add small accents like tiny seashells or glitter in gold or silver to complement the starfish design.
8. **Care Tips**
- Maintain your summer nail design by applying cuticle oil daily and avoiding prolonged exposure to water to extend its lifespan.
9. **Variations**
- Experiment with different shades of pink and orange or add other sea creatures like seahorses or shells to customize your summer nail design.
10. **Removal**
- When it’s time to remove the nail polish, use a gentle nail polish remover to avoid drying out your nails.
---
This outline provides a step-by-step guide to creating a playful and summery pink and orange starfish design for your nails. You can expand on each step with more detailed instructions and tips to help readers achieve the perfect summer nail look.