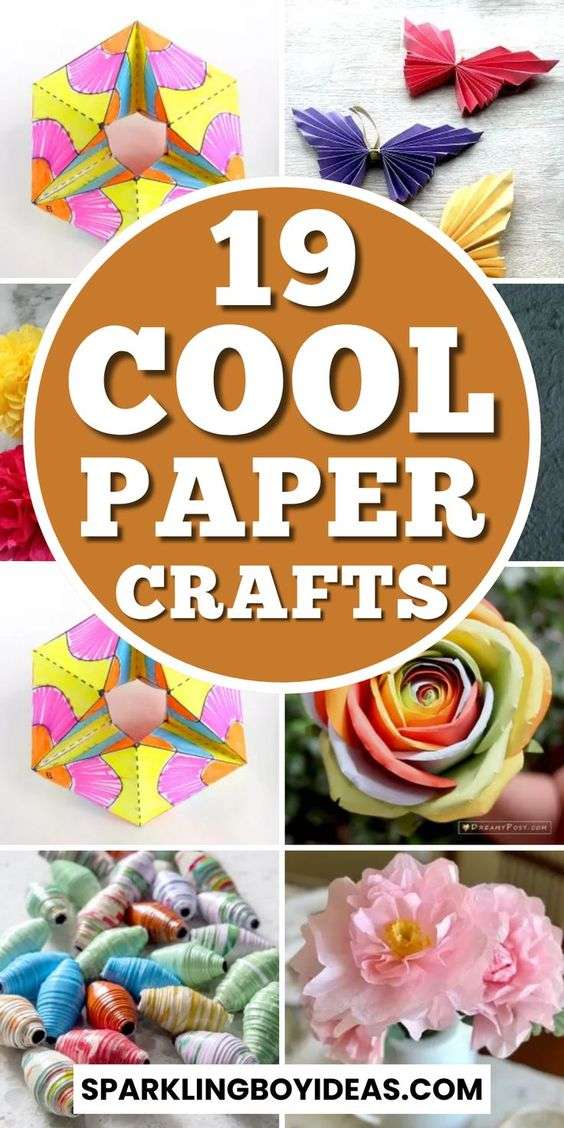
### Creative Paper Crafts to Try Today
Paper crafts are not only fun and accessible but also incredibly versatile, allowing you to create a wide range of projects from simple decorations to intricate artworks. Whether you're looking for a quick afternoon activity or a more detailed project to dive into, here are some creative paper crafts to inspire your creativity today.
#### 1. **Origami Animals**
**Materials*
- Square origami paper or any square-shaped paper cut into equal sizes
- Instructions for various origami folds (books, online tutorials)
**Instructions*
1. **Choose Your Design* Select an origami animal pattern you'd like to create (e.g., crane, frog, butterfly).
2. **Fold* Follow step-by-step instructions to fold the paper into the desired animal shape. Origami involves precise folds and creases, so take your time and ensure each fold is crisp.
3. **Detailing* Add eyes, wings, or other features with markers or additional paper for a personalized touch.
4. **Display* Once complete, display your origami animals on shelves, desks, or create a mobile to showcase your collection.
#### 2. **Quilling Art**
**Materials*
- Quilling paper strips (or cut thin strips of colored paper)
- Quilling tool (or toothpick)
- Glue
- Tweezers (optional)
**Instructions*
1. **Rolling Paper Strips* Take a paper strip and roll it tightly around a quilling tool or toothpick to create a coil.
2. **Forming Shapes* Pinch one end of the coil to form a teardrop or eye shape. Use tweezers for precision if desired.
3. **Gluing* Apply a small amount of glue to secure the end of the coil.
4. **Creating Designs* Experiment with different shapes and sizes of coils to create intricate designs such as flowers, animals, or abstract patterns.
5. **Mounting* Once your quilling art is complete and dry, mount it on cardstock or frame it for display as wall art or handmade cards.
#### 3. **Paper Flower Bouquets**
**Materials*
- Colored craft paper or cardstock
- Scissors
- Glue
- Floral wire or pipe cleaners
- Vase or container
**Instructions*
1. **Cutting Petals* Cut out flower petals in various shapes and sizes from colored paper. You can use templates for consistency or freehand cut for a more natural look.
2. **Assembly* Layer the petals starting with the largest at the bottom and smallest at the top. Secure each layer with glue to create a flower.
3. **Adding Stems* Attach floral wire or pipe cleaners to the back of each flower using glue. Optionally, wrap the wire with floral tape for a realistic stem.
4. **Arranging Bouquet* Arrange your paper flowers in a vase or container, adjusting the height and position of each flower for a balanced bouquet.
#### 4. **Paper Mache Masks**
**Materials*
- Balloon or mask form
- Newspaper strips
- Paper mache paste (flour and water mixture)
- Paints, markers, or decorative materials
**Instructions*
1. **Prepare Mask Form* Inflate a balloon to the desired size or use a mask form as a base.
2. **Layering Paper Mache* Dip newspaper strips into paper mache paste and apply them evenly over the mask form. Layer several times until the form is covered and sturdy.
3. **Drying* Allow the paper mache to dry completely. This may take a day or two depending on the thickness of the layers.
4. **Decorating* Once dry, paint your mask with colorful designs, add details with markers, or embellish with feathers, beads, or other decorative materials.
5. **Wearing or Displaying* Use your paper mache mask for costume parties, theatrical productions, or display it as a unique art piece in your home.
#### 5. **Pop-Up Cards**
**Materials*
- Cardstock or heavy paper for card base
- Decorative paper or colored paper for pop-up elements
- Scissors
- Glue
- Markers, stickers, or other embellishments
**Instructions*
1. **Card Base* Fold a piece of cardstock or heavy paper in half to create the card base.
2. **Creating Pop-Ups* Cut decorative paper into strips or shapes. Fold each strip or shape in half.
3. **Attaching Pop-Ups* Open the card and glue the folded pop-up elements inside the card, ensuring they will pop up when the card is opened.
4. **Designing* Decorate the front of the card with markers, stickers, or other embellishments to complement your pop-up design.
5. **Personalizing* Write a heartfelt message inside the card and surprise someone special with your handmade pop-up creation.
#### Conclusion
These creative paper crafts offer endless possibilities for artistic expression and handmade gifts. Whether you're exploring the ancient art of origami, creating intricate quilling designs, crafting paper flower bouquets, molding paper mache masks, or making delightful pop-up cards, each project allows you to unleash your creativity and enjoy the satisfaction of crafting with paper. So gather your materials, follow the instructions, and let your imagination soar with these inspiring paper craft ideas today!


