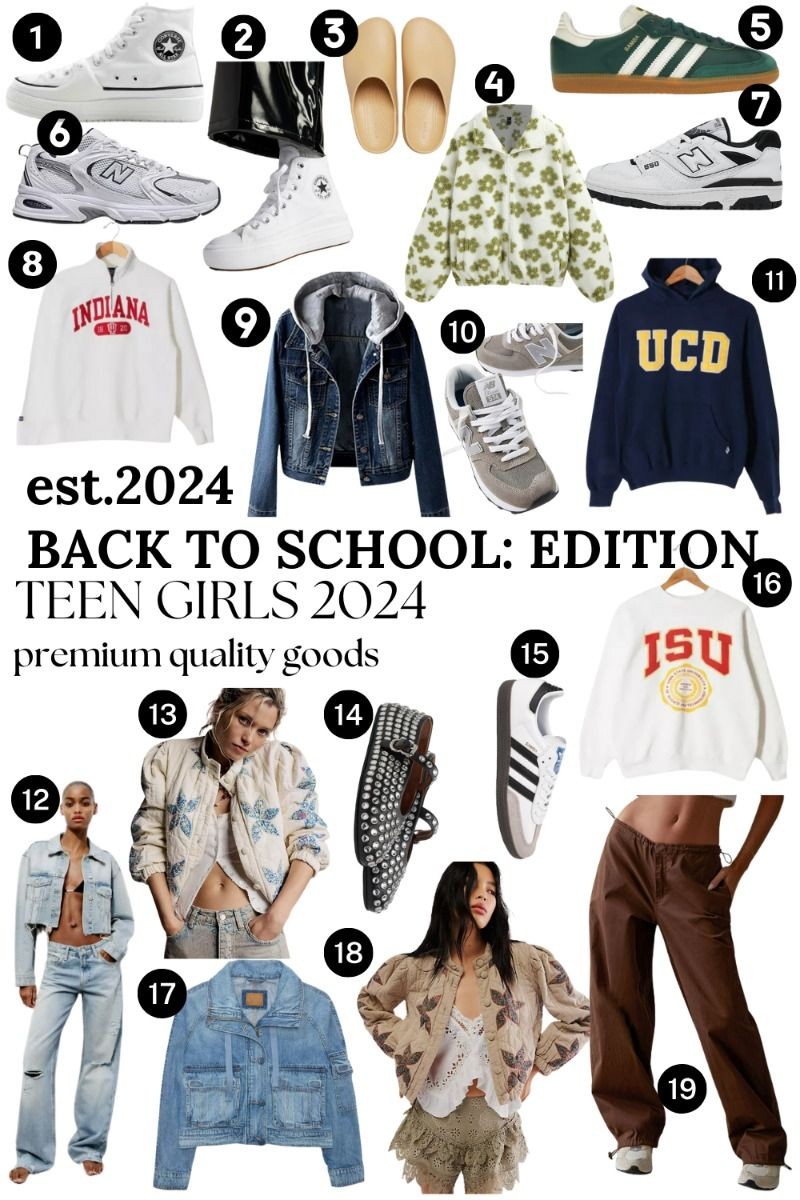
### Trending Back-to-School Styles for Teen Girls in 2024
As summer transitions into fall, the fashion scene for teen girls is evolving with fresh trends that blend comfort, style, and individuality. Here’s a glimpse into what’s trending for back-to-school styles in 2024:
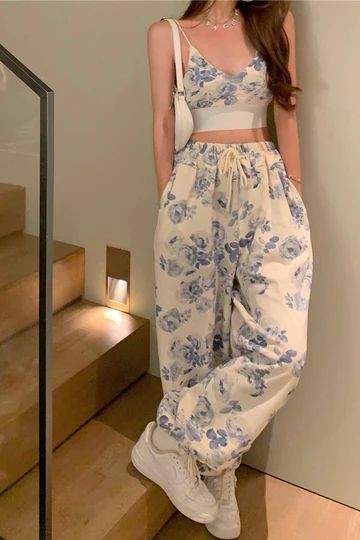
#### 1. **Athleisure Revamped**
Embracing both comfort and chic, athleisure continues to dominate. Look for oversized hoodies paired with leggings featuring bold patterns or vibrant colors. High-top sneakers or chunky trainers complete this sporty yet stylish ensemble.
#### 2. **Vintage Renaissance**
Retro fashion makes a comeback with a modern twist. Think pleated skirts paired with graphic tees, oversized blazers worn over mini dresses, and vintage denim jackets adorned with patches or embroidery. Accessories like scrunchies, chunky belts, and small shoulder bags add a nostalgic touch.
#### 3. **Eclectic Mix of Textures**
Layering different textures is key to creating a standout look this season. Velvet tops paired with faux leather skirts, knitted sweaters worn with denim shorts, or satin blouses matched with corduroy pants are all popular combinations. Mixing and matching textures adds depth and interest to outfits.
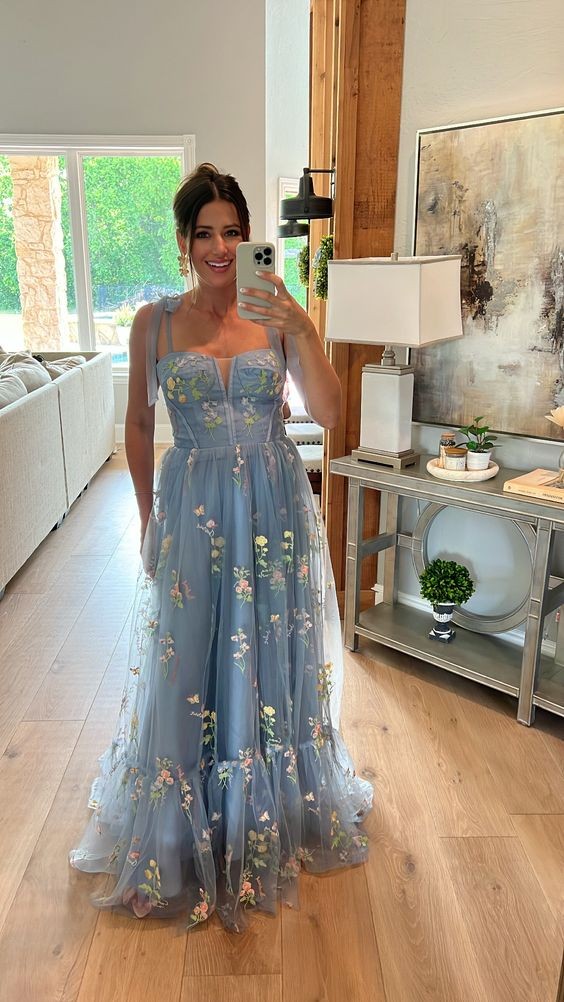
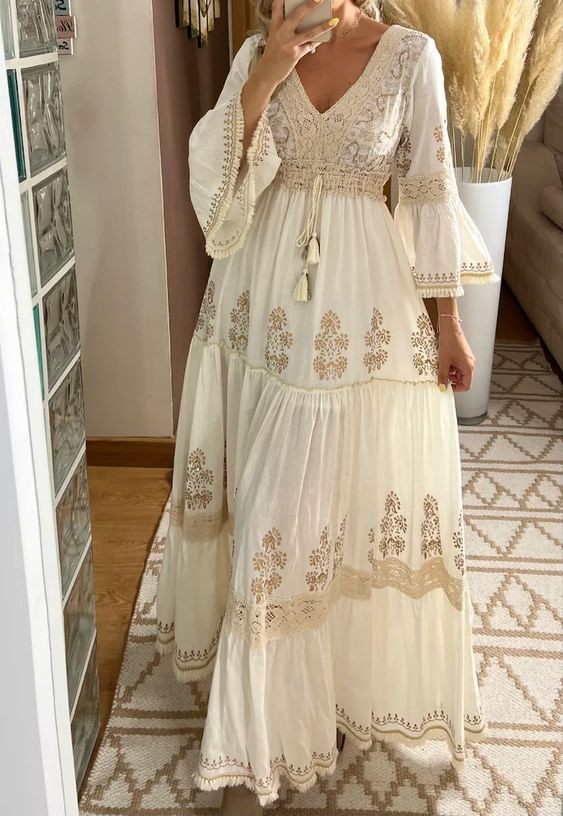
#### 4. **Boho Bohemian Vibes**
Boho-inspired outfits remain popular, blending free-spirited elegance with a laid-back vibe. Maxi dresses with floral prints, crochet tops paired with high-waisted jeans, and flowing skirts accessorized with layered necklaces and floppy hats embody this trend. Earthy tones and natural fabrics like cotton and linen dominate this style.
#### 5. **Techwear Influence**
Drawing inspiration from futuristic designs, techwear elements are infiltrating casual wear. Look for utility vests paired with cargo pants, oversized hoodies with built-in headphones, and sneakers featuring innovative materials and designs. This trend appeals to those embracing a blend of functionality and avant-garde fashion.
#### 6. **Sustainable Fashion**
With environmental awareness on the rise, sustainable fashion choices are becoming increasingly popular. Thrifted finds, upcycled pieces, and eco-friendly materials like organic cotton or recycled polyester are favored. Brands emphasizing ethical production practices and eco-conscious consumers are driving this shift towards sustainability.
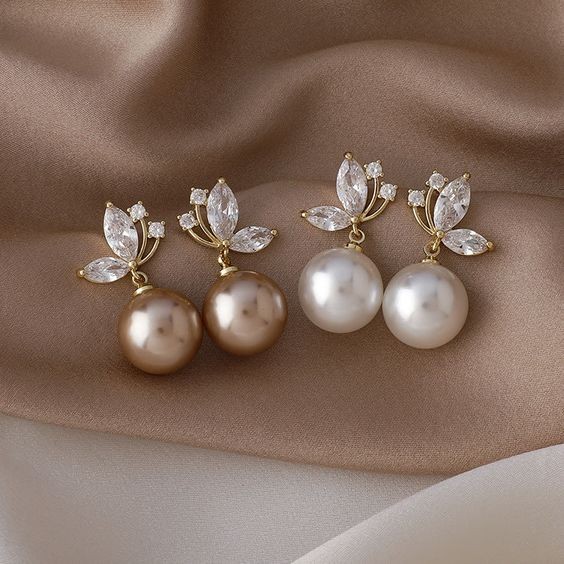
#### 7. **Personalized Accessories**
Customization is key when it comes to accessories. Customized backpacks with patches or initials, DIY decorated sneakers, and personalized jewelry pieces allow teens to express their unique style. Mixing handmade items with mass-produced accessories adds a personal touch to any outfit.
In conclusion, the back-to-school fashion landscape for teen girls in 2024 is diverse and vibrant, offering a range of styles from athleisure comfort to vintage charm and sustainable choices. Whether embracing retro trends or experimenting with futuristic designs, the key is to blend individuality with current fashion sensibilities. This season, express yourself through clothing that not only looks good but also reflects your personality and values.
---