19+ Neutral Bedroom Decor Ideas for a Cozy, Boho Retreat
Creating a neutral, boho-inspired bedroom can transform your space into a tranquil retreat, perfect for unwinding after a long day. If you're looking to design a cozy haven that seamlessly blends style and comfort, these 19+ neutral bedroom decor ideas will guide you every step of the way.
1. Embrace a Neutral Palette
Start with a neutral color scheme—think whites, creams, beiges, and soft grays. These colors create a calming environment and serve as a versatile backdrop for various textures and accents.
2. Incorporate Textured Rugs
Layering textured rugs on your floor can add depth and warmth. Opt for natural fibers like jute or wool, which complement a boho aesthetic and provide a cozy foundation for your room.
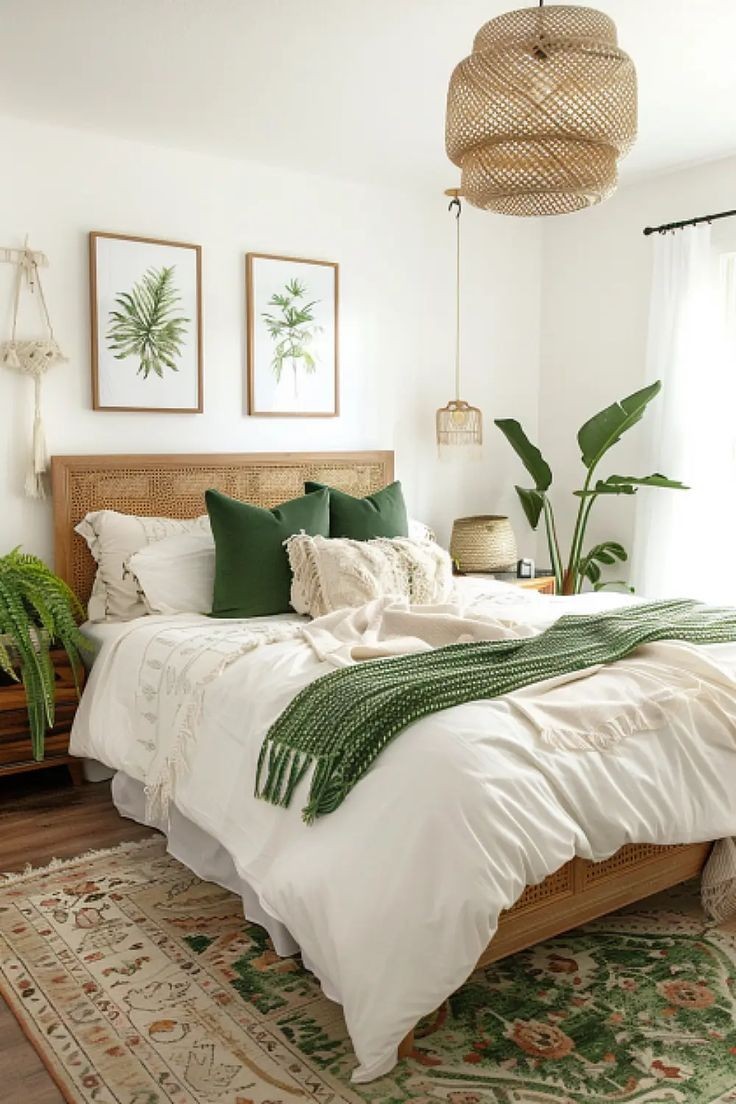
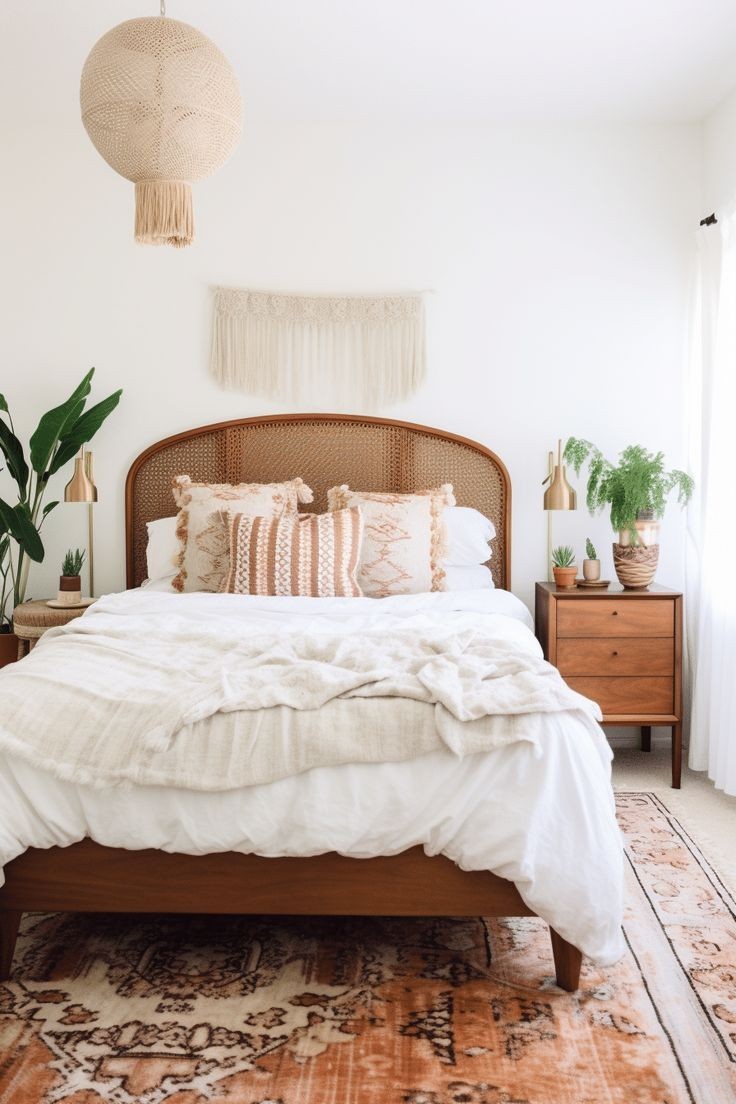
3. Choose a Statement Headboard
A boho bedroom often features a statement headboard. Consider a rattan or woven design to enhance the relaxed, natural vibe of the room. It adds visual interest without overwhelming the space.
4. Use Layered Bedding
Mix and match different textures with your bedding. Think soft linen sheets, chunky knit throws, and plush pillows. This layering technique creates a visually appealing and ultra-comfortable bed.
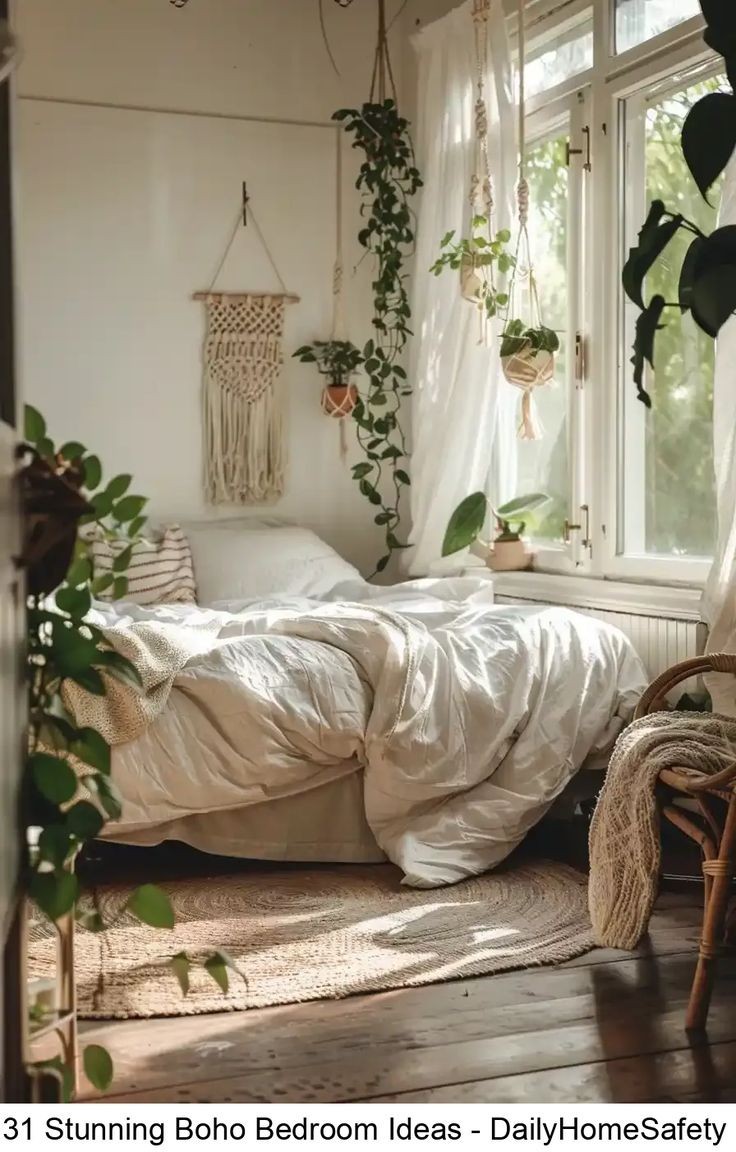
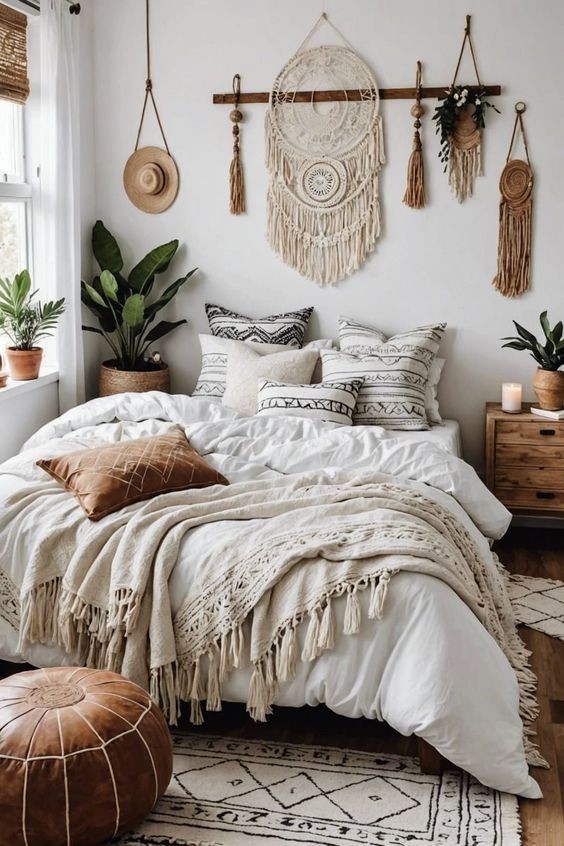
5. Add Macramé Wall Hangings
Macramé wall hangings are a quintessential boho element. These handcrafted pieces add intricate detail and a touch of artisanal charm to your walls.
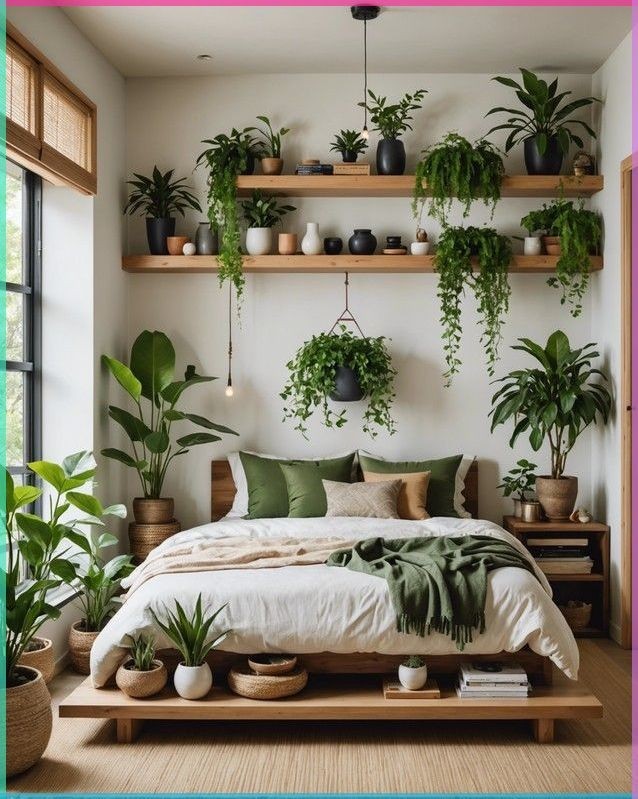
6. Include Natural Elements
Incorporate natural elements like potted plants, wooden furniture, or wicker baskets. These additions bring a fresh and earthy feel to your room, reinforcing the boho theme.
7. Opt for Minimalist Furniture
Keep your furniture simple and uncluttered. Choose pieces with clean lines and neutral tones to maintain the serene atmosphere and avoid visual overload.
8. Mix and Match Patterns
While your color scheme is neutral, don't shy away from mixing patterns. Combine geometric shapes with organic prints in your textiles and accessories for a dynamic yet cohesive look.
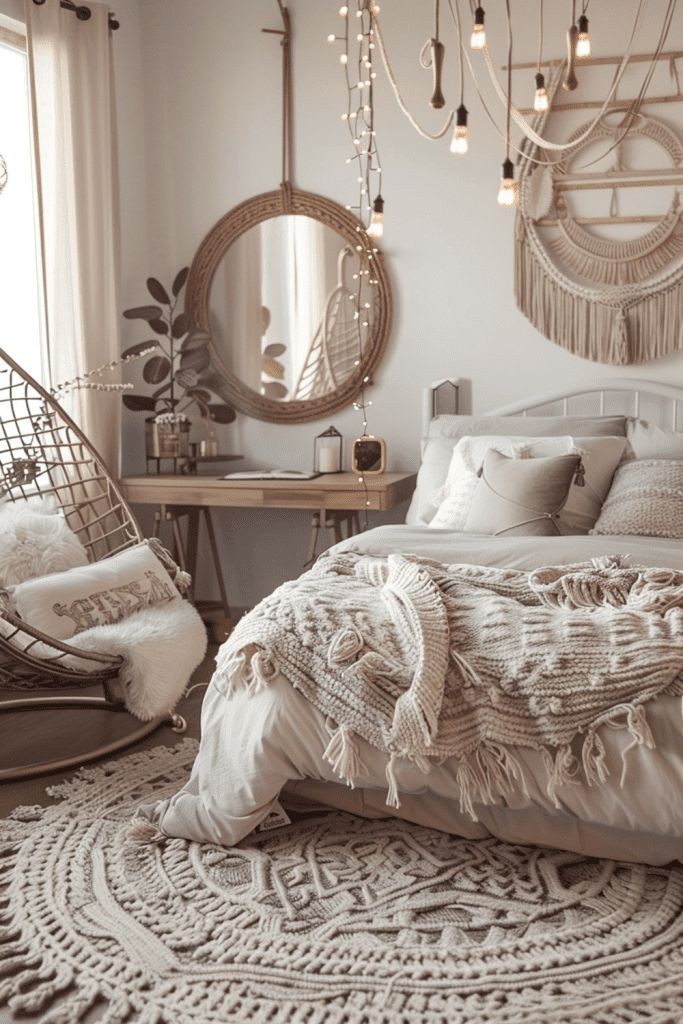
9. Feature Soft Lighting
Soft, ambient lighting is essential for creating a cozy atmosphere. Consider string lights, pendant lamps, or lanterns to add a warm glow and enhance the boho vibe.
10. Incorporate Boho Accents
Accessorize with boho elements like woven baskets, tribal prints, and ethnic-inspired decor. These accents add personality and a sense of global flair to your space.
11. Opt for Floating Shelves
Floating shelves are a practical and stylish way to display your favorite decor items. Use them to showcase plants, framed prints, or treasured finds, keeping your surfaces clear and clutter-free.
12. Choose Soft Window Treatments
Light, airy curtains or bamboo blinds let in natural light while maintaining privacy. They contribute to the relaxed, boho feel and keep the room feeling open and airy.
13. Add a Cozy Reading Nook
Create a small reading nook with a comfortable chair, a soft throw blanket, and a few pillows. This dedicated space provides a cozy spot for relaxation and adds an extra layer of comfort.
14. Incorporate Vintage Finds
Mix in vintage or antique pieces to add character and history to your bedroom. Look for unique items like old trunks, vintage mirrors, or retro lamps.
15. Create a Gallery Wall
A gallery wall featuring neutral-toned art prints, photographs, and woven wall hangings can be a stunning focal point. Arrange your pieces in a balanced yet eclectic display.
16. Opt for a Neutral Paint Color
Choosing a neutral paint color for your walls can set the tone for your entire room. Light shades like soft taupe or warm gray provide a serene backdrop for your decor.
17. Incorporate Plush Textures
Introduce plush textures with items like faux fur rugs, velvet pillows, or a cozy knit throw. These textures add warmth and invite you to relax in style.
18. Feature a Canopy Bed
A canopy bed draped with soft, neutral fabric adds an element of luxury and coziness. It creates a serene sleeping area that feels like a personal retreat.
19. Keep It Clutter-Free
Finally, maintain a clutter-free environment to enhance the feeling of calm and relaxation. Use stylish storage solutions to keep your space organized and serene.
By implementing these 19+ neutral bedroom decor ideas, you'll create a cozy, boho retreat that's perfect for unwinding and relaxing. Embrace the tranquility of neutral tones and the charm of boho accents to design a space that’s both stylish and serene.