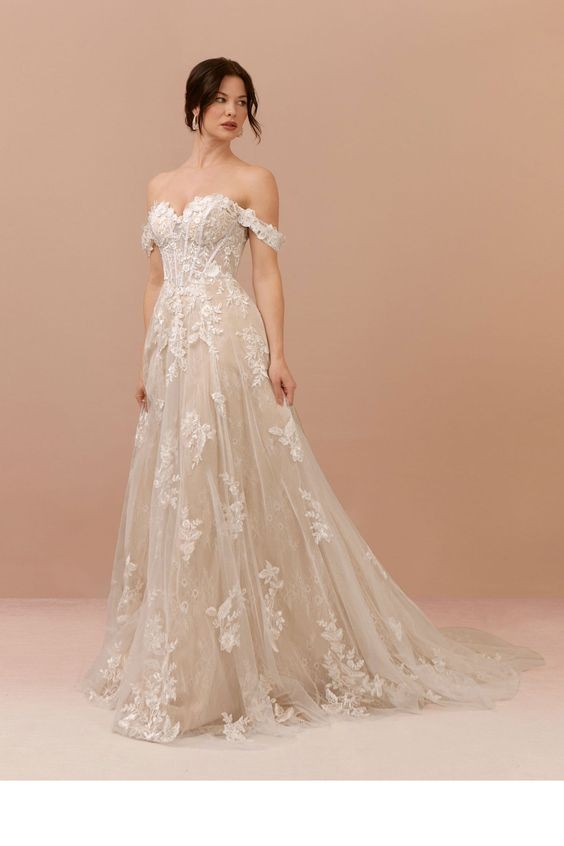
Azazie 2024: Glamorous A-Line Wedding Dress with Lace, Chapel Train, Sweetheart Neckline & Detachable Sleeves
When it comes to making a statement on your wedding day, the right gown can transform your entire celebration. Azazie’s 2024 collection delivers an exquisite example with its glamorous A-line wedding dress featuring lace, a chapel train, a sweetheart neckline, and detachable sleeves. This stunning dress offers a blend of timeless elegance and modern versatility, ensuring you look radiant and feel confident as you walk down the aisle. Let’s explore why this gown is a top choice for brides seeking a blend of glamour and sophistication.
1. The Allure of the A-Line Silhouette
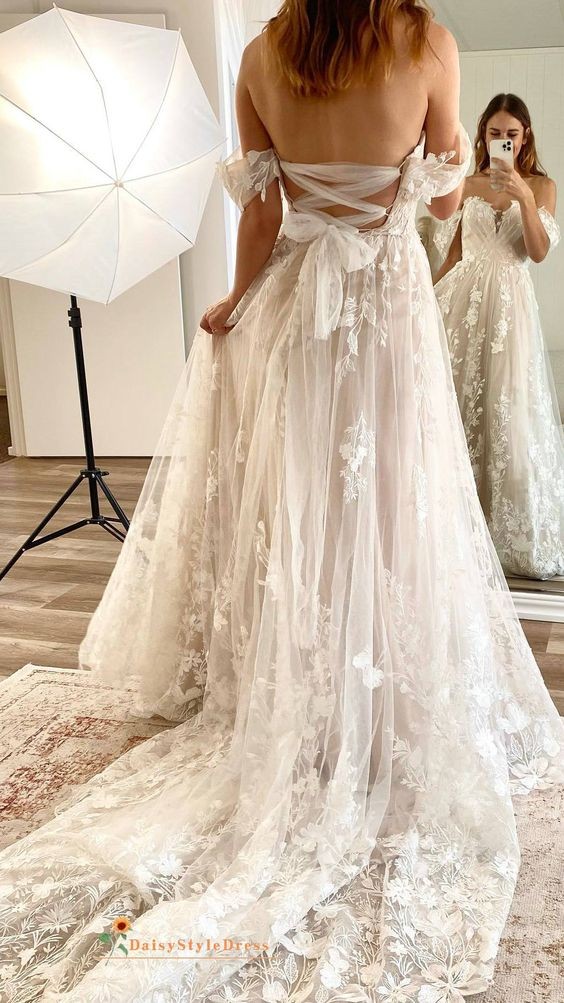
The A-line silhouette is a perennial favorite for its flattering shape and graceful flow. This design gently skims the body before flaring out from the waist, creating a balanced and elegant look that suits various body types. The A-line cut is perfect for brides who want a gown that offers both comfort and style.
For the 2024 collection, Azazie’s A-line dress features a luxurious flow that enhances the gown’s overall elegance. The design allows for easy movement, making it ideal for both grand ceremonies and intimate celebrations.
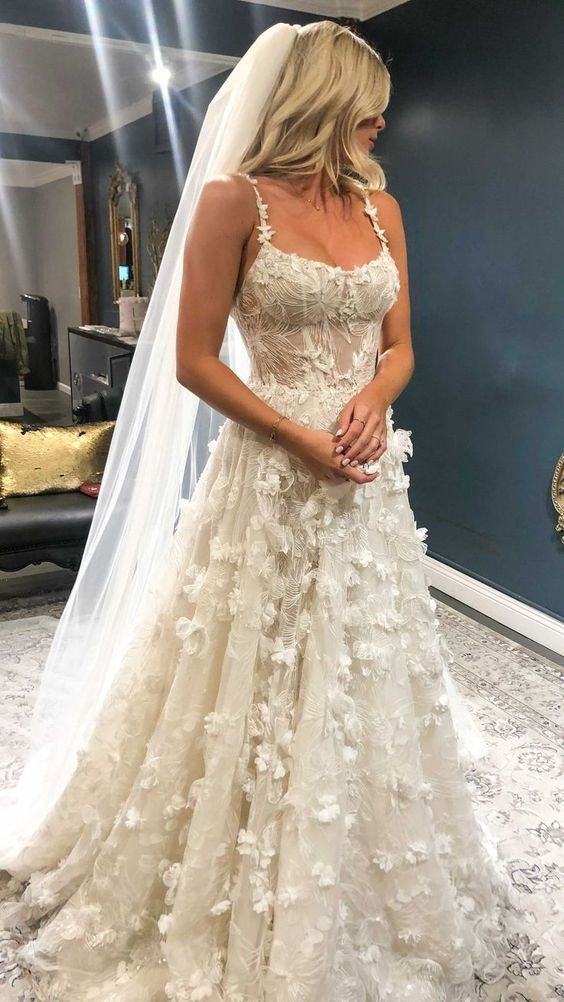
2. Exquisite Lace Details
Lace adds a touch of romance and sophistication to any bridal gown, and this dress is no exception. The intricate lace detailing throughout the gown provides texture and visual interest, creating a timeless and elegant look. The lace elements are thoughtfully placed to enhance the overall design without overwhelming it, ensuring a perfect balance of detail and simplicity.
Lace also brings a vintage charm to the dress, making it suitable for various wedding themes, from classic to contemporary. The delicate lace work complements the A-line silhouette, adding a layer of sophistication and grace.
3. Chapel Train for Dramatic Impact
The chapel train is a classic choice for brides who want to add a touch of grandeur to their wedding ensemble. This long, flowing train extends behind the gown, creating a dramatic and regal effect as you walk down the aisle. The chapel train adds an element of fantasy and elegance, ensuring that you make a memorable entrance.
Whether you’re planning a formal church ceremony or a grand ballroom reception, the chapel train enhances the gown’s overall impact, making it a show-stopping choice for your special day.
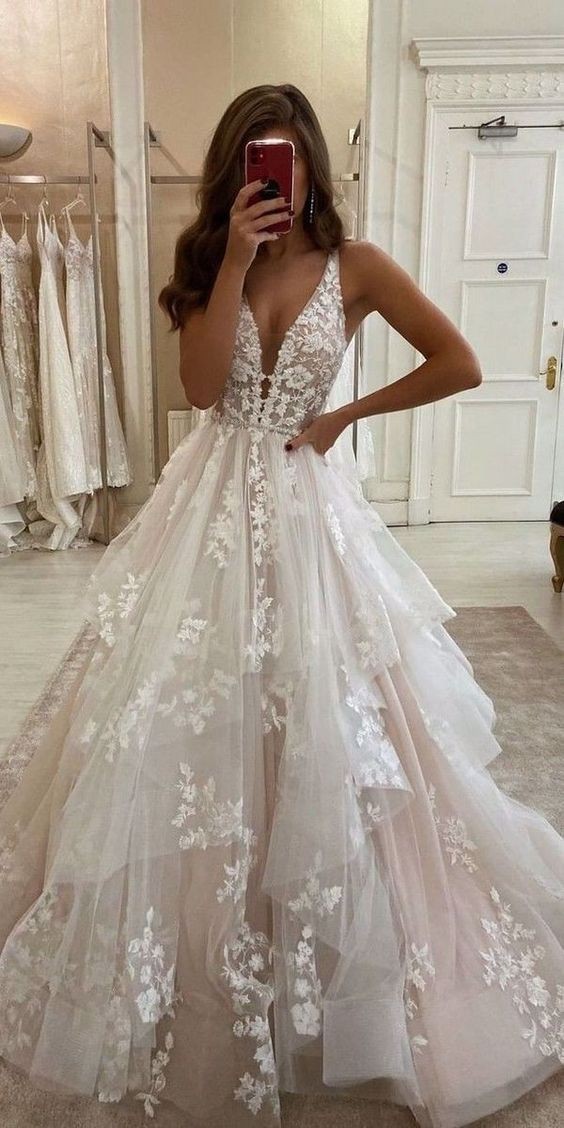
4. Sweetheart Neckline: Classic and Romantic
The sweetheart neckline is a beloved choice for bridal gowns, and it’s easy to see why. This neckline accentuates the décolletage with its heart-shaped cut, adding a touch of romance and femininity. It’s a versatile design that complements a range of body types and allows for various styling options.
The sweetheart neckline on this gown enhances the lace detailing, creating a beautiful and harmonious look. It also provides a flattering shape that works well with both simple and elaborate accessories.
5. Detachable Sleeves for Versatile Styling
One of the standout features of this Azazie gown is its detachable sleeves. This innovative design element allows you to transform your look effortlessly from ceremony to reception. Wear the sleeves for a more formal and traditional appearance during the ceremony, then remove them for a more relaxed and contemporary look at the reception.
The detachable sleeves add versatility to your bridal ensemble, giving you the freedom to adapt your look throughout the day. Whether you prefer a classic look with the sleeves or a modern touch without them, this feature ensures you have the flexibility to match your style and the event’s vibe.
6. Styling Your Glamorous Gown
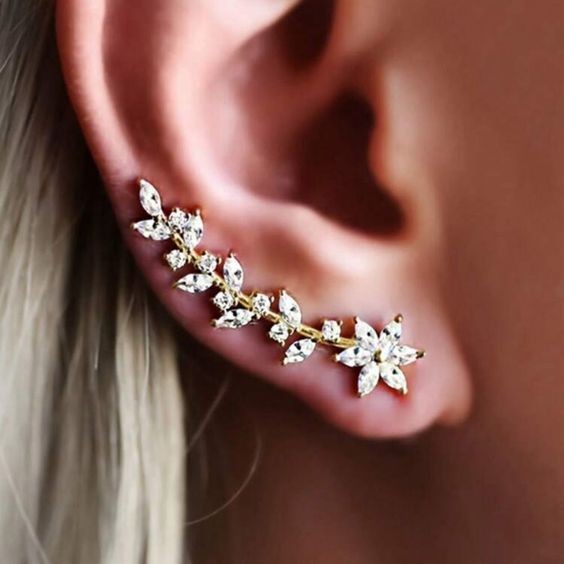
To complement this glamorous gown, choose accessories that enhance its elegance without overshadowing it. Opt for delicate jewelry such as a simple pendant necklace or drop earrings that highlight the sweetheart neckline and lace details.
For your hairstyle, consider soft waves or an elegant updo that complements the gown’s classic design. A veil or hair accessory adorned with lace or subtle embellishments can enhance the overall look and add a cohesive touch.
When selecting footwear, choose classic heels or elegant flats that coordinate with the dress’s color and style. Ensure comfort and support, as you’ll want to enjoy every moment of your special day with ease.
7. Customizing Your Bridal Look
Azazie offers customization options to tailor the gown to your personal preferences. Whether you want to adjust the length of the train, modify the lace details, or select a different fabric, working with a designer or bridal boutique can help you create a dress that is uniquely yours.
Final Thoughts
The Azazie 2024 A-line wedding dress with lace, a chapel train, sweetheart neckline, and detachable sleeves is a perfect blend of glamour and sophistication. This gown offers timeless elegance, modern versatility, and a touch of romance, making it an ideal choice for your special day.
Embrace the beauty and versatility of this stunning dress and create a bridal look that reflects your style and grace. With its exquisite design and customizable features, you’ll be ready to make a lasting impression as you walk down the aisle.
#weddingdress #azazie2024 #glamorousbride #alinedress #chapeltrain #sweetheartneckline #detachablesleeves #bridalfashion #weddingtrends