Simple Dorm Decoration Ideas for a Cozy Space
Decorating a dorm room can be both exciting and challenging. With limited space and a tight budget, the goal is to create a cozy, stylish environment that feels like home. These simple dorm decoration ideas will help you maximize your space and add personal touches without breaking the bank.
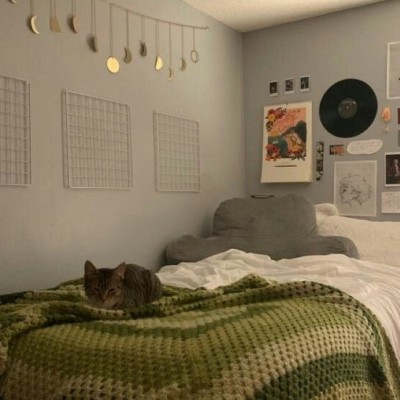
1. Choose a Color Scheme
Why It Works:
A cohesive color scheme ties the room together and makes it feel more put-together.
How to Style:
Select a color palette that reflects your style and stick to it throughout your decor. Neutral tones with pops of color are popular choices, as they create a calm yet vibrant atmosphere. You can easily incorporate your chosen colors through bedding, pillows, and small decor items.
2. Utilize Multi-Functional Furniture
Why It Works:
Multi-functional furniture helps you make the most of your limited space.
How to Style:
Opt for furniture that serves more than one purpose, such as a bed with storage drawers or a desk that can double as a vanity. A futon or convertible chair can provide both seating and a place for guests to sleep. This approach helps you stay organized while maintaining a clean, open feel in your dorm.
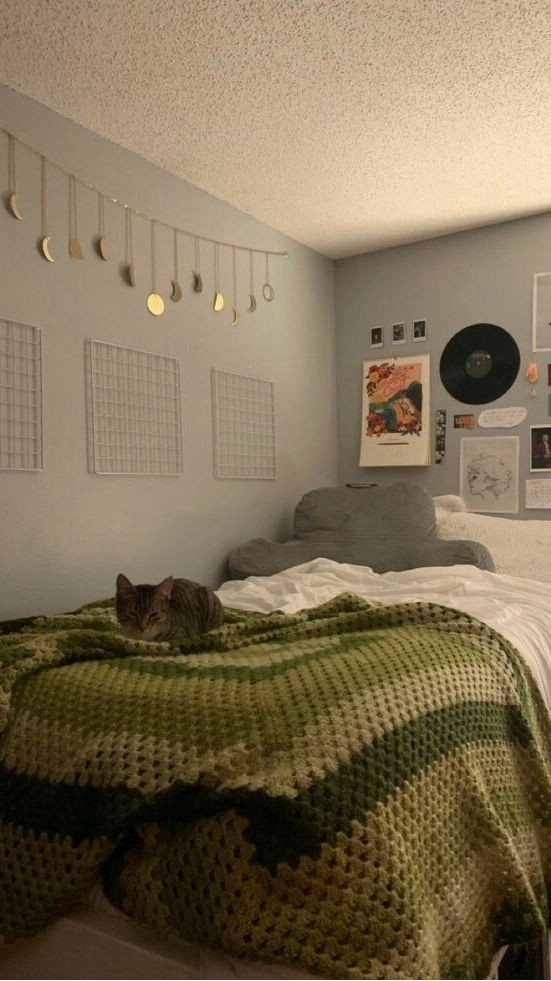
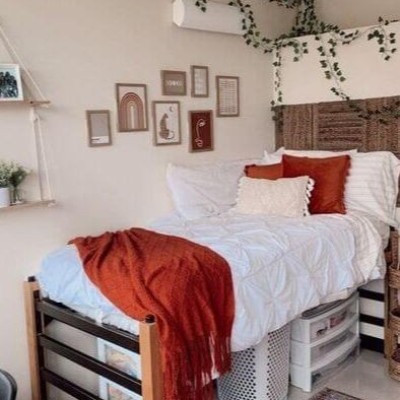
3. Add Personal Touches with Wall Art
Why It Works:
Wall art personalizes your space and makes it feel more like your own.
How to Style:
Use removable wall decals, posters, or framed photos to decorate your walls. A gallery wall with a mix of photos, art, and inspirational quotes can create a focal point in your room. Command strips and hooks are perfect for hanging art without damaging the walls, allowing you to rearrange as often as you like.
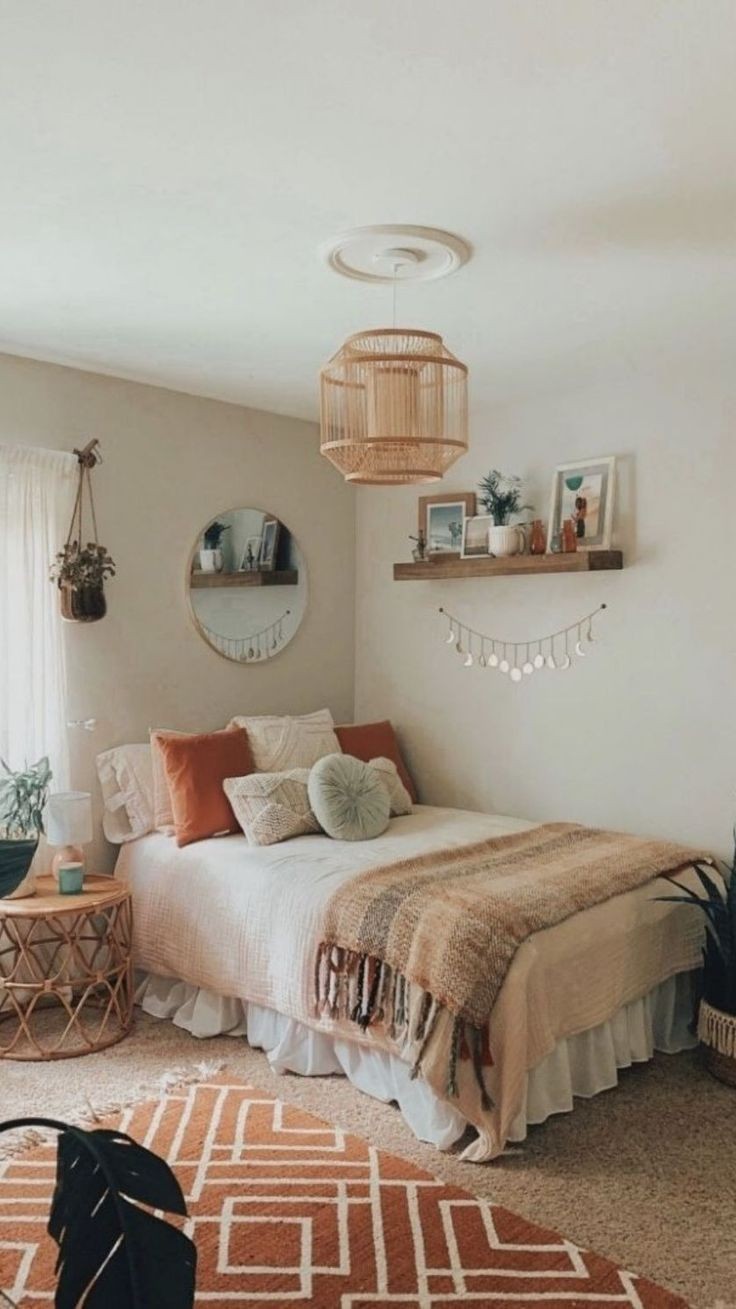
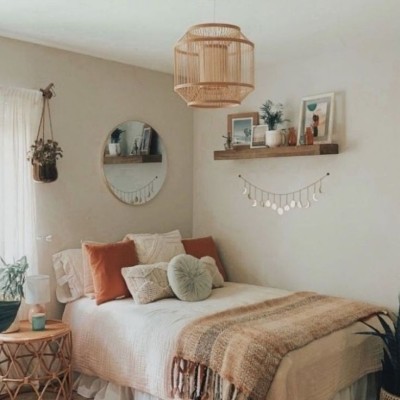
4. Incorporate Soft Textures
Why It Works:
Soft textures add warmth and comfort, making your dorm feel more inviting.
How to Style:
Layer your bed with cozy blankets, plush pillows, and a soft comforter. A fluffy rug can add texture and comfort underfoot, while curtains can make the space feel more private and homely. These elements are not only functional but also contribute to a cozy and relaxing atmosphere.
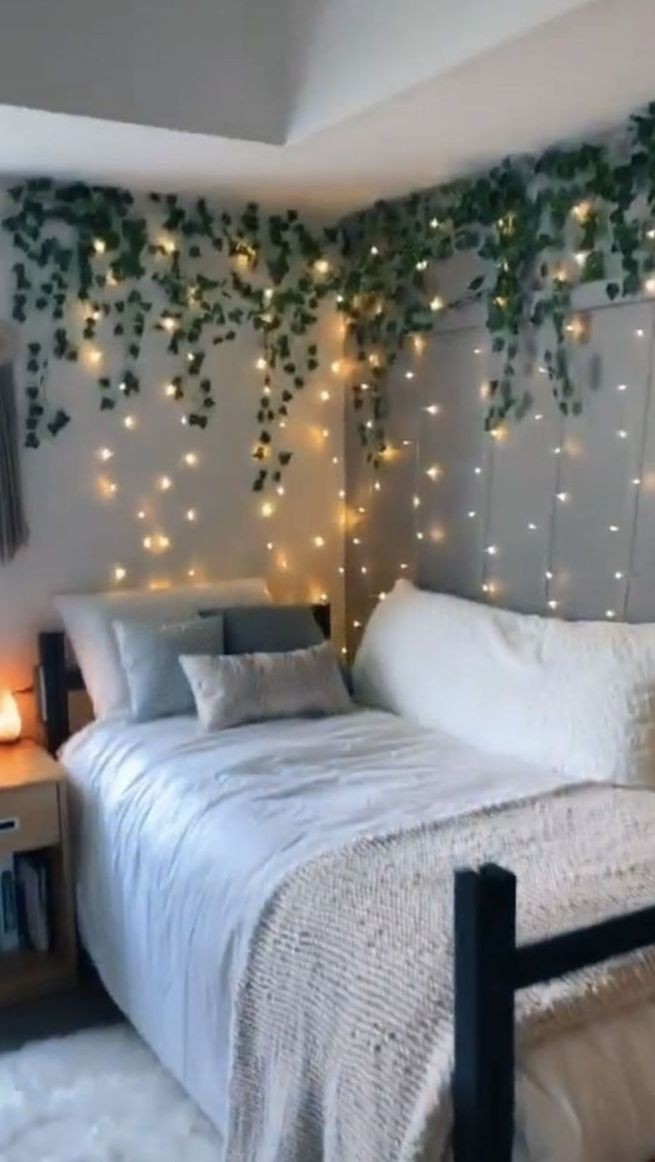
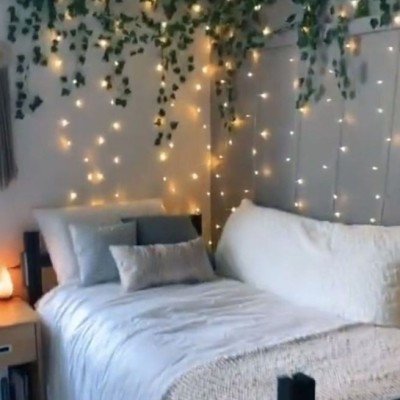
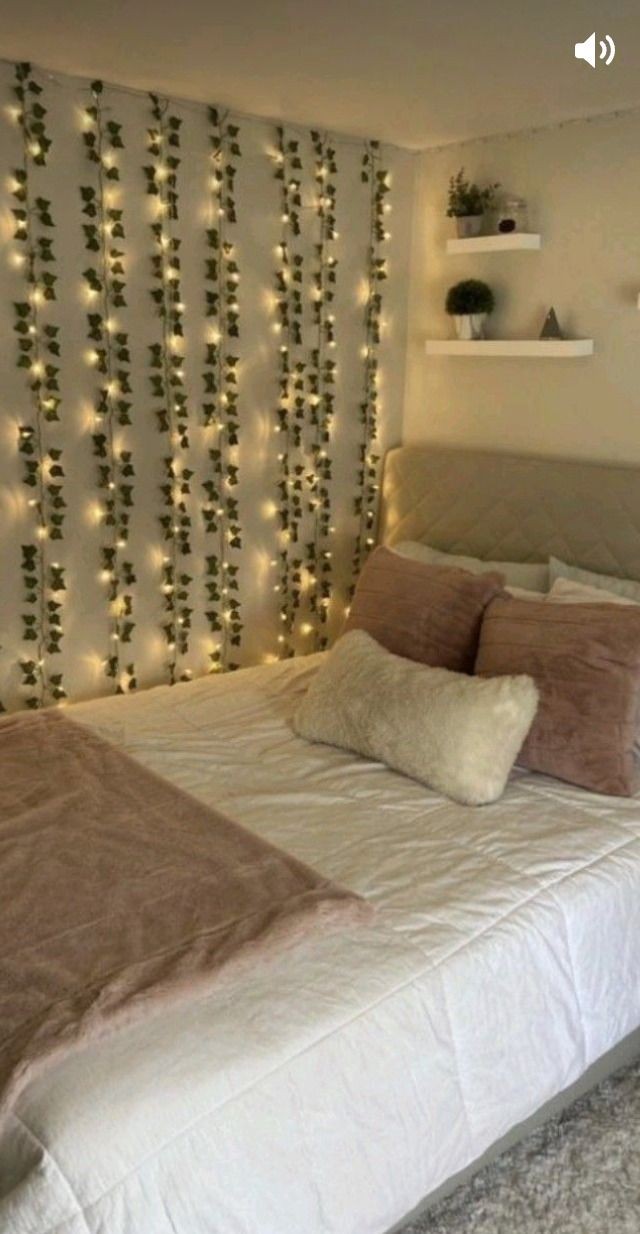
5. Use String Lights for Ambiance
Why It Works:
String lights create a warm, ambient glow that makes your dorm feel cozy and stylish.
How to Style:
Hang string lights along the walls, around your bed, or over your desk for a soft, inviting light. You can also use fairy lights to highlight photos or create a canopy effect above your bed. This inexpensive decor element adds a magical touch to your room, making it feel more personal and unique.
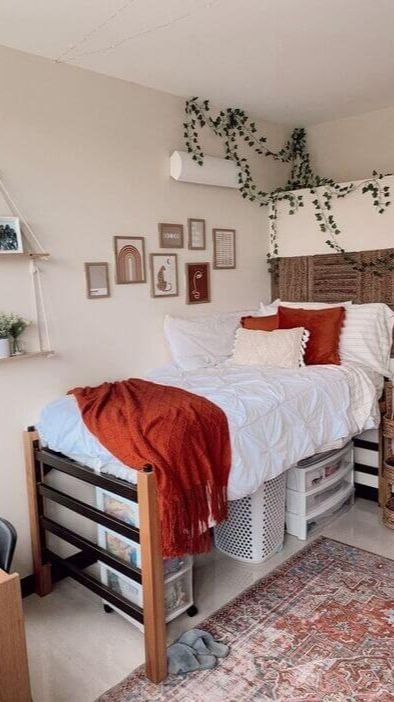
6. Keep It Organized with Stylish Storage
Why It Works:
Stylish storage solutions help you keep your space tidy and functional.
How to Style:
Invest in decorative storage bins, baskets, and drawer organizers that match your decor. Over-the-door organizers are great for saving space, while under-bed storage is perfect for keeping items out of sight. Keeping your dorm organized not only makes it look better but also makes it easier to find what you need.
Conclusion: Create a Cozy Dorm Space
Decorating your dorm room doesn’t have to be complicated. With these simple and budget-friendly ideas, you can create a space that’s both functional and stylish. Focus on adding personal touches, maximizing your space with multi-functional furniture, and creating a warm, inviting atmosphere with soft textures and ambient lighting. Your dorm room will quickly become a cozy, comfortable retreat where you can relax and feel at home.
#dormdecor #cozyspace #budgetfriendly #smallspaceliving #collegelife #simpledecor #dormroominspo #studentlife #affordabledecor #homeawayfromhome