Unleashing Creativity: Amazing Drawing Ideas to Inspire Your Artistic Journey
Drawing is a powerful medium that allows you to express your innermost thoughts and emotions through lines, shapes, and colors. Whether you're an aspiring artist or a seasoned creator, finding fresh and exciting drawing ideas can invigorate your practice and push your skills to new heights. Here are some amazing drawing ideas to spark your creativity and inspire your next masterpiece.
1. Surreal Landscapes
Combine elements of the real and the fantastical to create surreal landscapes. Imagine a world where floating islands drift above a serene ocean, or where trees have glowing, bioluminescent leaves. By merging everyday scenes with dreamlike elements, you can create a drawing that is both captivating and thought-provoking.
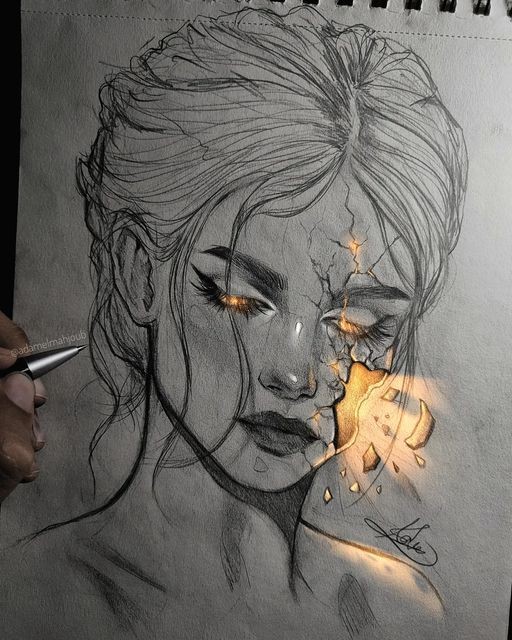
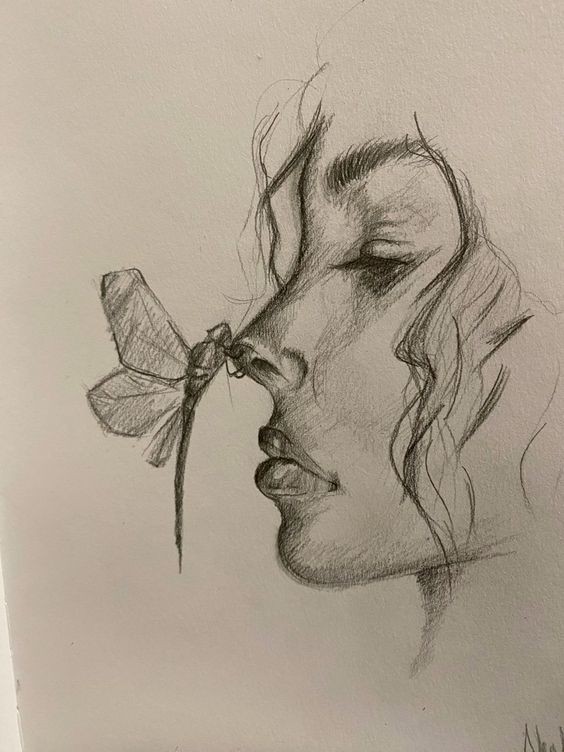
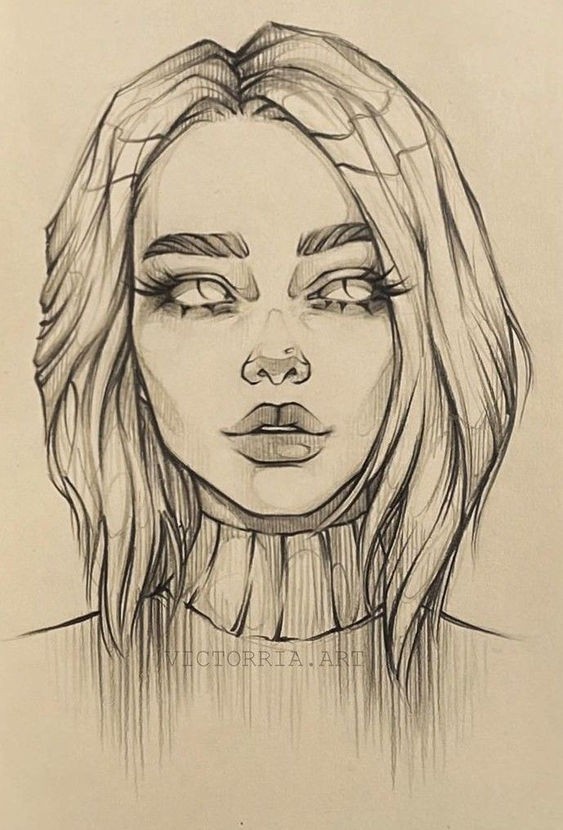
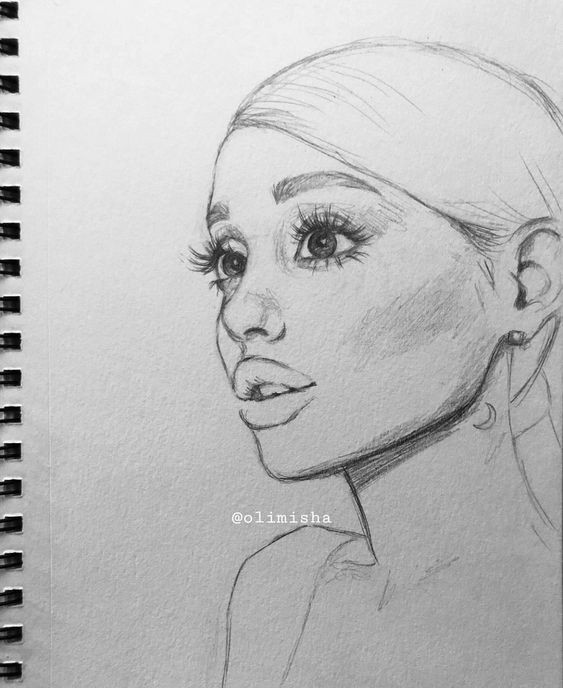
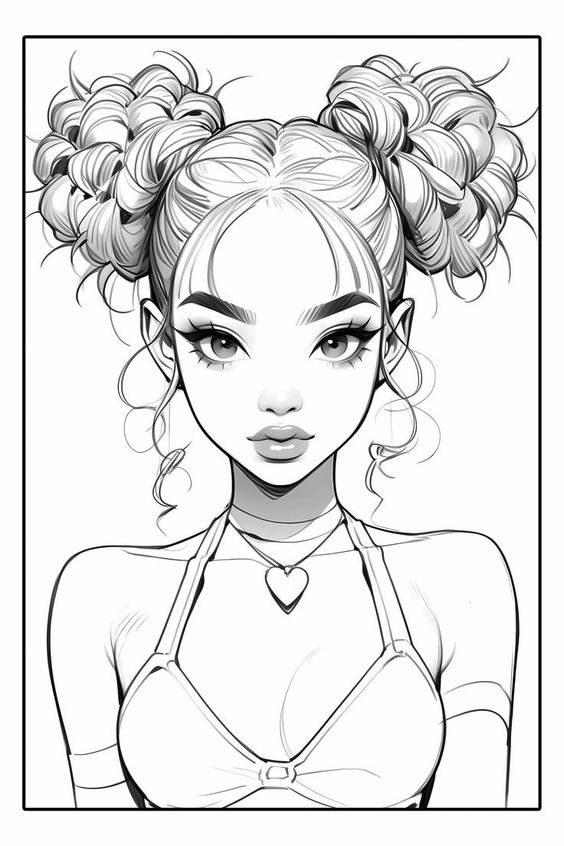
2. Portraits with a Twist
Portraits are a classic subject, but you can put a unique spin on them. Try drawing a portrait with elements of nature woven into the hair, or depict your subject as a mythical creature. Experiment with different styles, such as cubism or abstract, to add a fresh perspective to your portrait work.
3. Animal Hybrids
Let your imagination run wild by combining features of different animals to create unique hybrids. Imagine a creature with the wings of an eagle, the body of a lion, and the tail of a serpent. This exercise can help you practice anatomical accuracy while also allowing for creative freedom.
4. Fantasy Architecture
Design your own fantastical buildings and structures. Think of castles floating in the sky, ancient temples buried in the jungle, or futuristic skyscrapers with organic designs. This type of drawing challenges you to think about perspective, scale, and imaginative design.
5. Everyday Objects with Personality
Bring everyday objects to life by giving them personalities and emotions. Draw a teapot with a cheerful face, a pair of glasses that look inquisitive, or a book that seems contemplative. Adding character to ordinary items can make them more engaging and fun to draw.
6. Time Travel Scenes
Explore different eras and future possibilities by drawing time travel scenes. Imagine what a historical event might look like with futuristic technology, or how a contemporary scene would appear if it were set in a bygone era. This approach allows you to experiment with different styles and settings.
7. Abstract Emotions
Translate emotions into abstract art by using shapes, colors, and textures. For example, you might use jagged lines and dark colors to express anger, or smooth curves and pastel hues to depict calm. This type of drawing can help you connect with your emotions on a deeper level and improve your understanding of visual expression.
8. Underwater Worlds
Create intricate drawings of underwater worlds teeming with marine life. Picture colorful coral reefs, schools of exotic fish, and mysterious sea creatures. This theme offers endless opportunities for detail and vibrant color use.
9. Retro Futurism
Imagine how the future was envisioned in the past. Draw futuristic technology and spaceships with a retro twist, reflecting the style of mid-20th-century sci-fi. This can be a fun way to explore nostalgic elements while creating something entirely new.
10. Mixed Media Mashups
Combine different drawing materials and techniques to create a mixed media masterpiece. Use pencils, ink, watercolor, and digital tools to experiment with textures and effects. This approach can help you discover new methods and expand your artistic range.
Conclusion
Drawing is a dynamic and versatile form of art, and exploring various themes and ideas can keep your practice exciting and fulfilling. Whether you’re depicting surreal landscapes or reimagining everyday objects, the key is to embrace creativity and experiment with different techniques. So grab your pencils, set your imagination free, and let these amazing drawing ideas guide you on your artistic journey.